Floor Renovation at Our New Home
Objective:
We wanted to restore the original hardwood flooring of our new home.
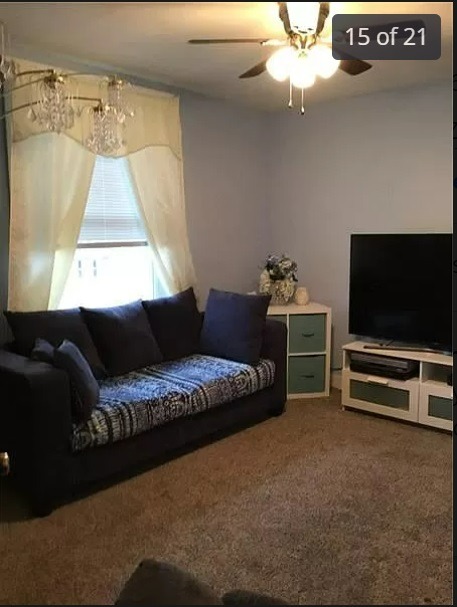
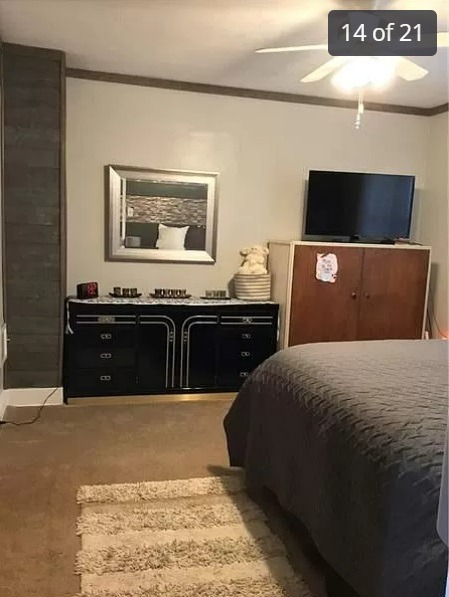
Step #1: Removing the Carpet
Four rooms had carpet that needed to be removed: Living room, guest bedroom, master bedroom, and office (not pictured).
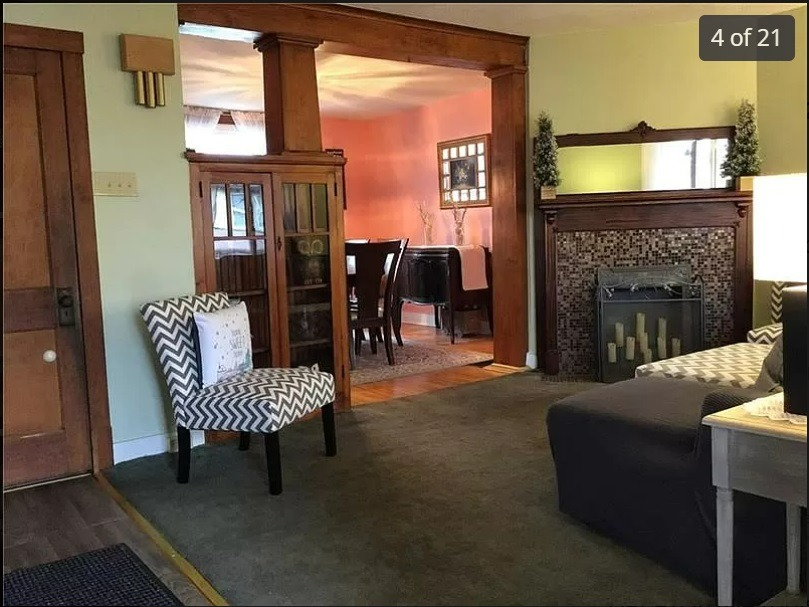
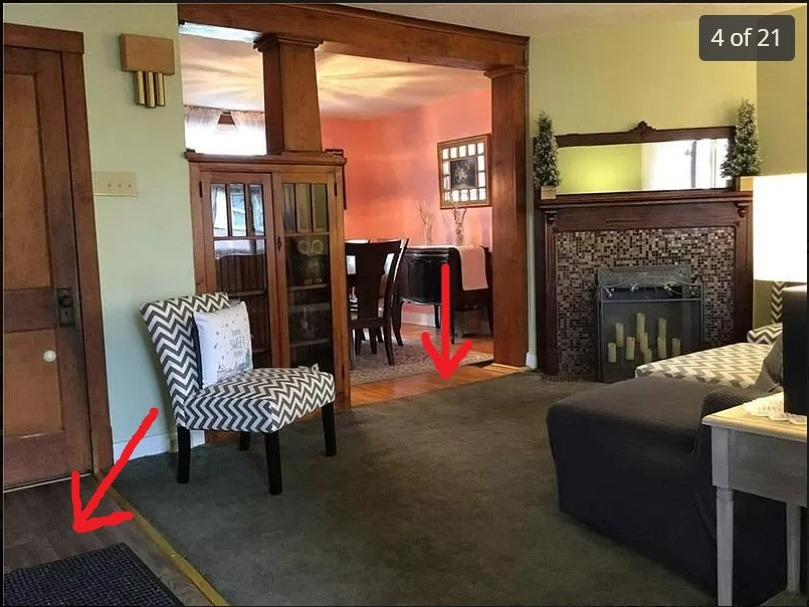
Step #2: Remove Laminate Flooring
Three places in the house had laminate flooring that needed to be removed: The dining room, the foyer (a welcome area inside the front entrance), and the upstairs hallway.
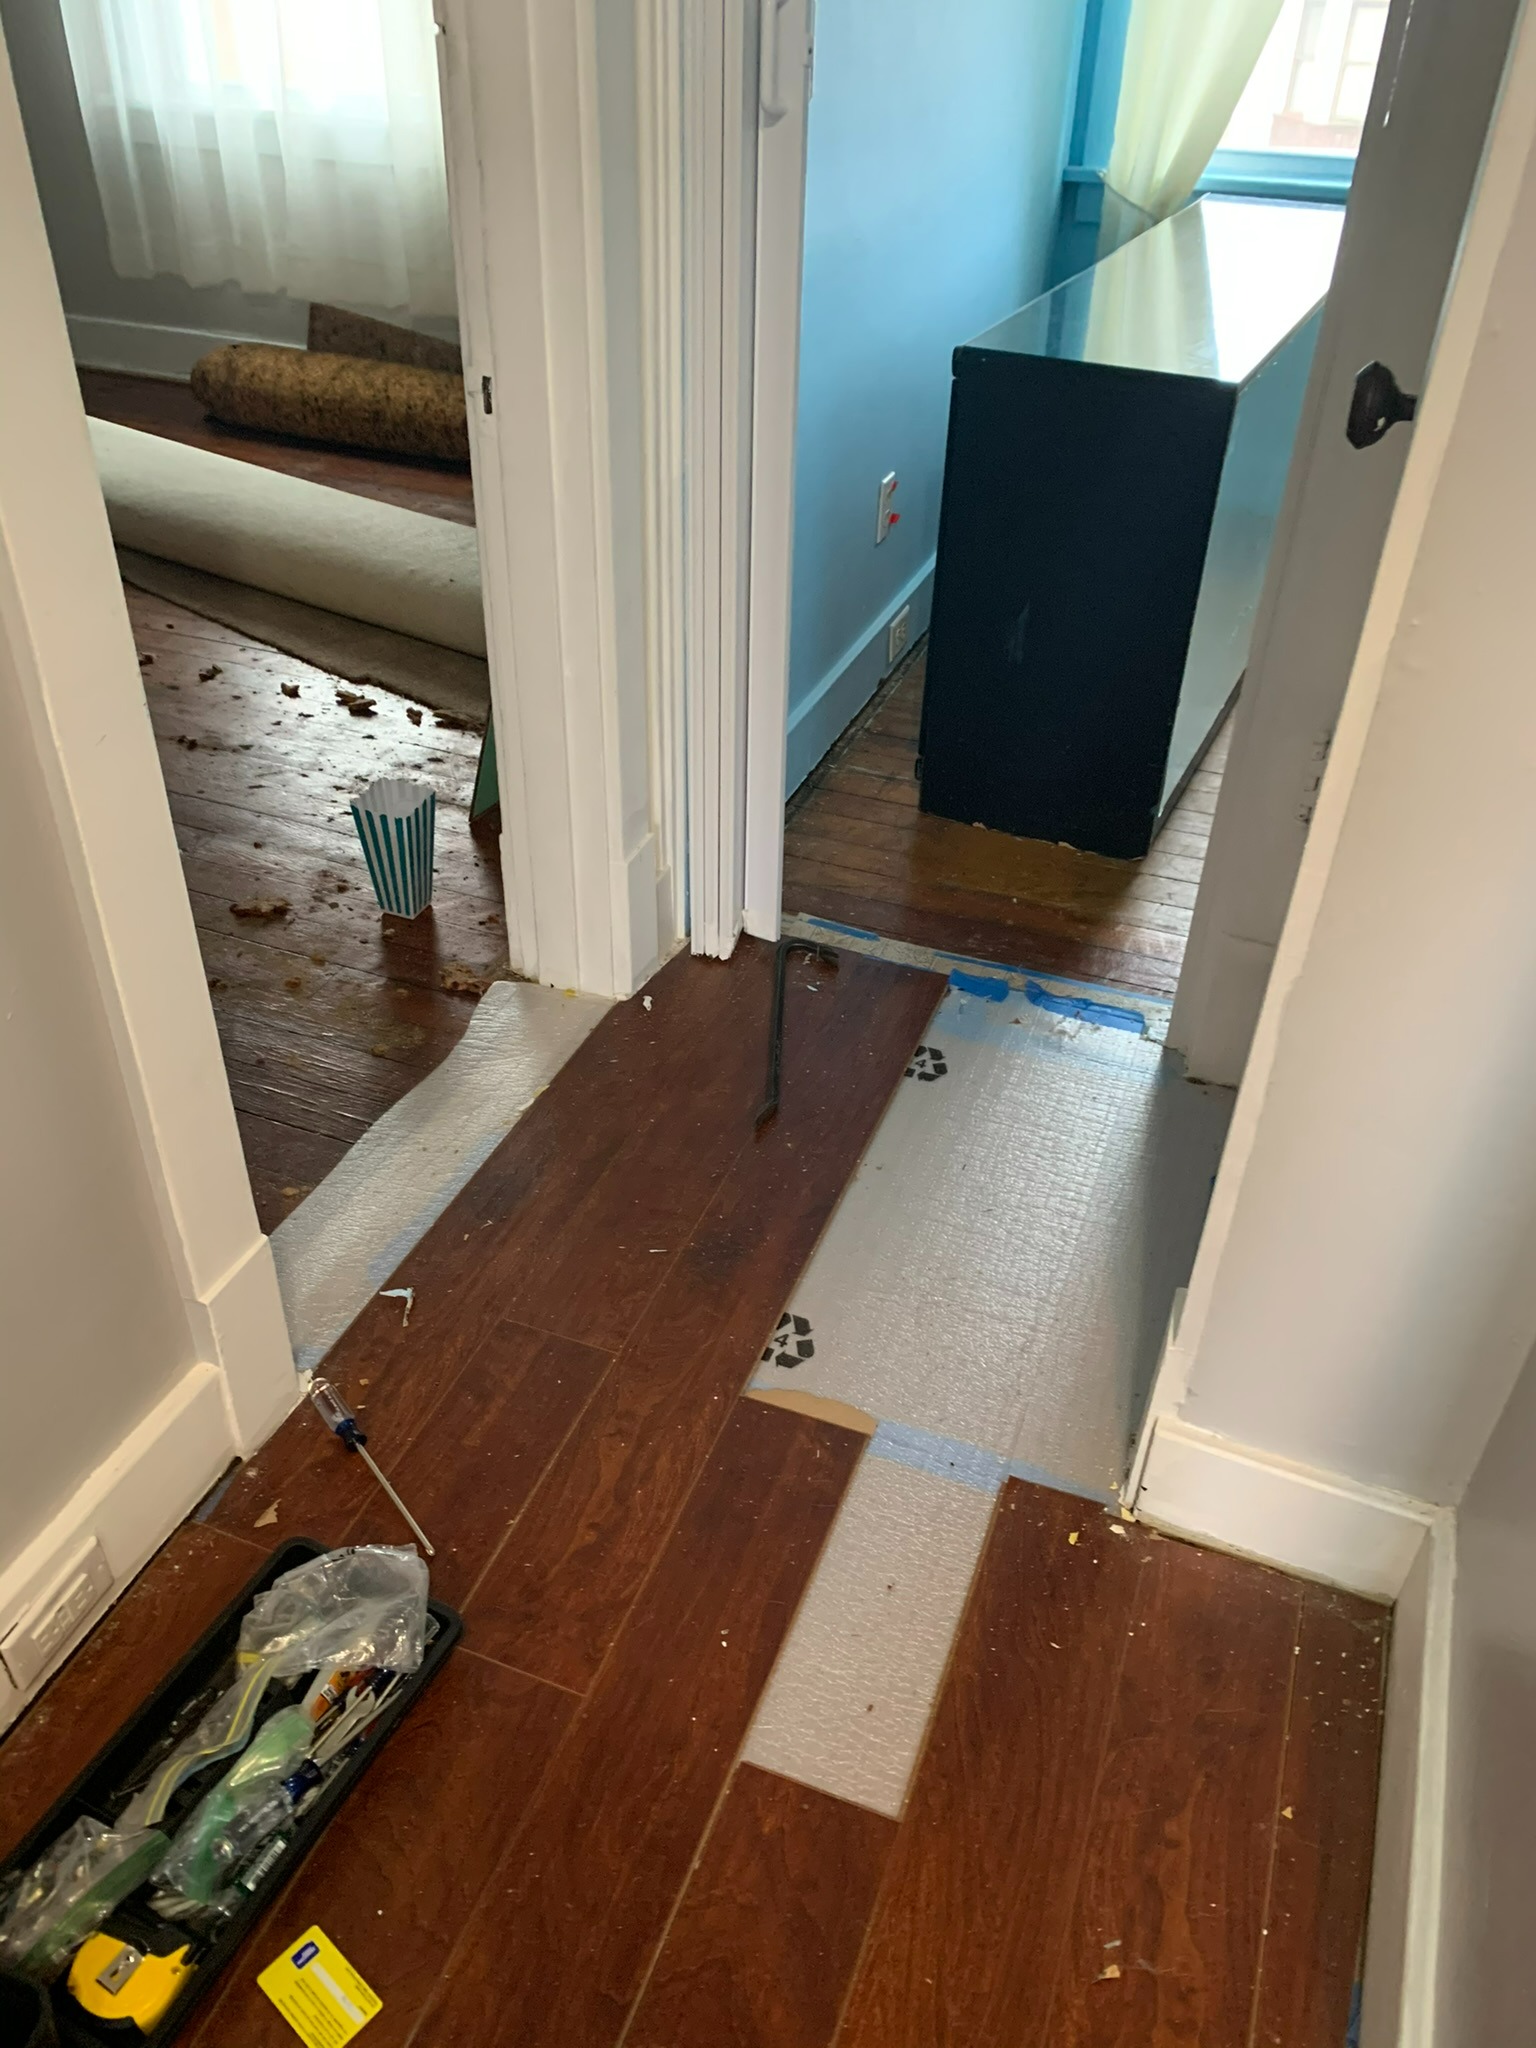
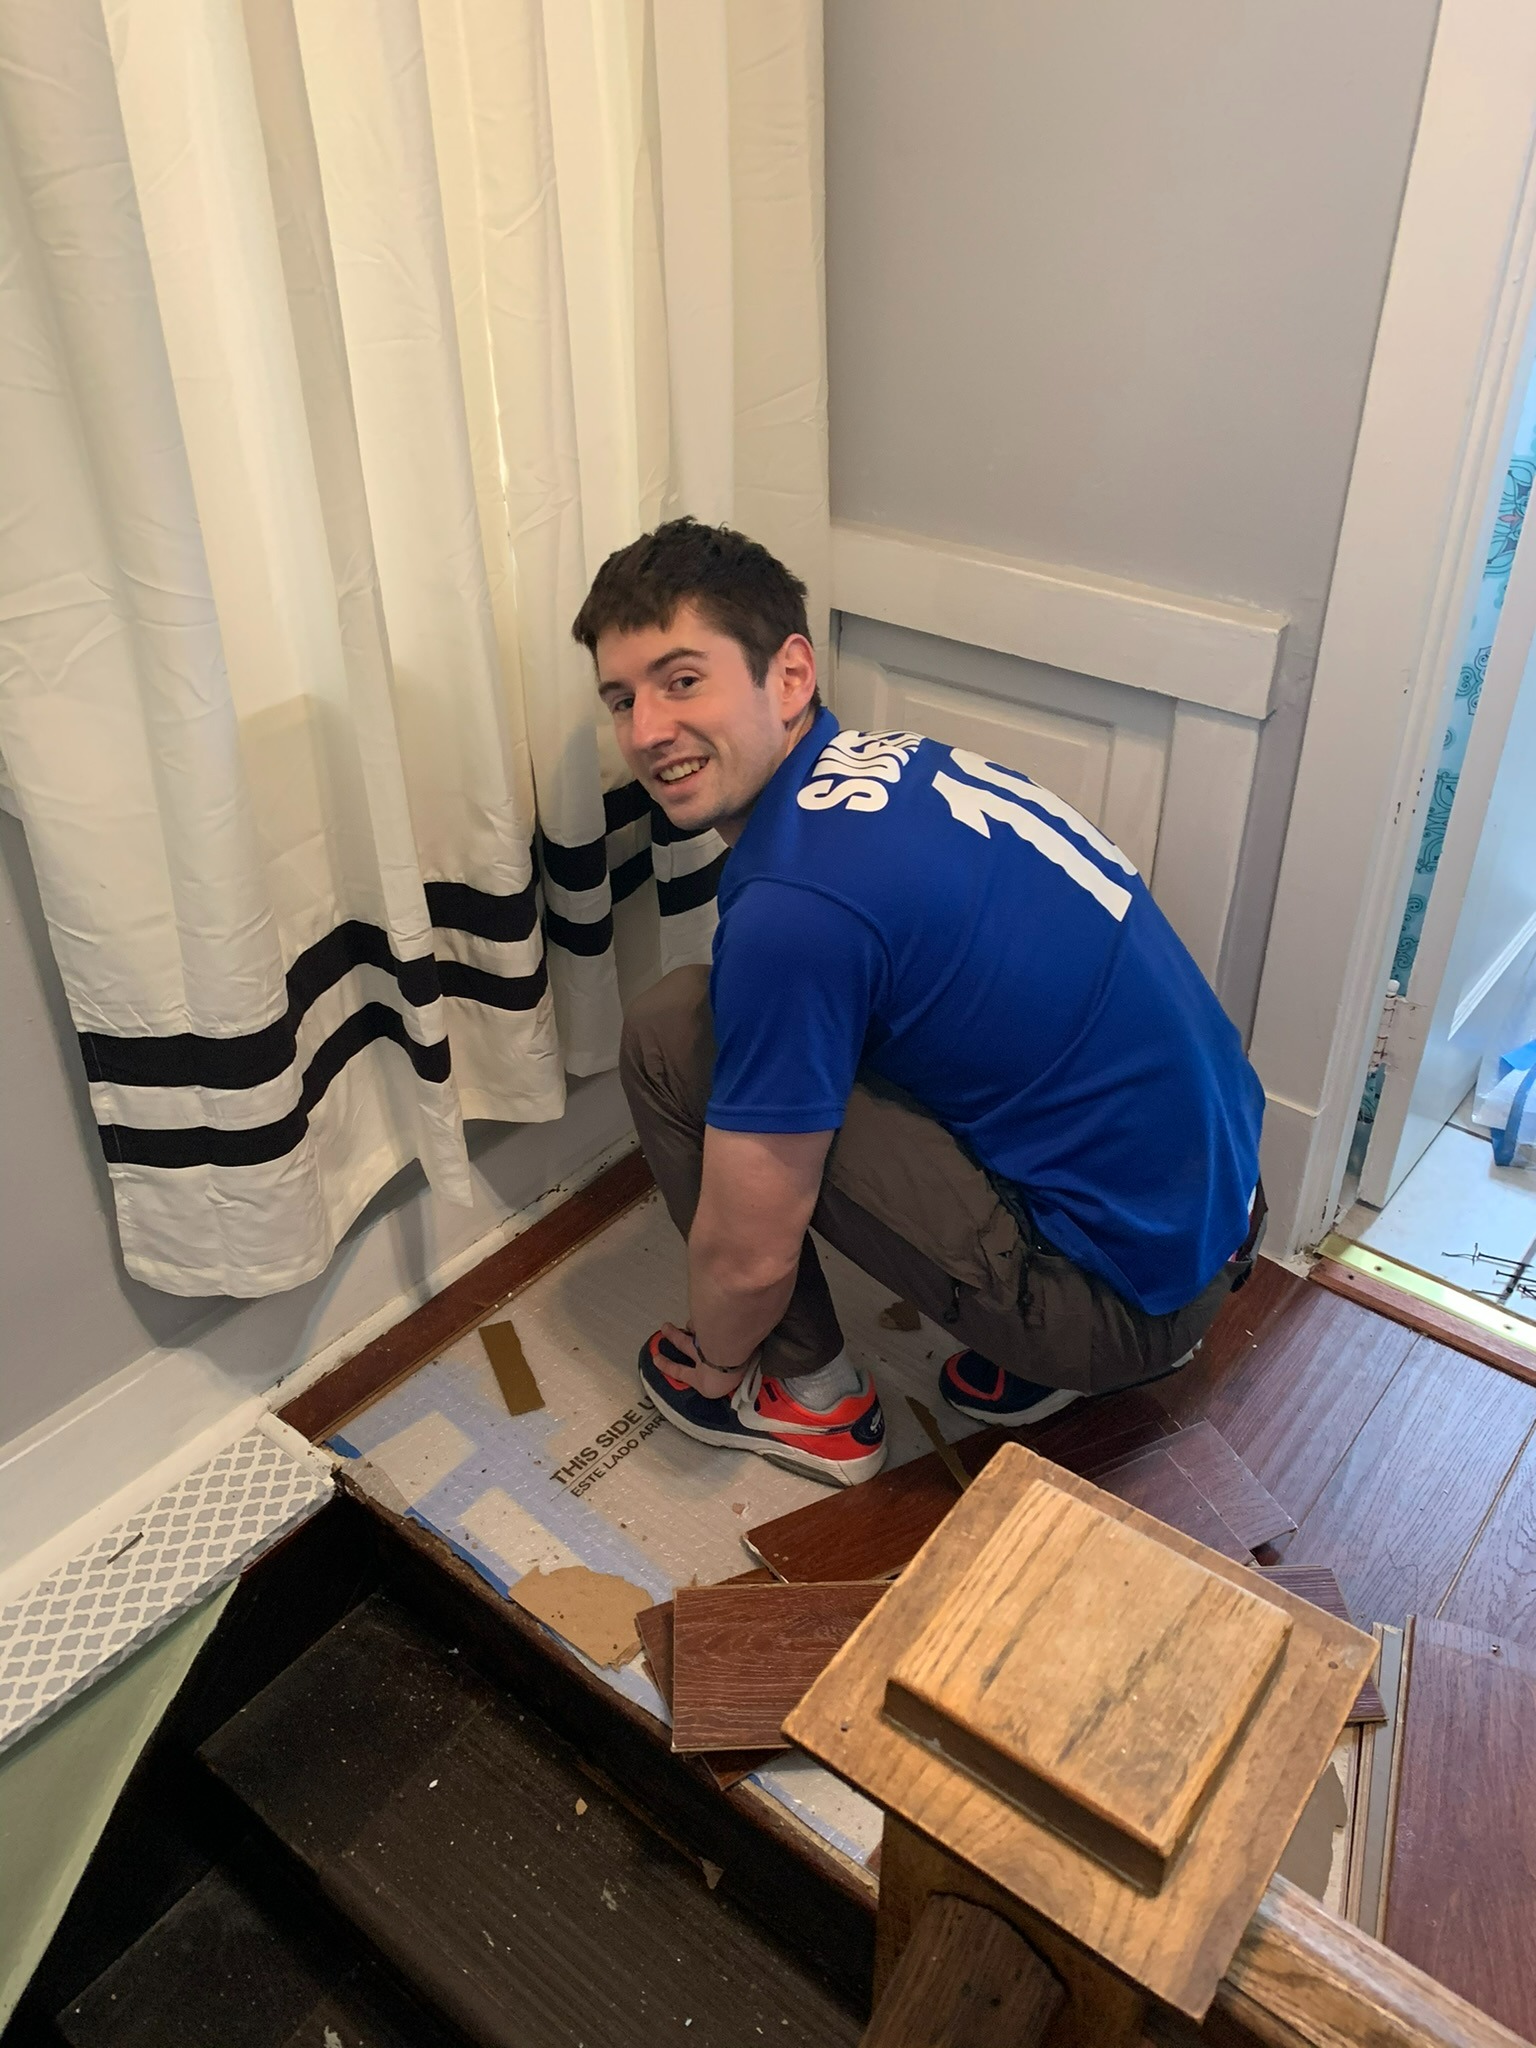
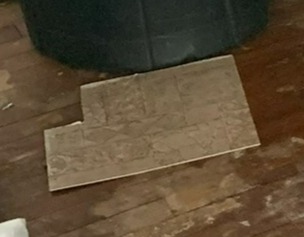
Step #3: Removing Peel and Stick Vinyl Flooring
As we removed the laminate flooring, our hearts sank when we saw that there was another layer of this peel and stick vinyl flooring underneath and preventing us from getting to the original hardwood floors. We didn't take any pictures--probably because we were so annoyed upon realizing this additional, unexpected task--but you can see some of the scraps below.
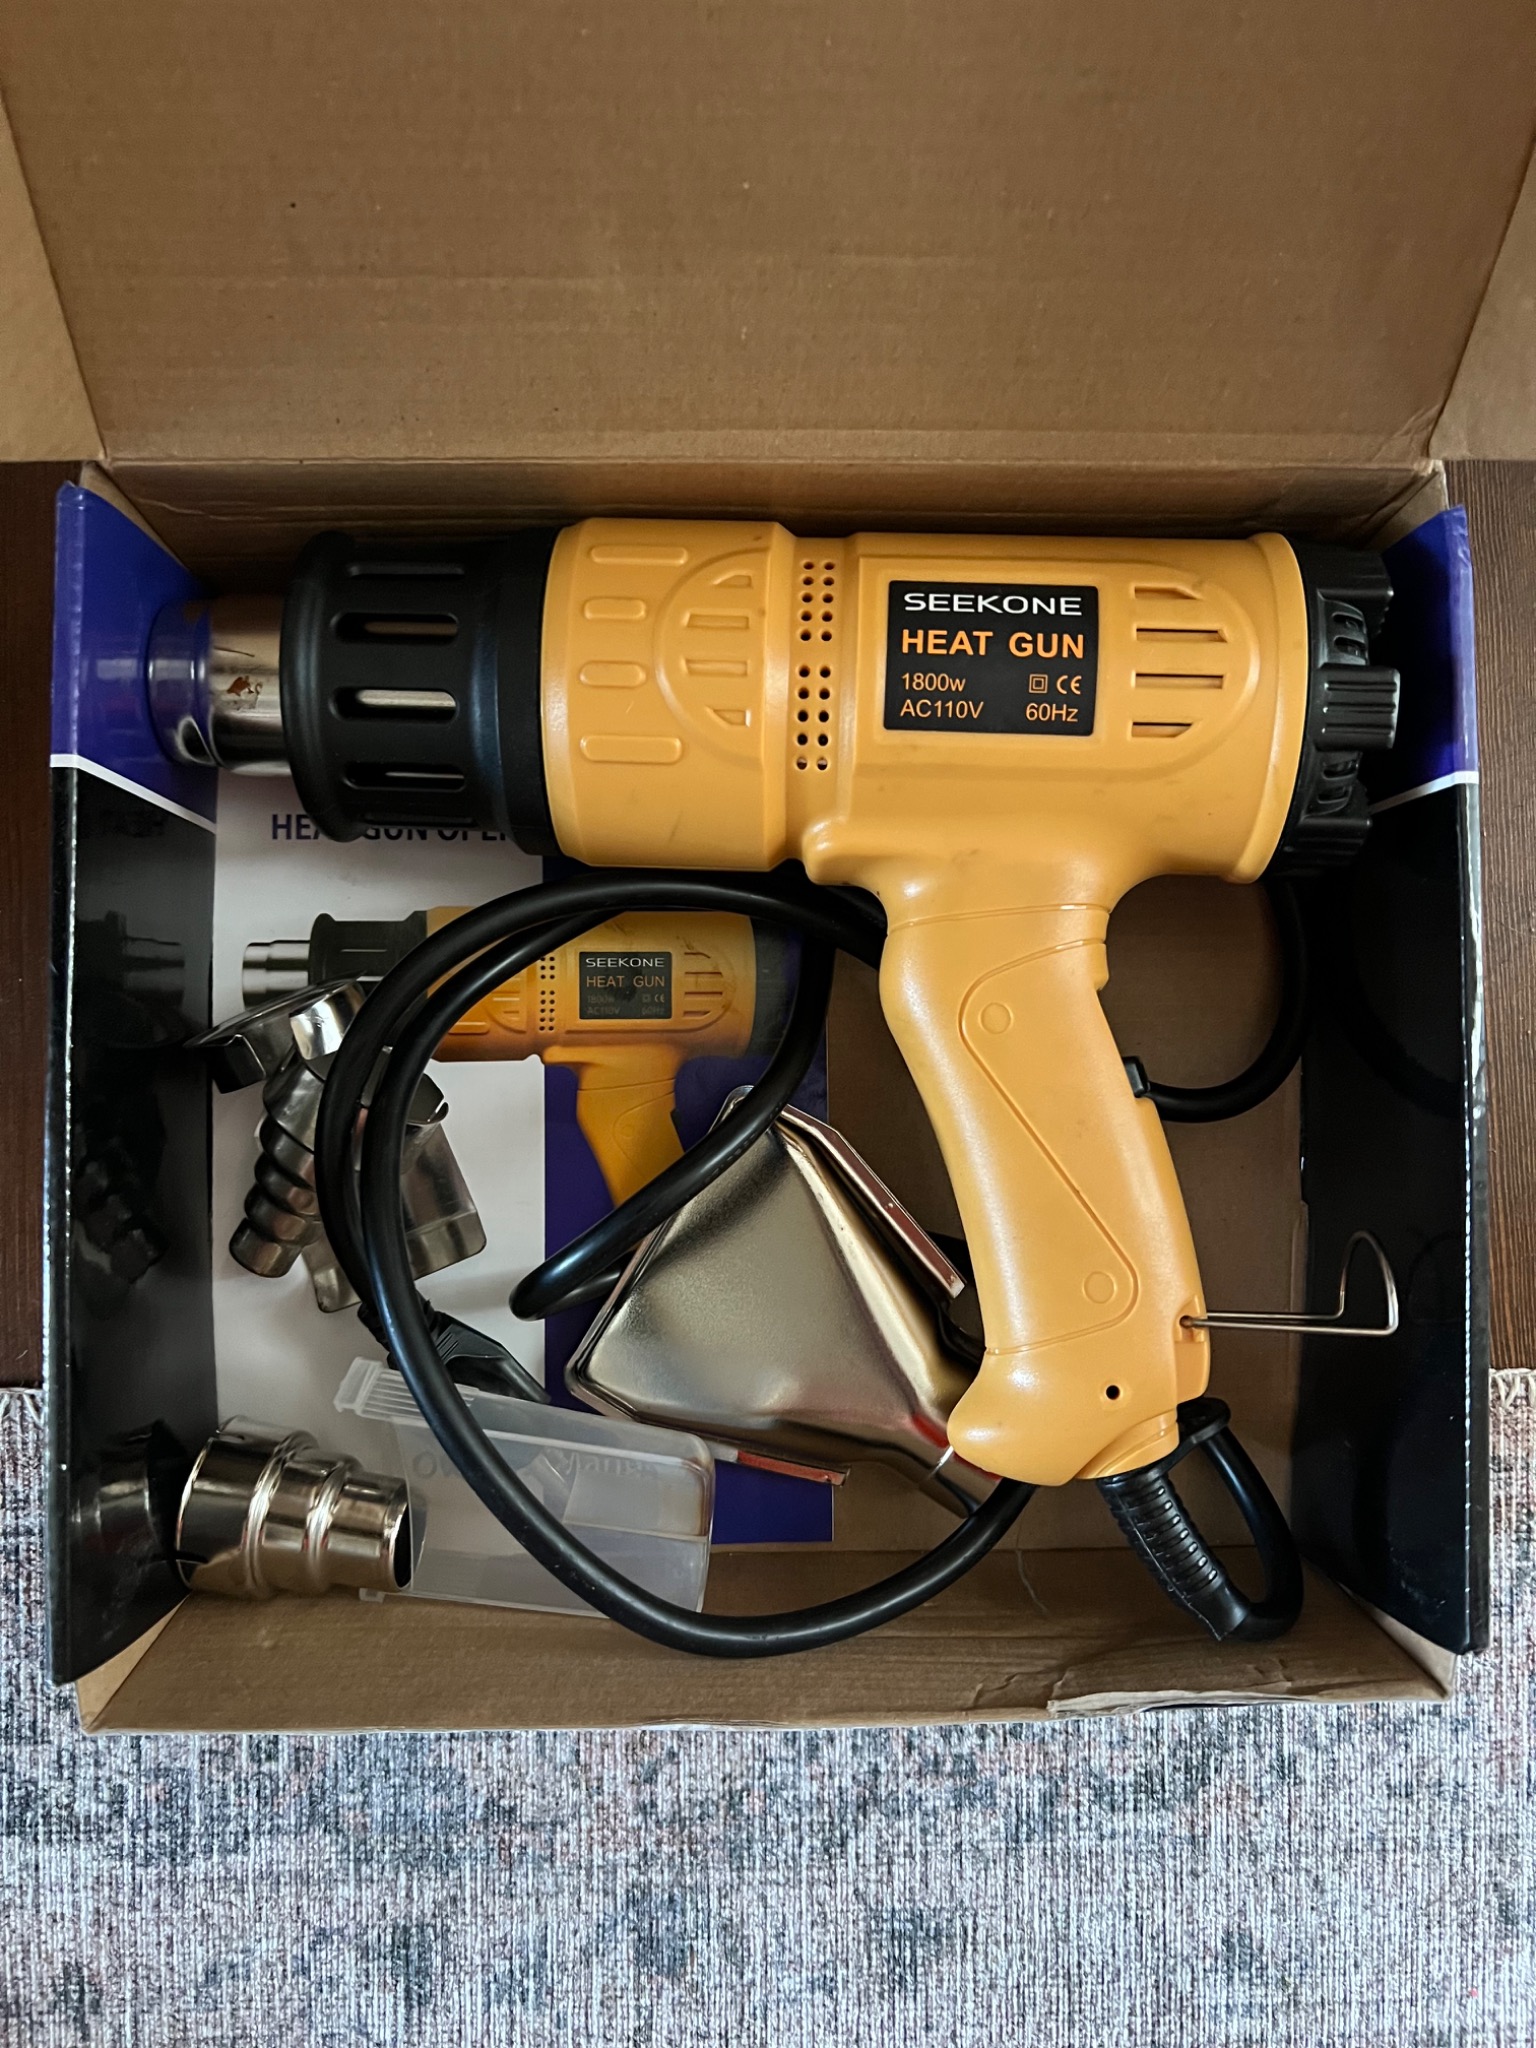
We had to remove these tiles one-by-one. One of us had to hold a heat gun over a tile while the other slowly peeled the tile off the floor. No matter how delicately we tried to peel the tiles, we would still unintentionally snap portions of each one into smaller pieces. The smaller the piece, the harder it was to remove because we had less leverage to pry the tile away from the floor. This task became an entire day's worth of work.
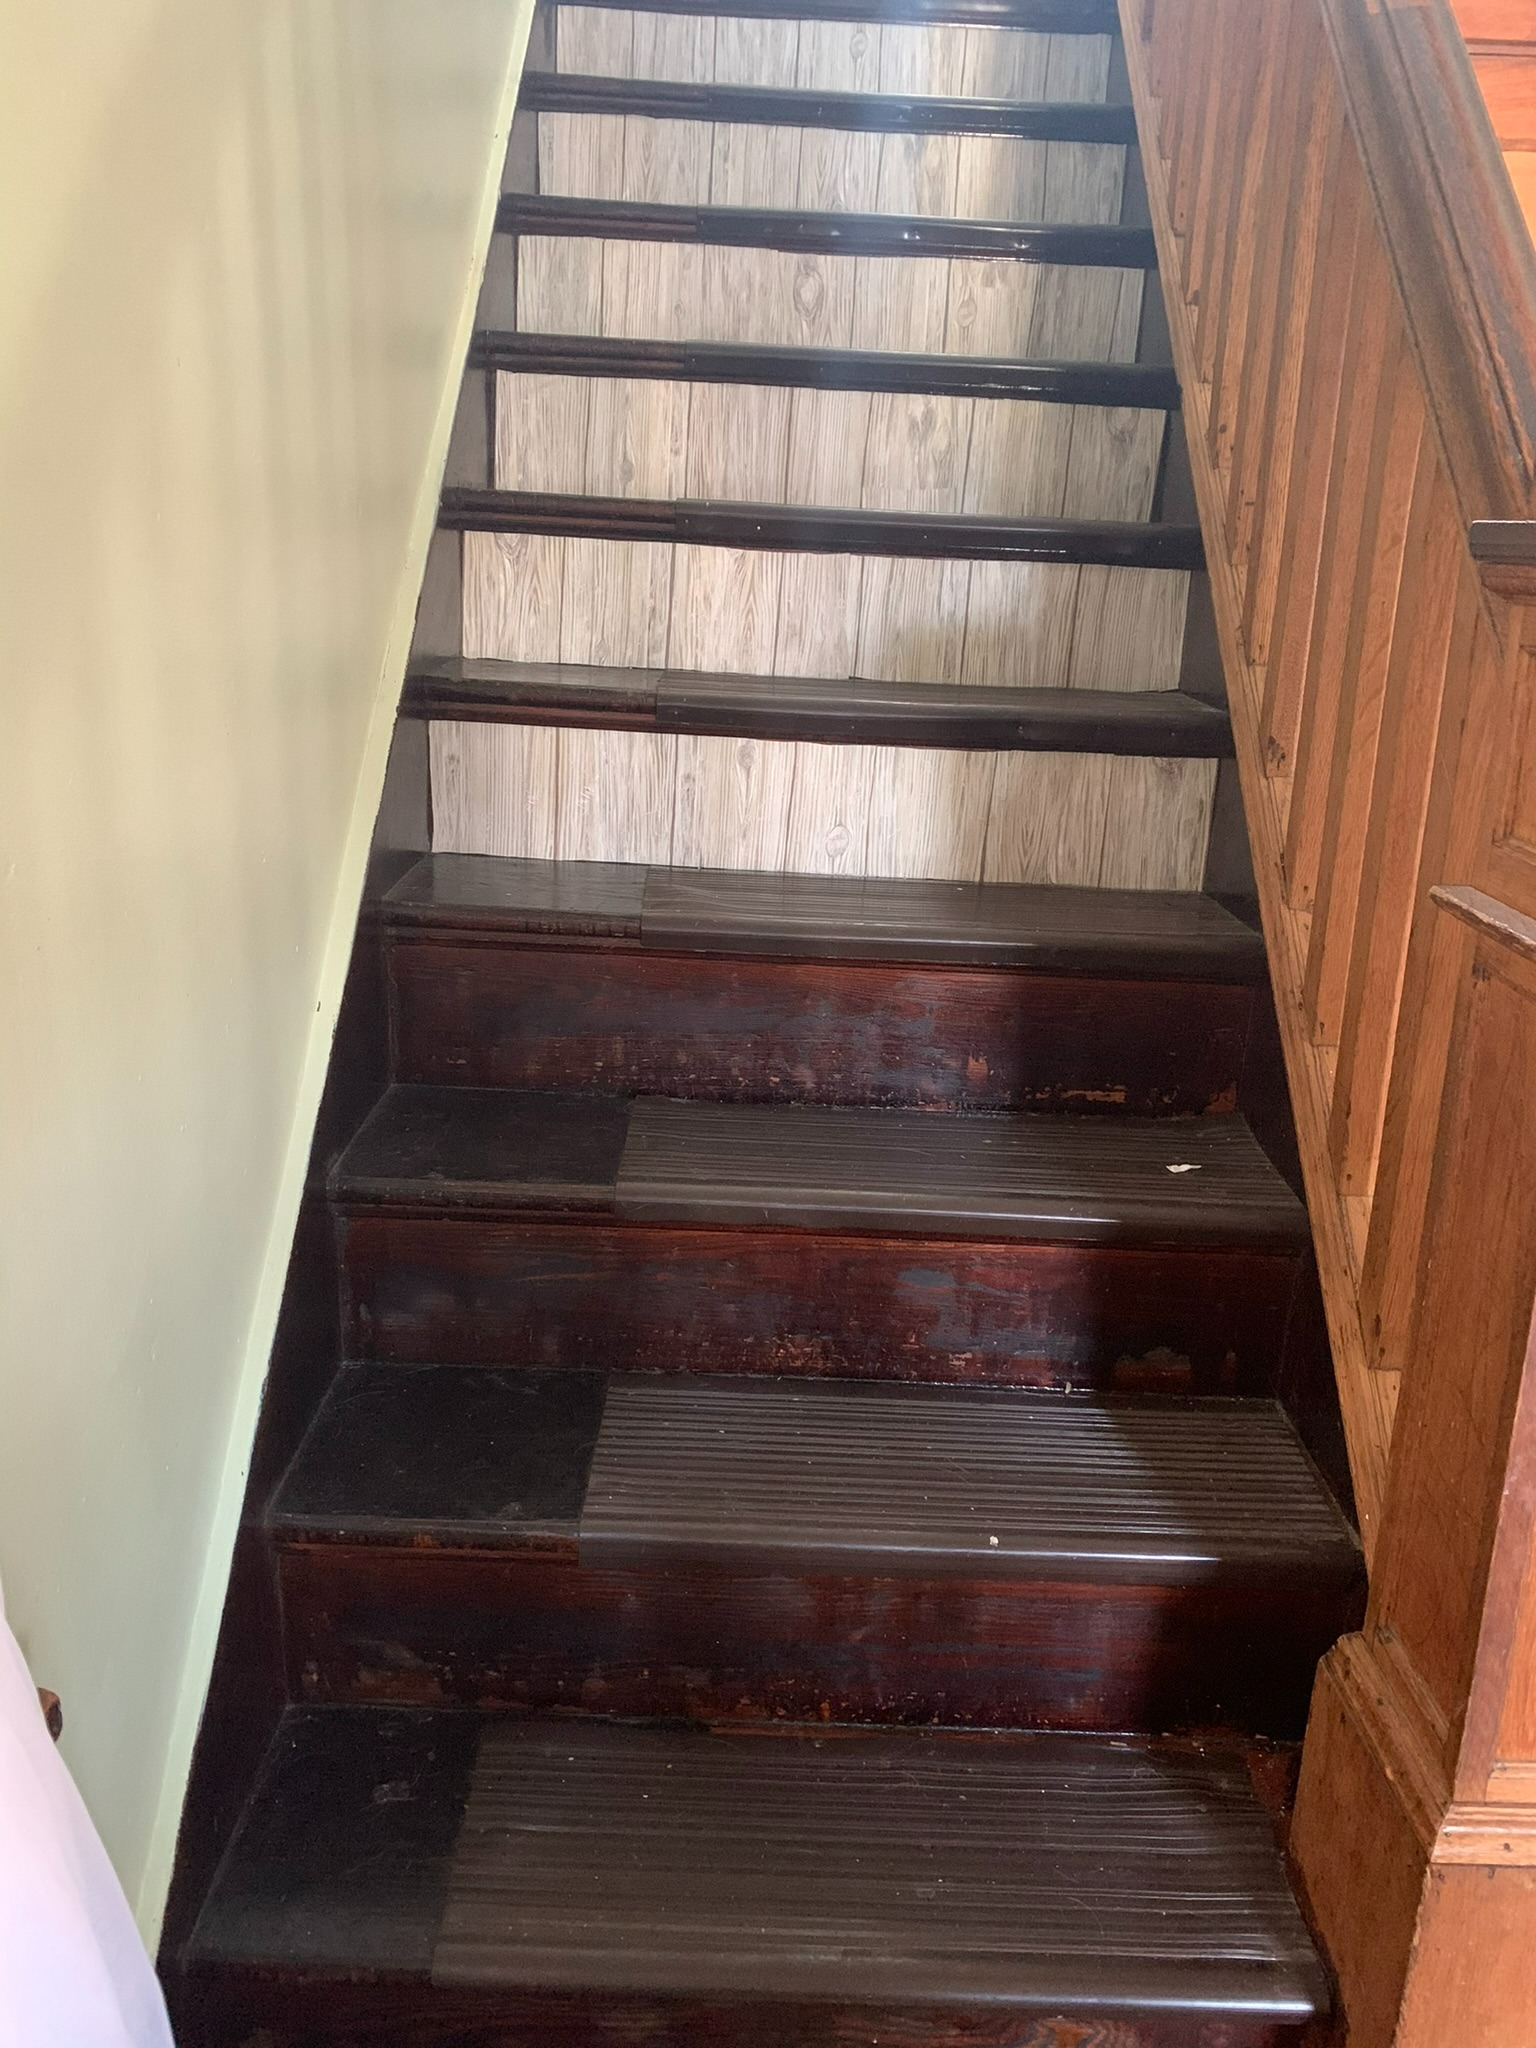
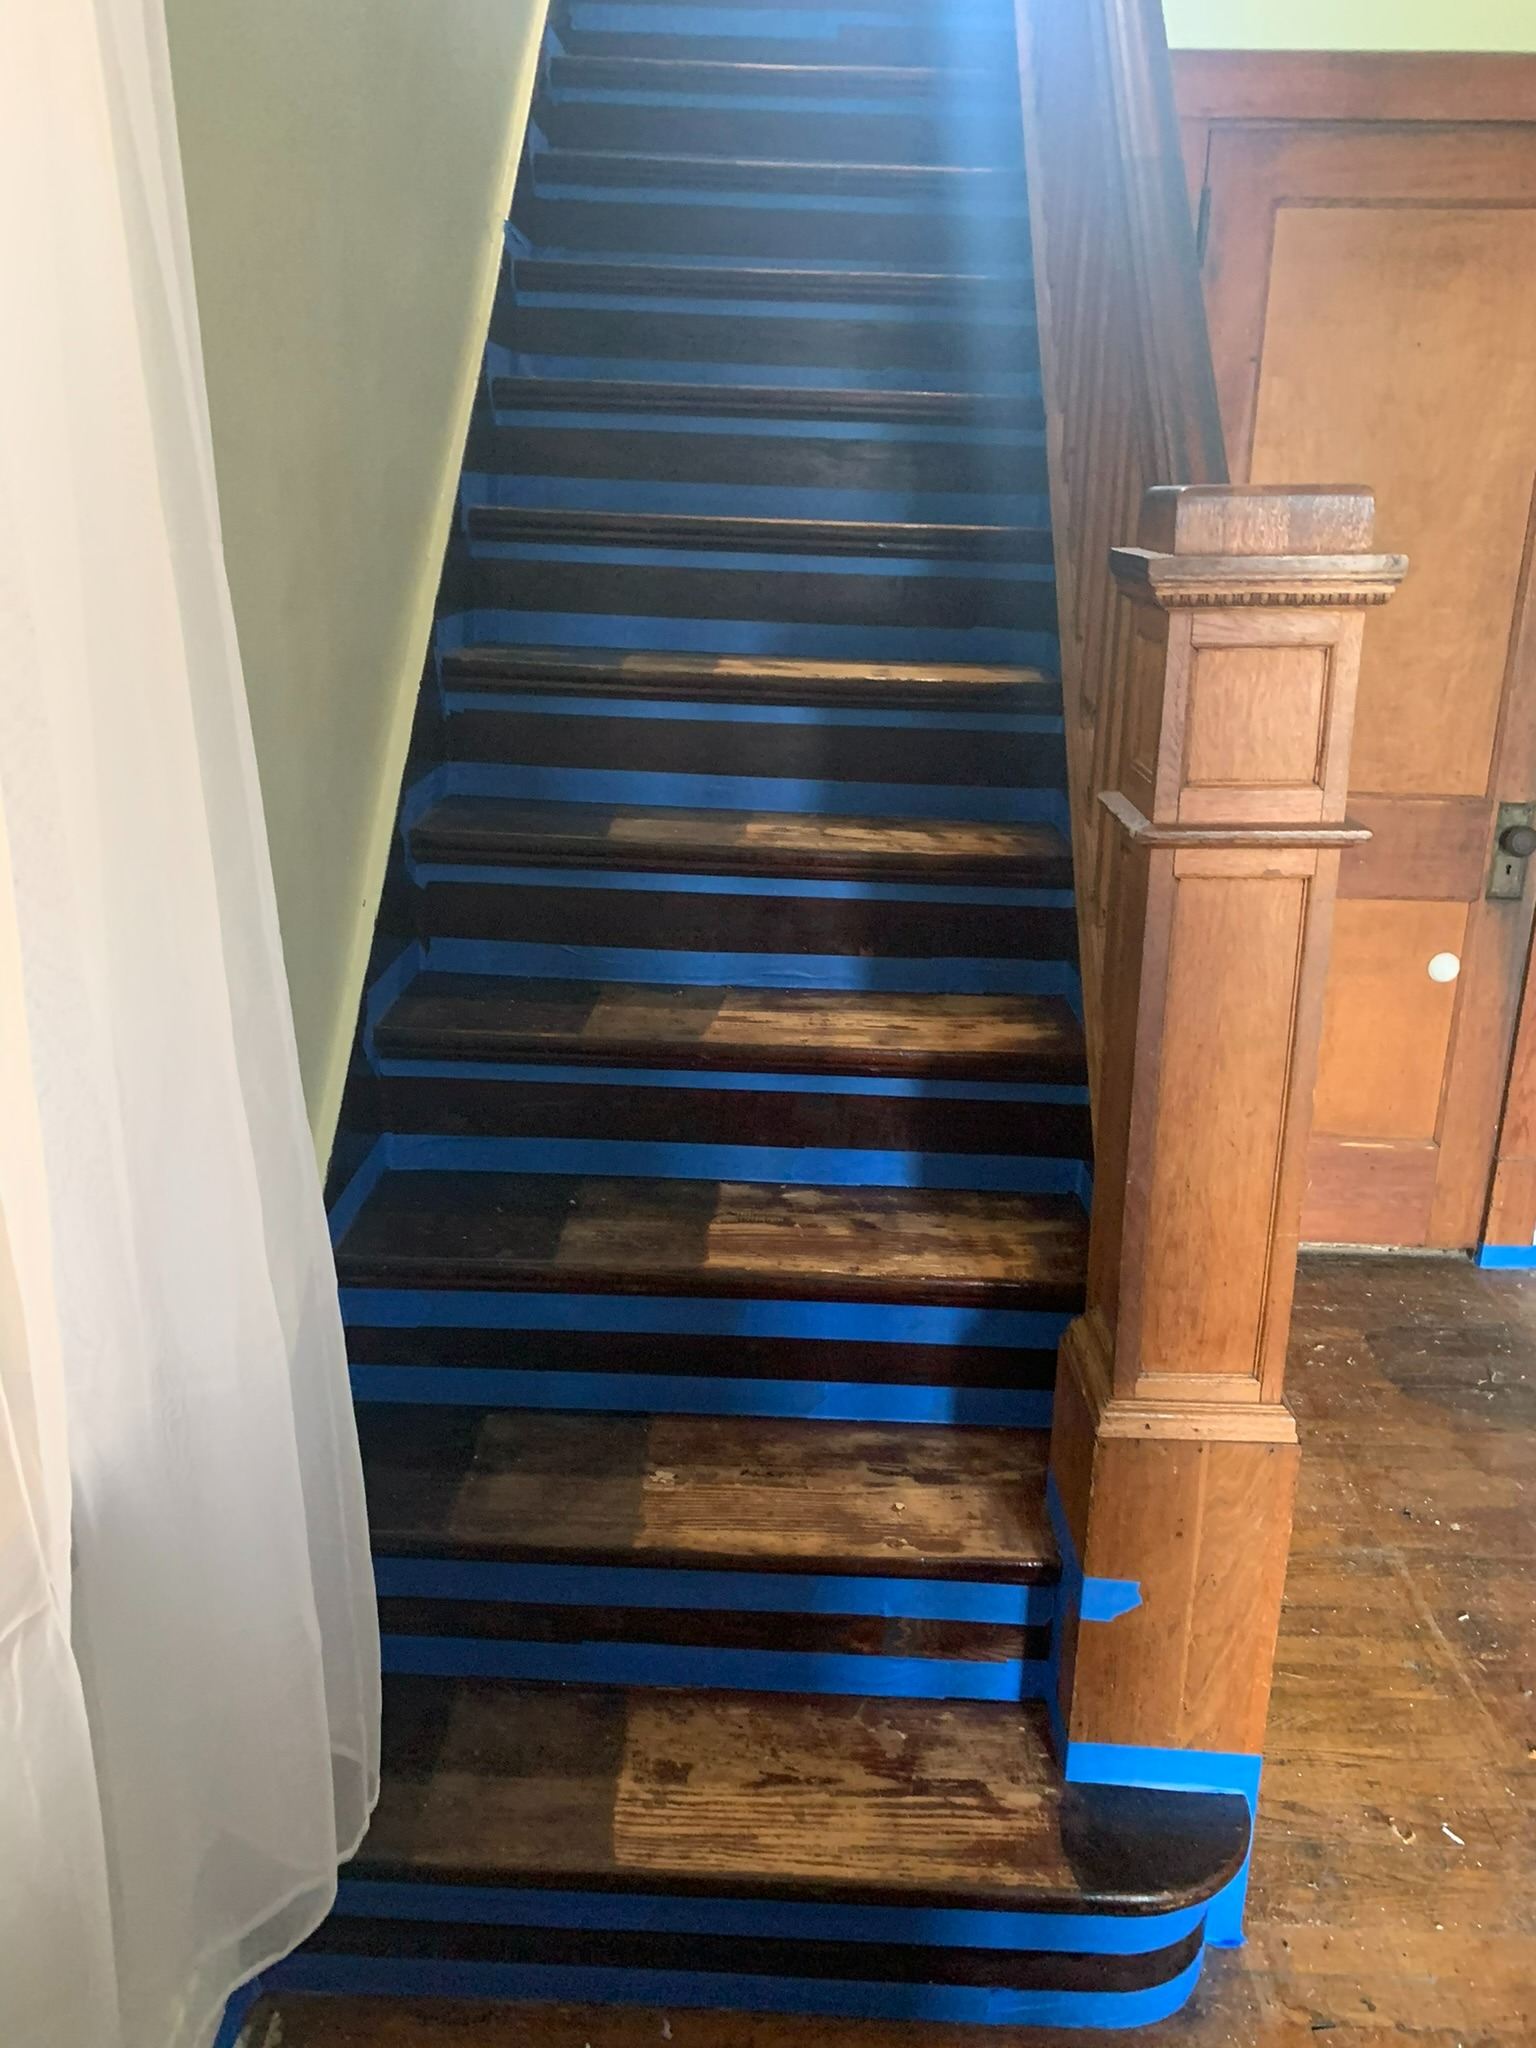
The stairs also had some sort of sticky coverings on them, but these were easy to remove compared to the peel and stick floor tiles.
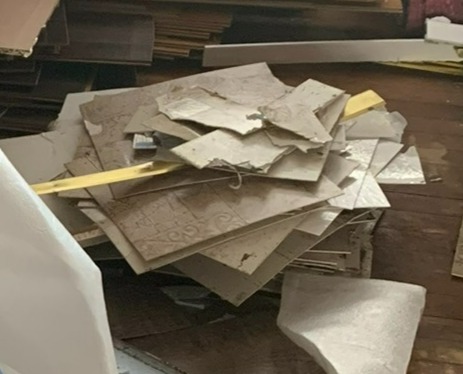
Step #4: Clearing the Mess
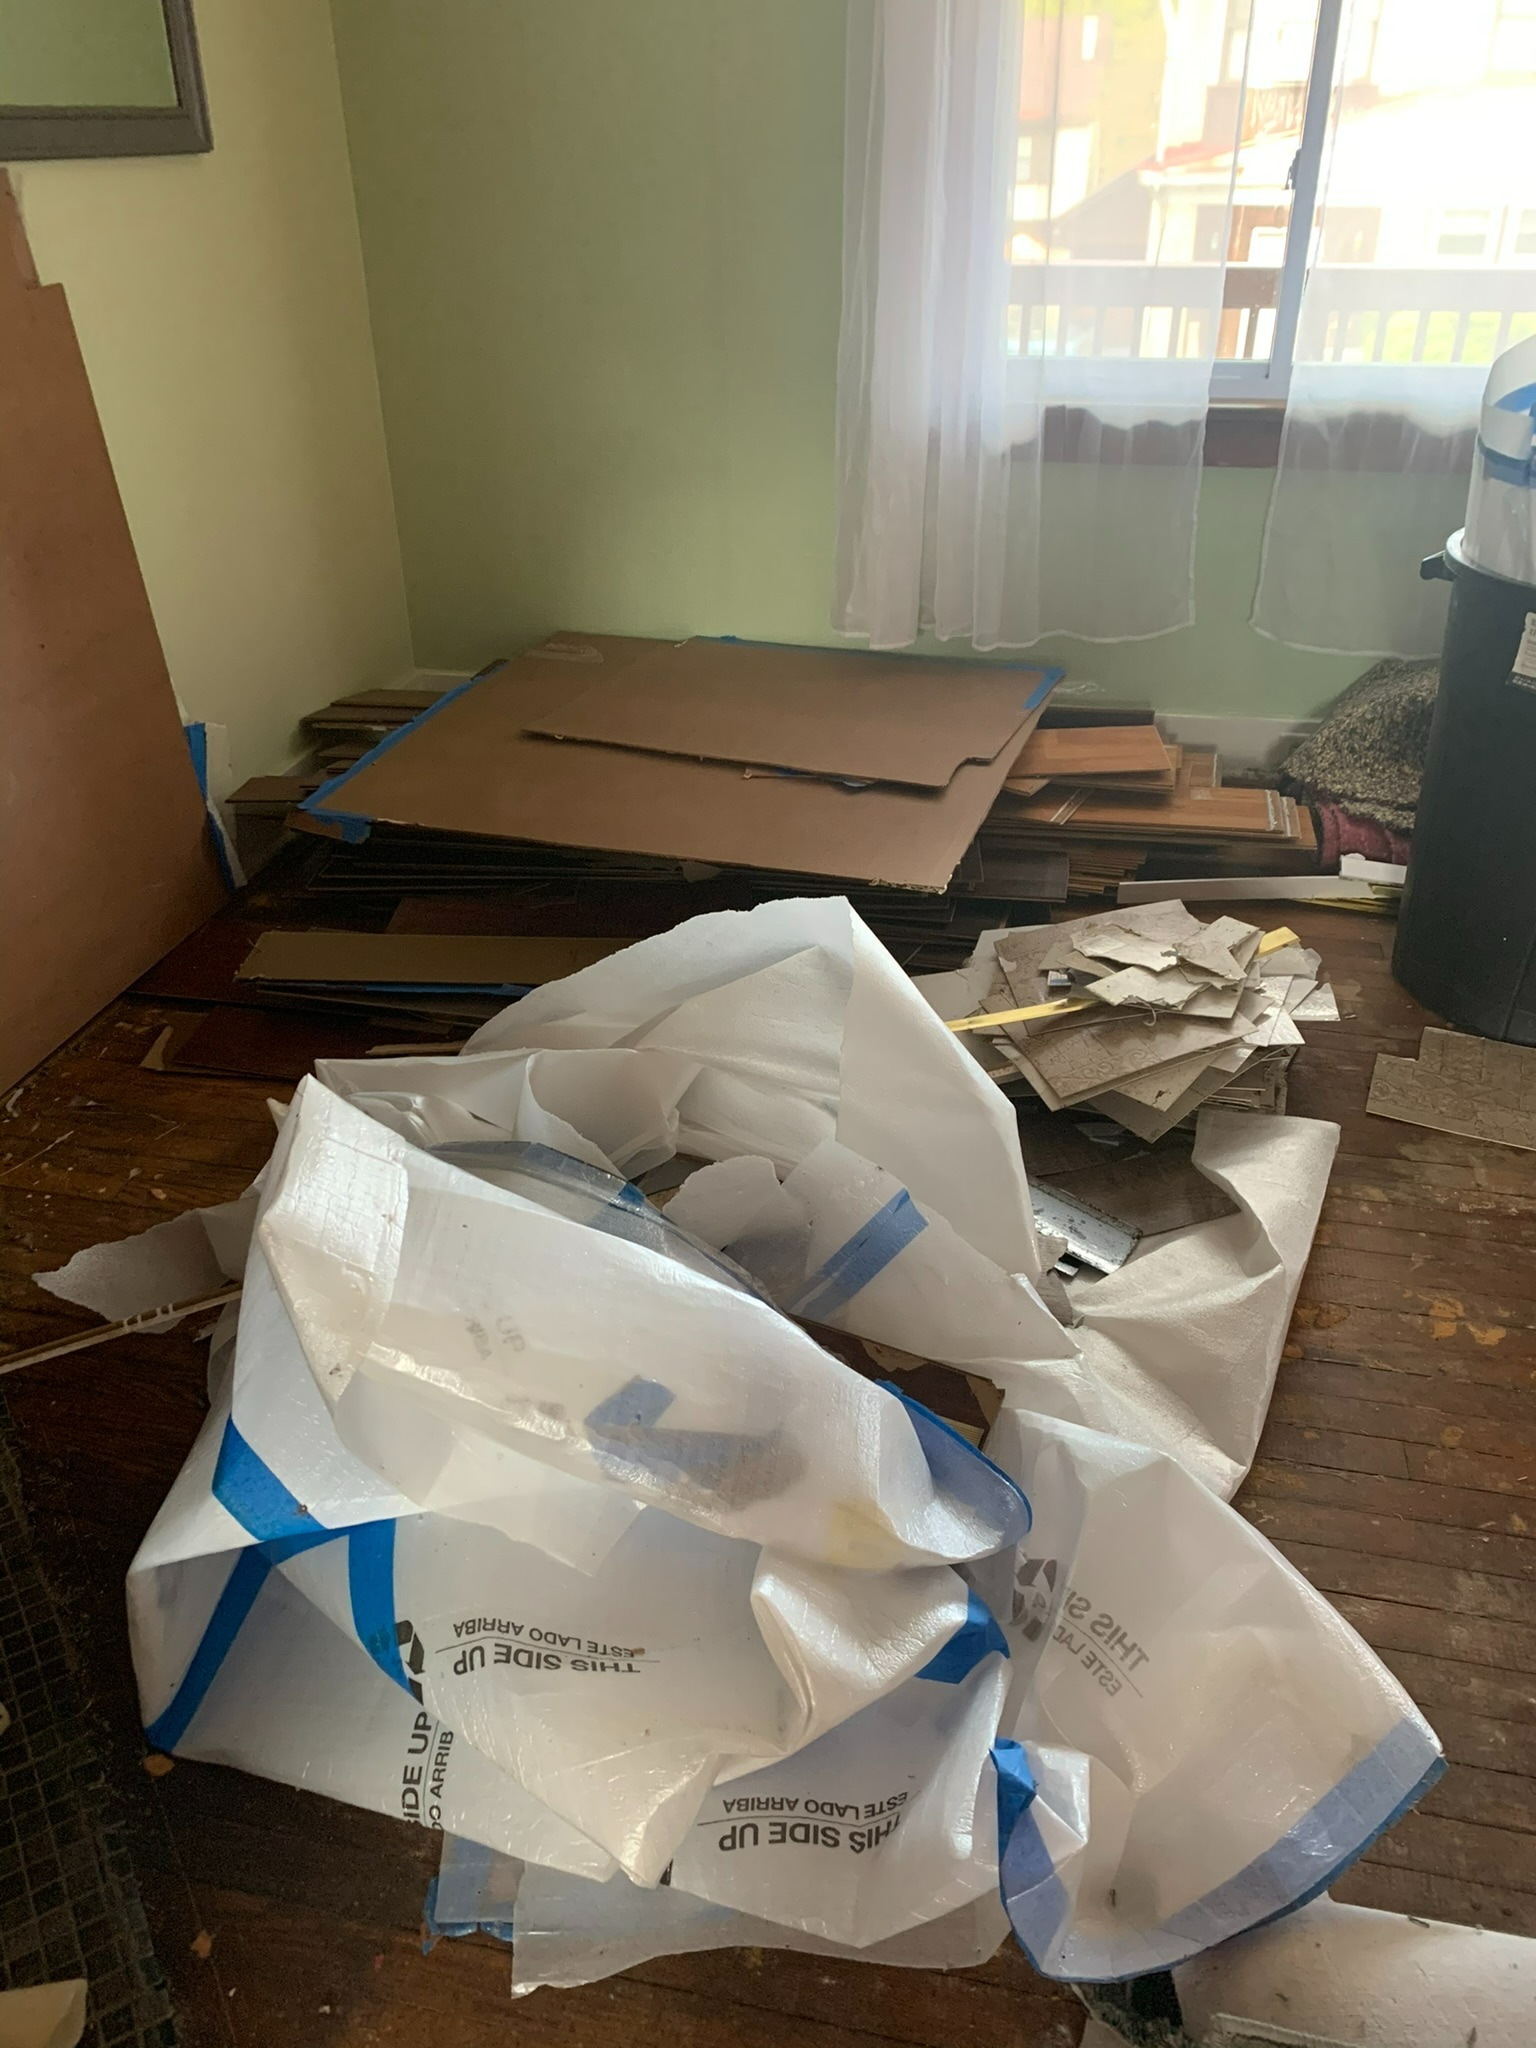
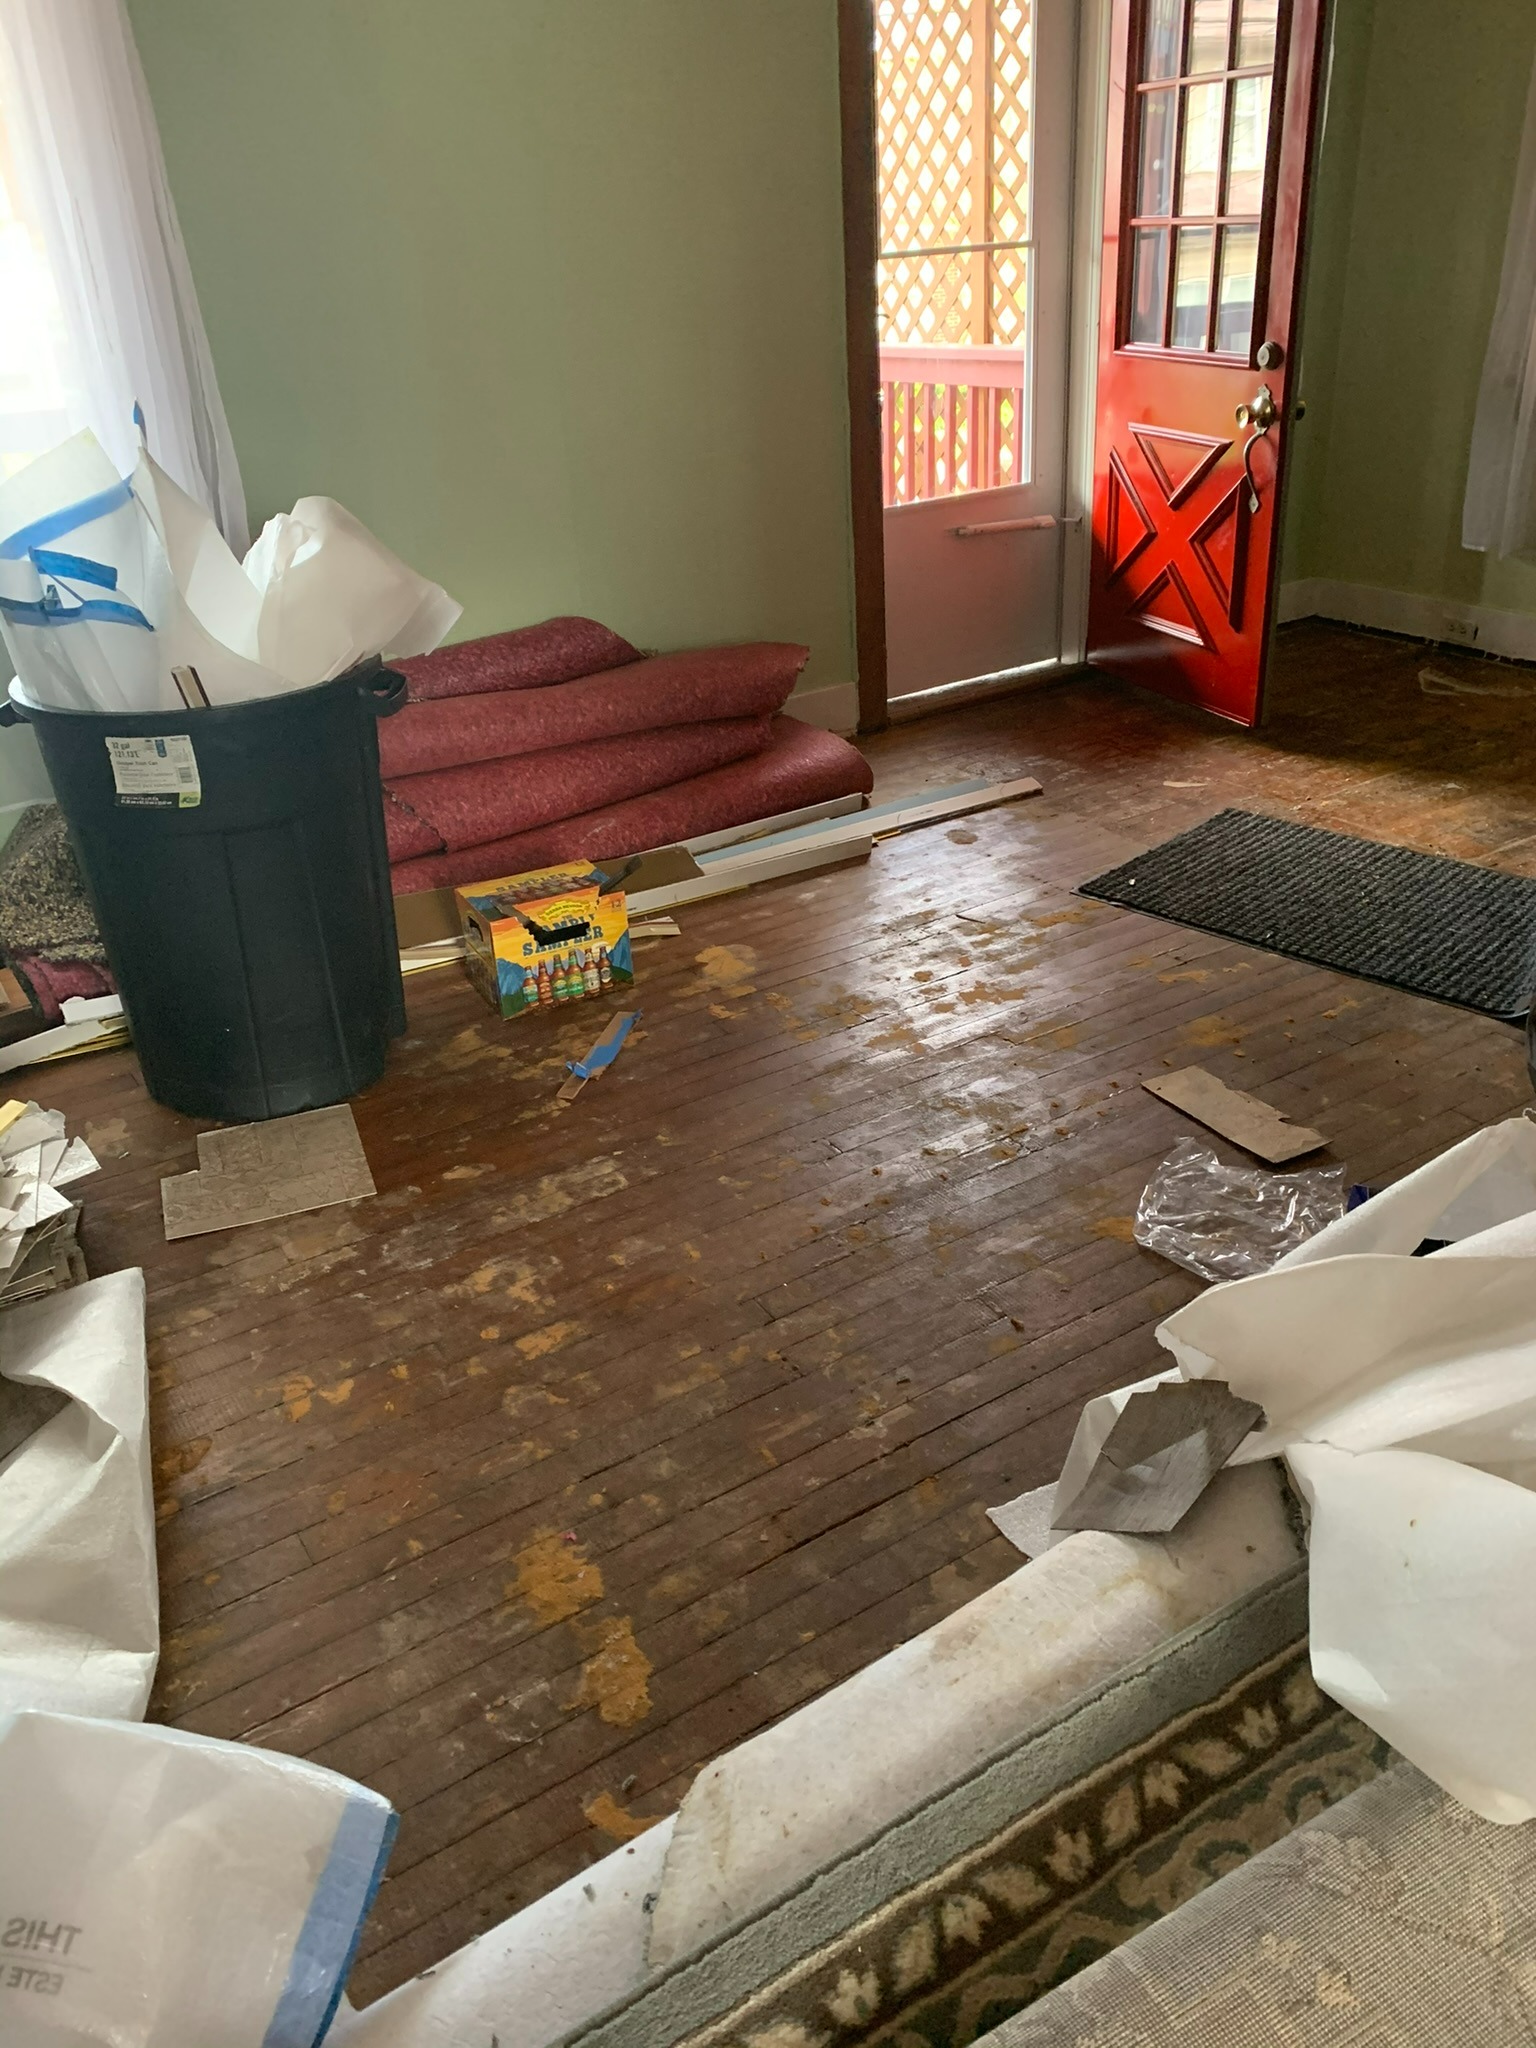
Below you can see what the house looked like at this point with the piles of carpet, laminate floorboards, styrofoam, and sticky floor tiles in each room. We had no idea how we were going to get rid of all of the junk. We got so lucky. Ally's grandfather owns an apartment complex in Girard, OH, where he lives, that has a dumpster on it. Her uncles, who also live in Girard, offered to come out with a truck, collect all the junk, bring it back to Girard, and leave it in the dumpster. Otherwise, we would have had to pay a junk removal company to come and take everything away, which probably would have been expensive.
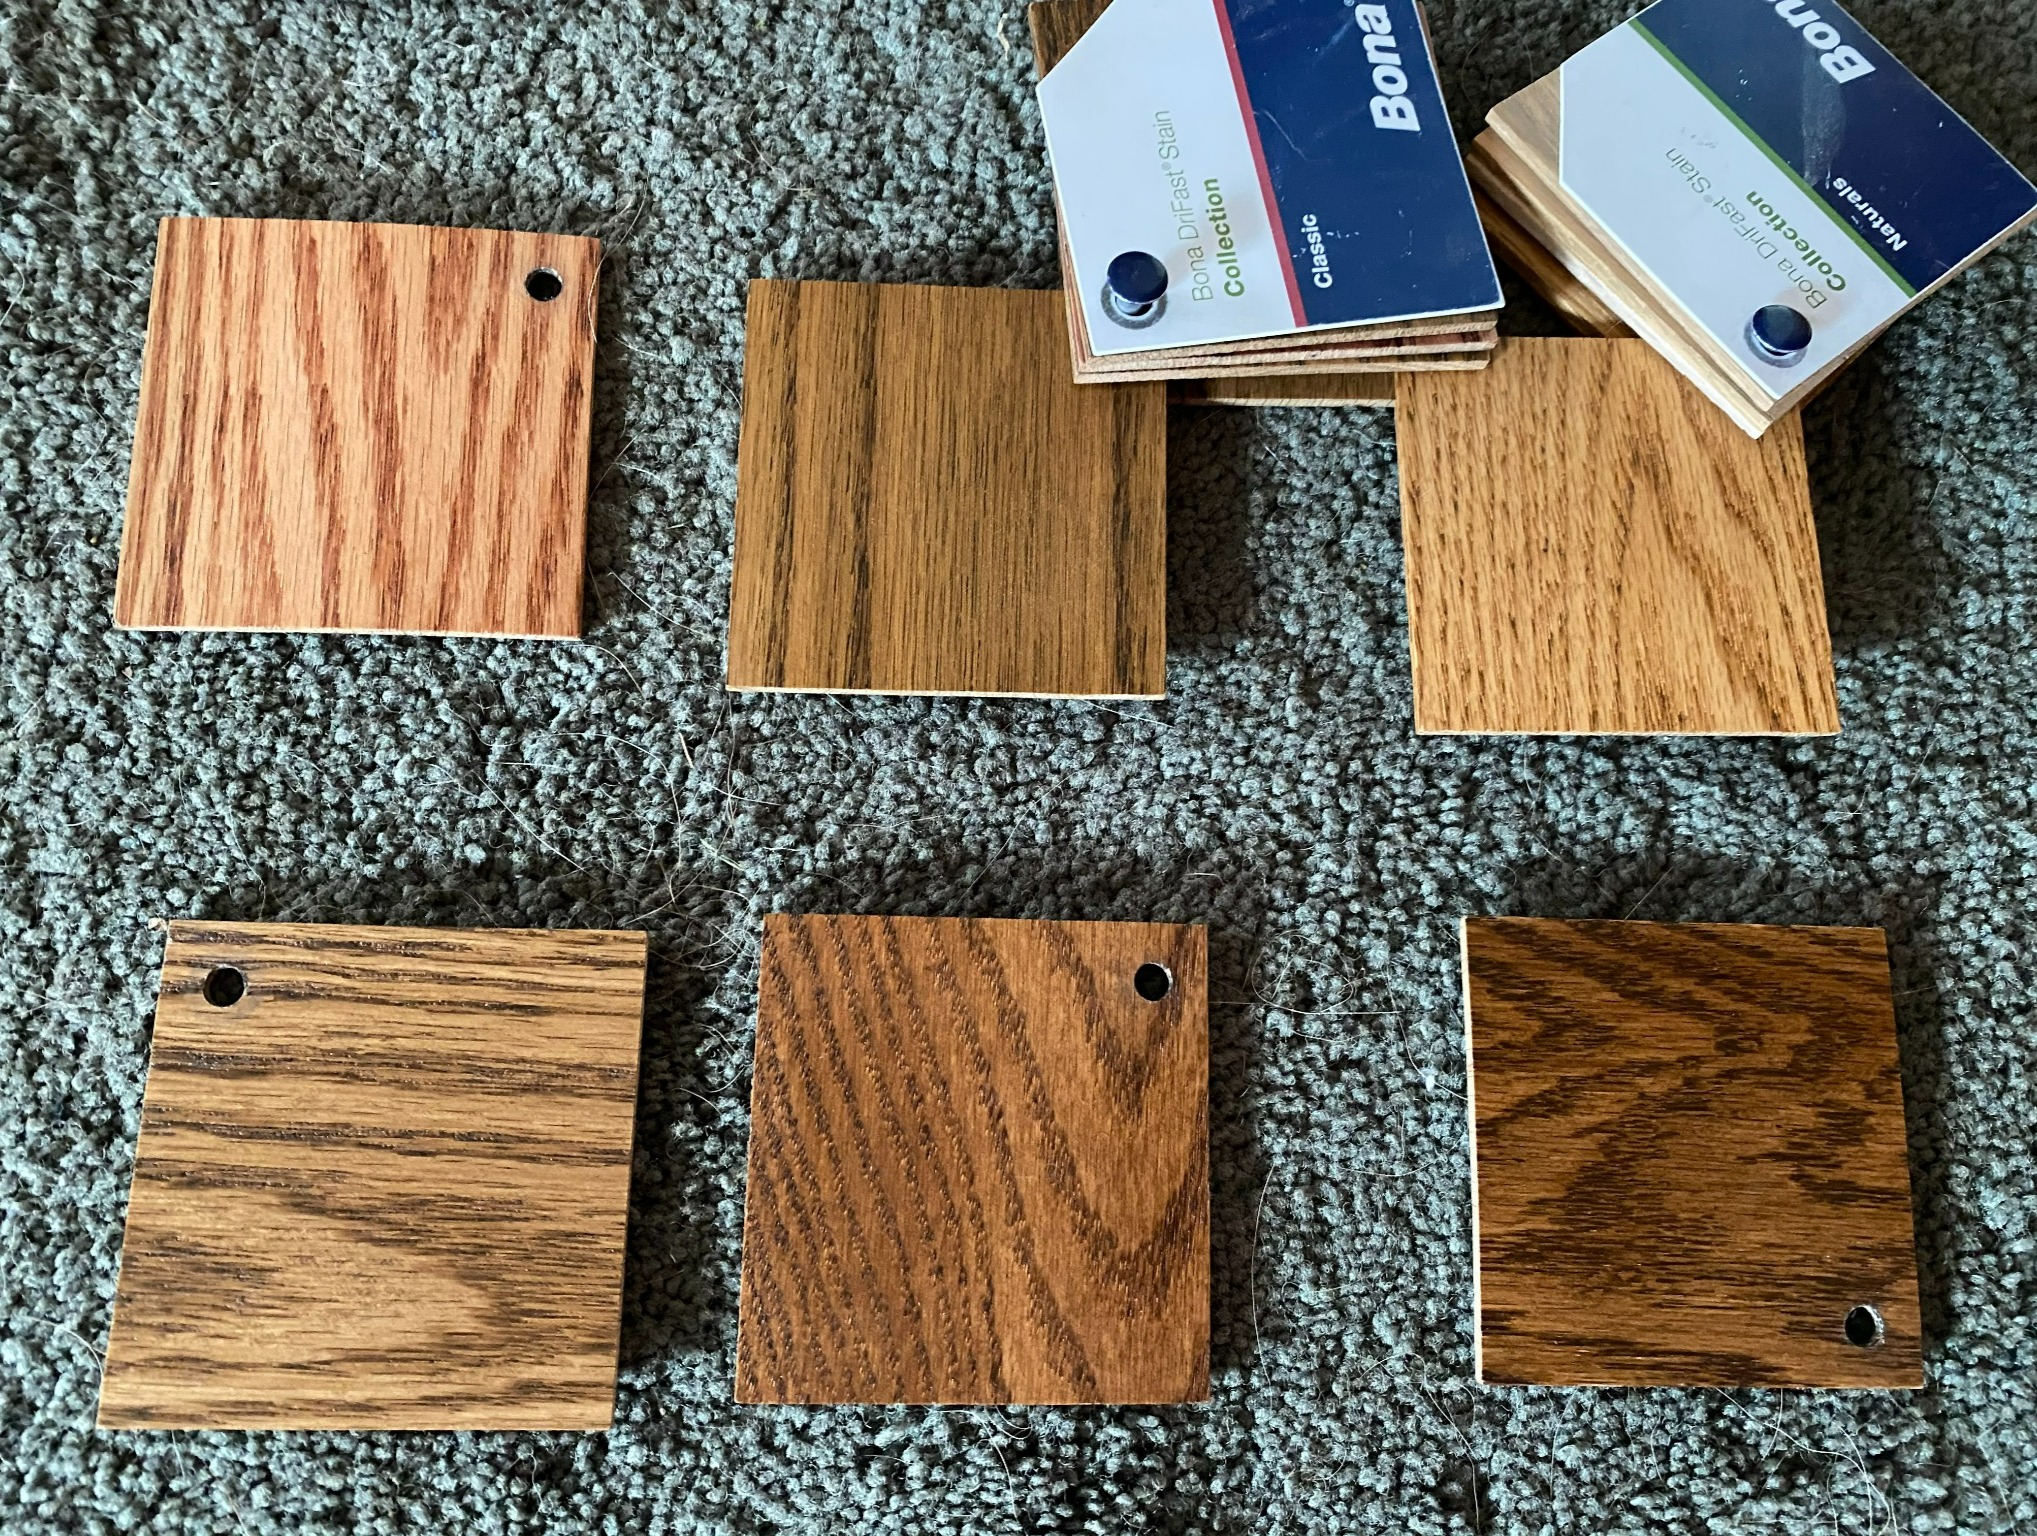
Step #5: Picking our Finish
I honestly don't remember what stain we chose.
Step #6: Taping the Baseboards
The floor refinishing company told us to tape our baseboards to protect them during the staining because the staining machine could spray small particles/residue onto them.

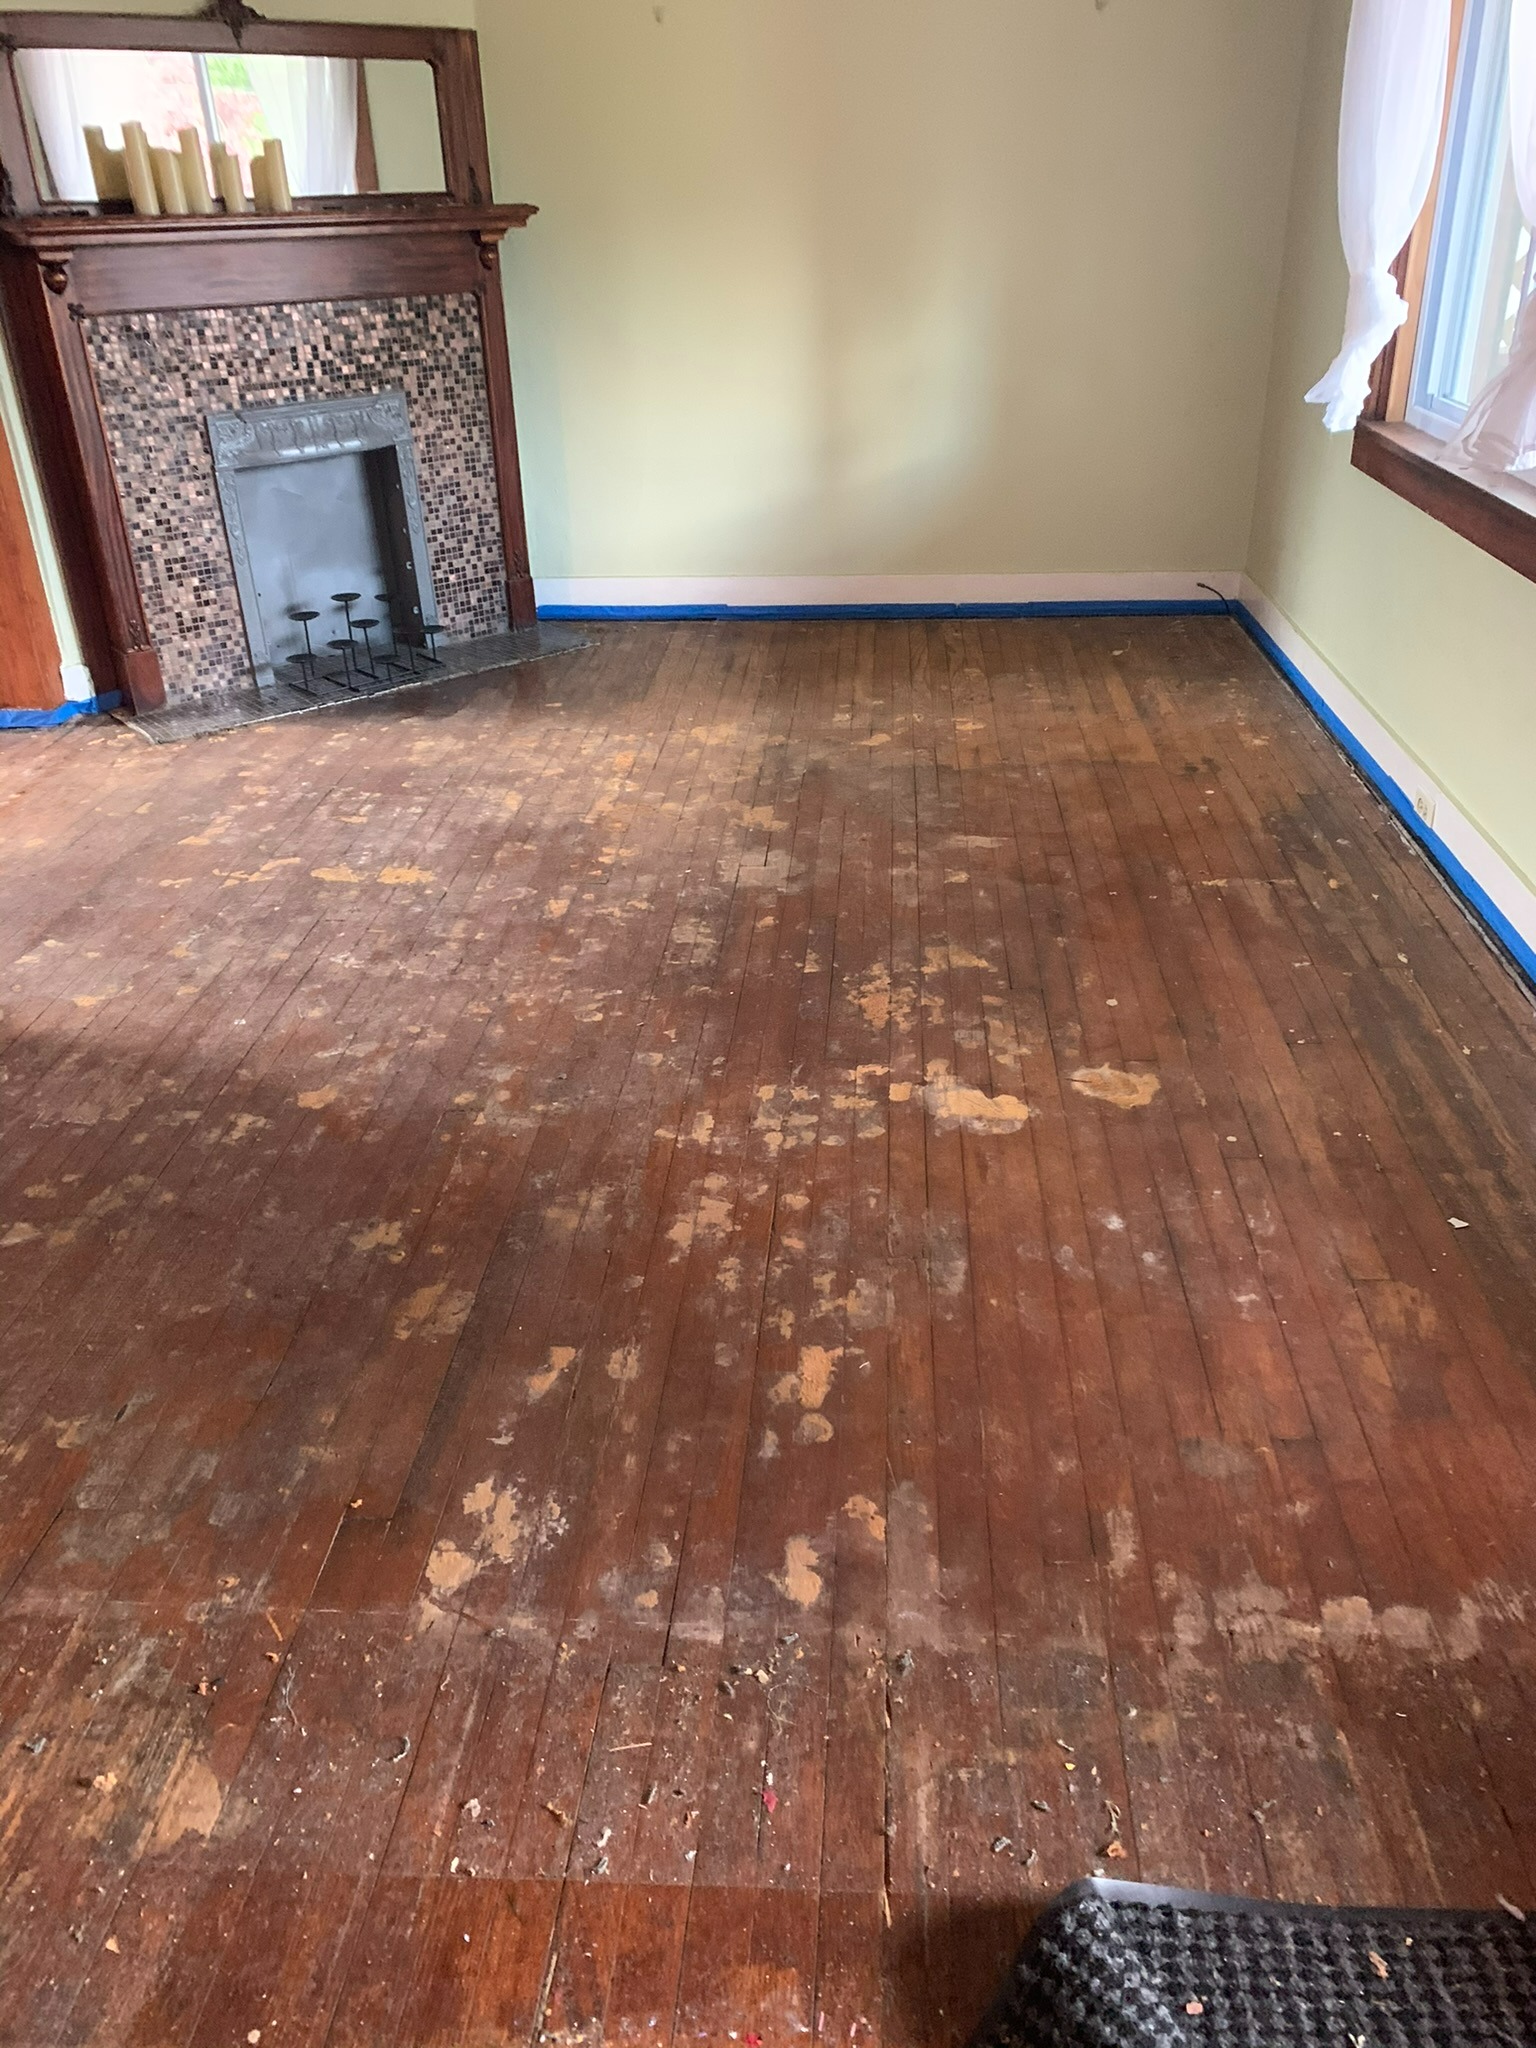
Step #7: Sanding/Shaving the Original Wood Floorboards
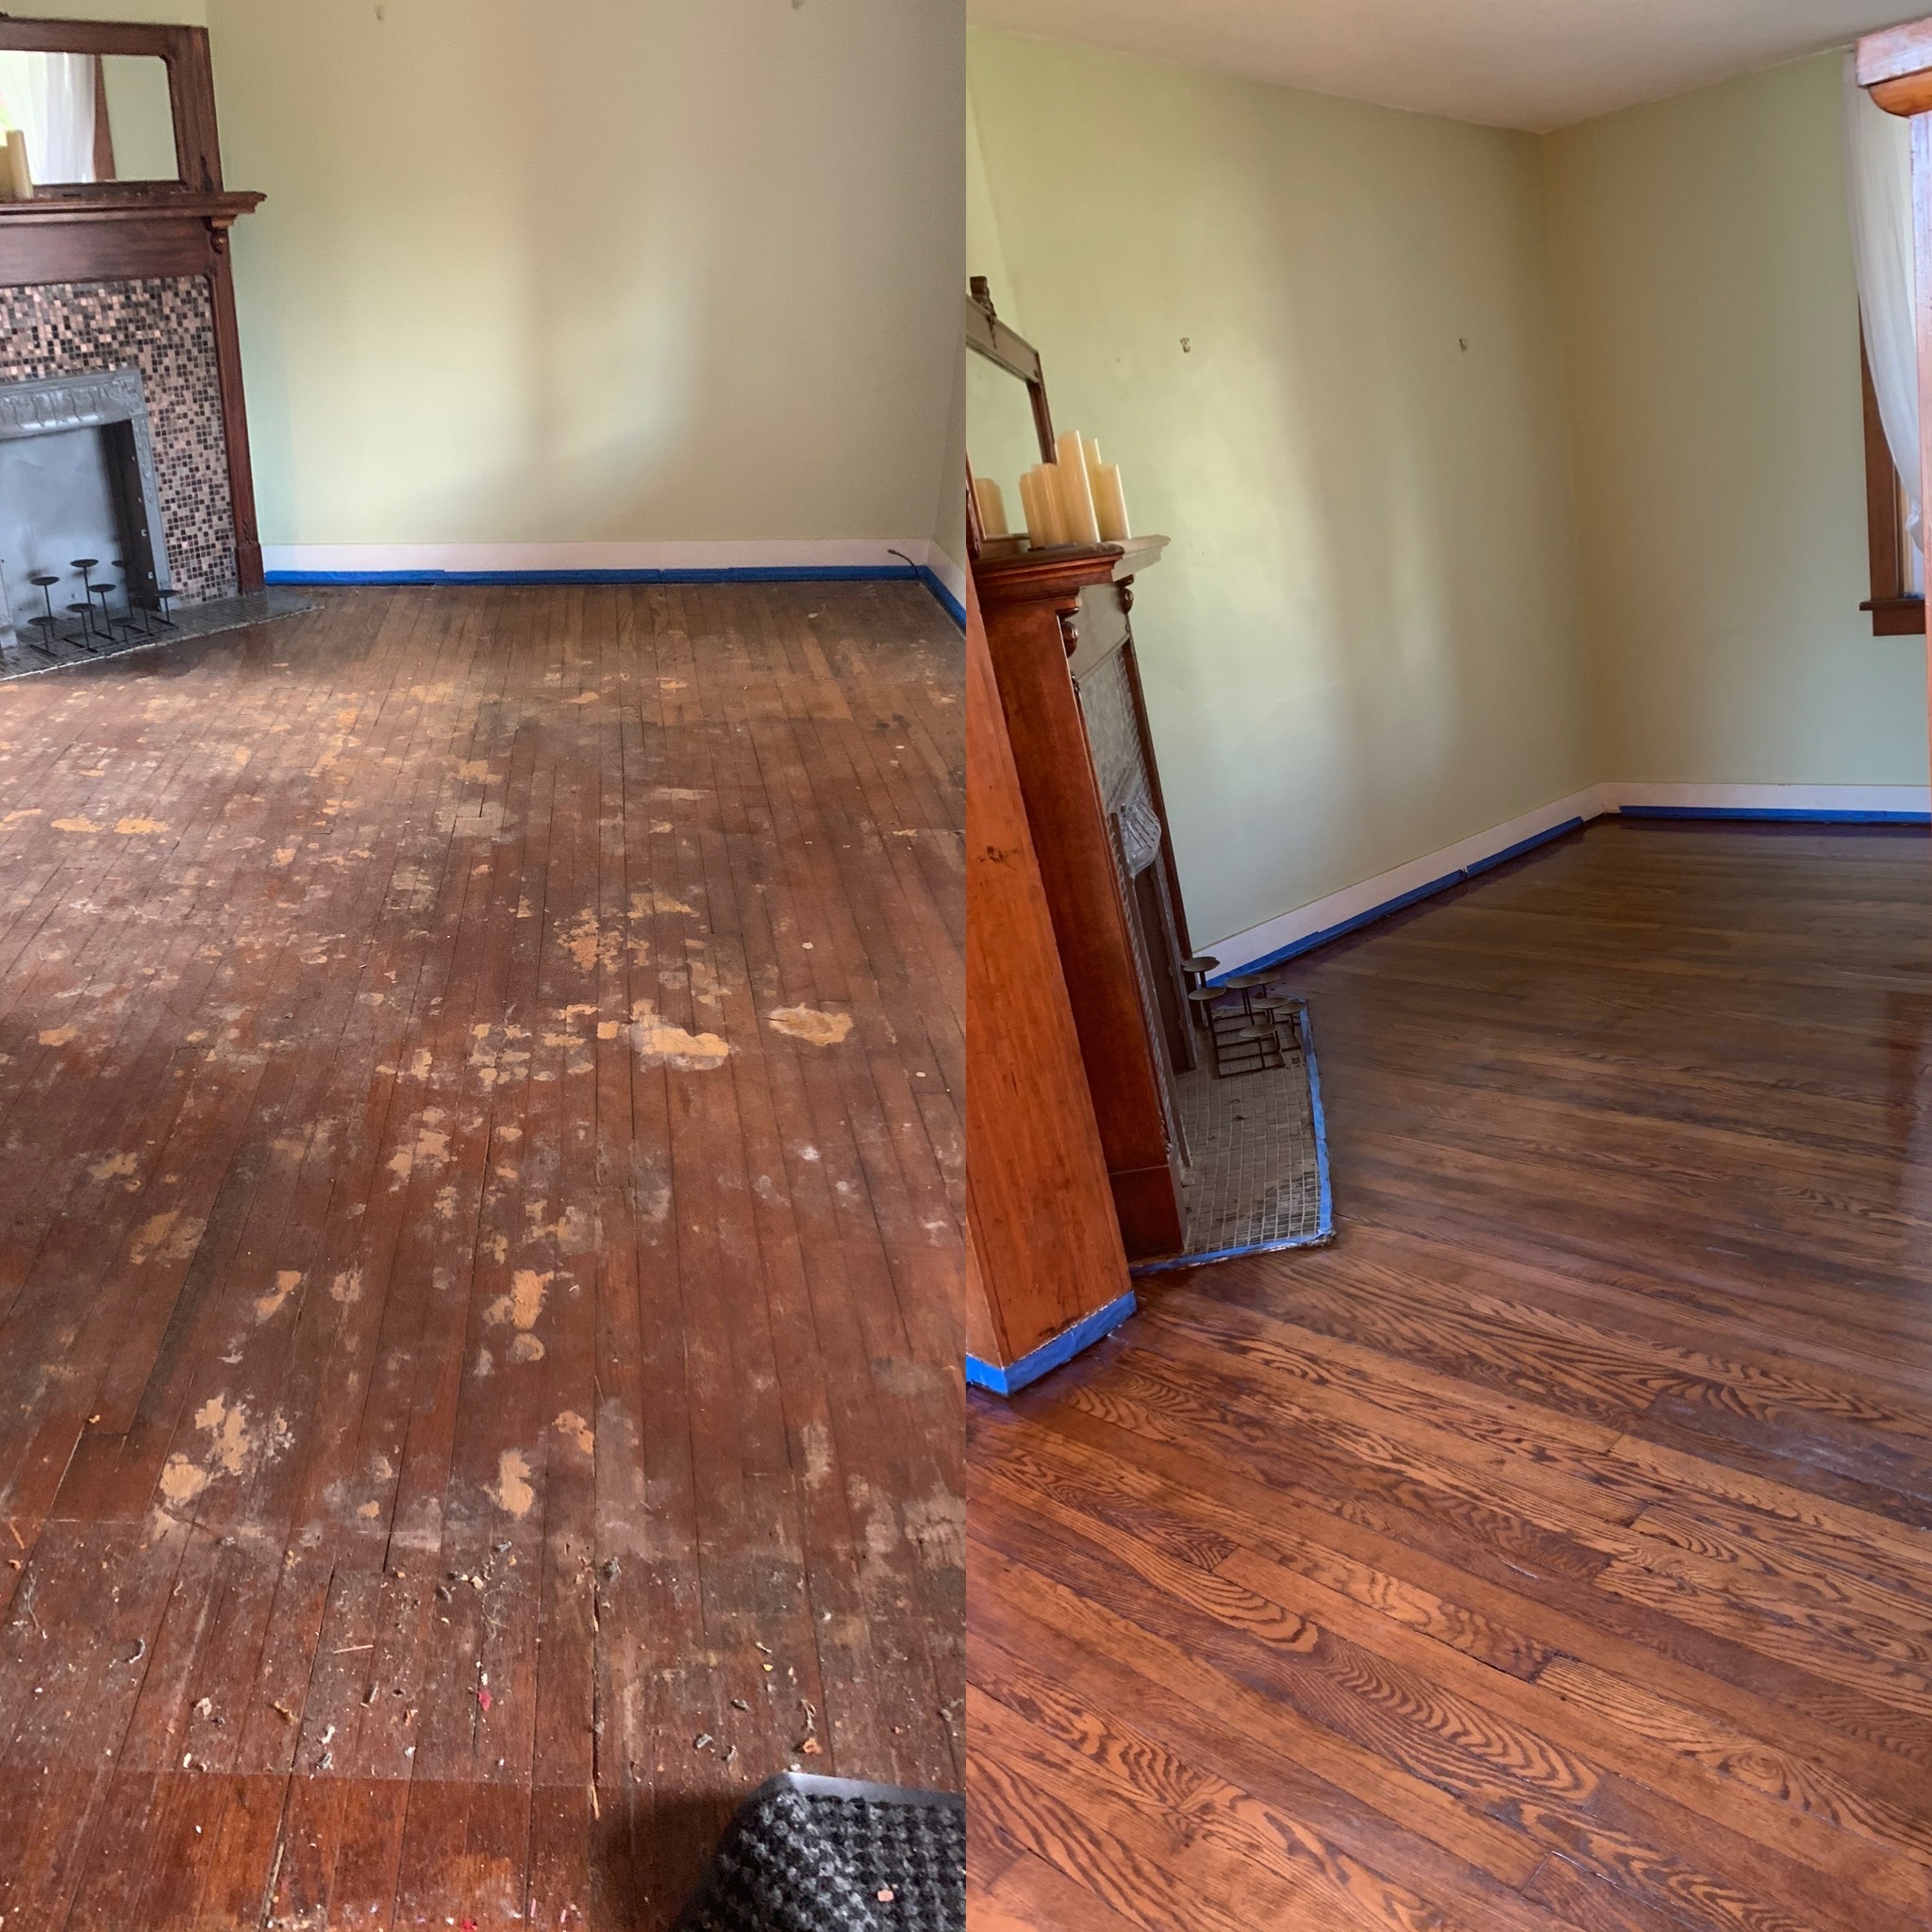
If I remember correctly, when they sand the existing floorboards, they shave a few tenths of an inch from them in order to remove the "dirty" top layer and reveal a new layer of the wood underneath that is clean and ready to be stained.
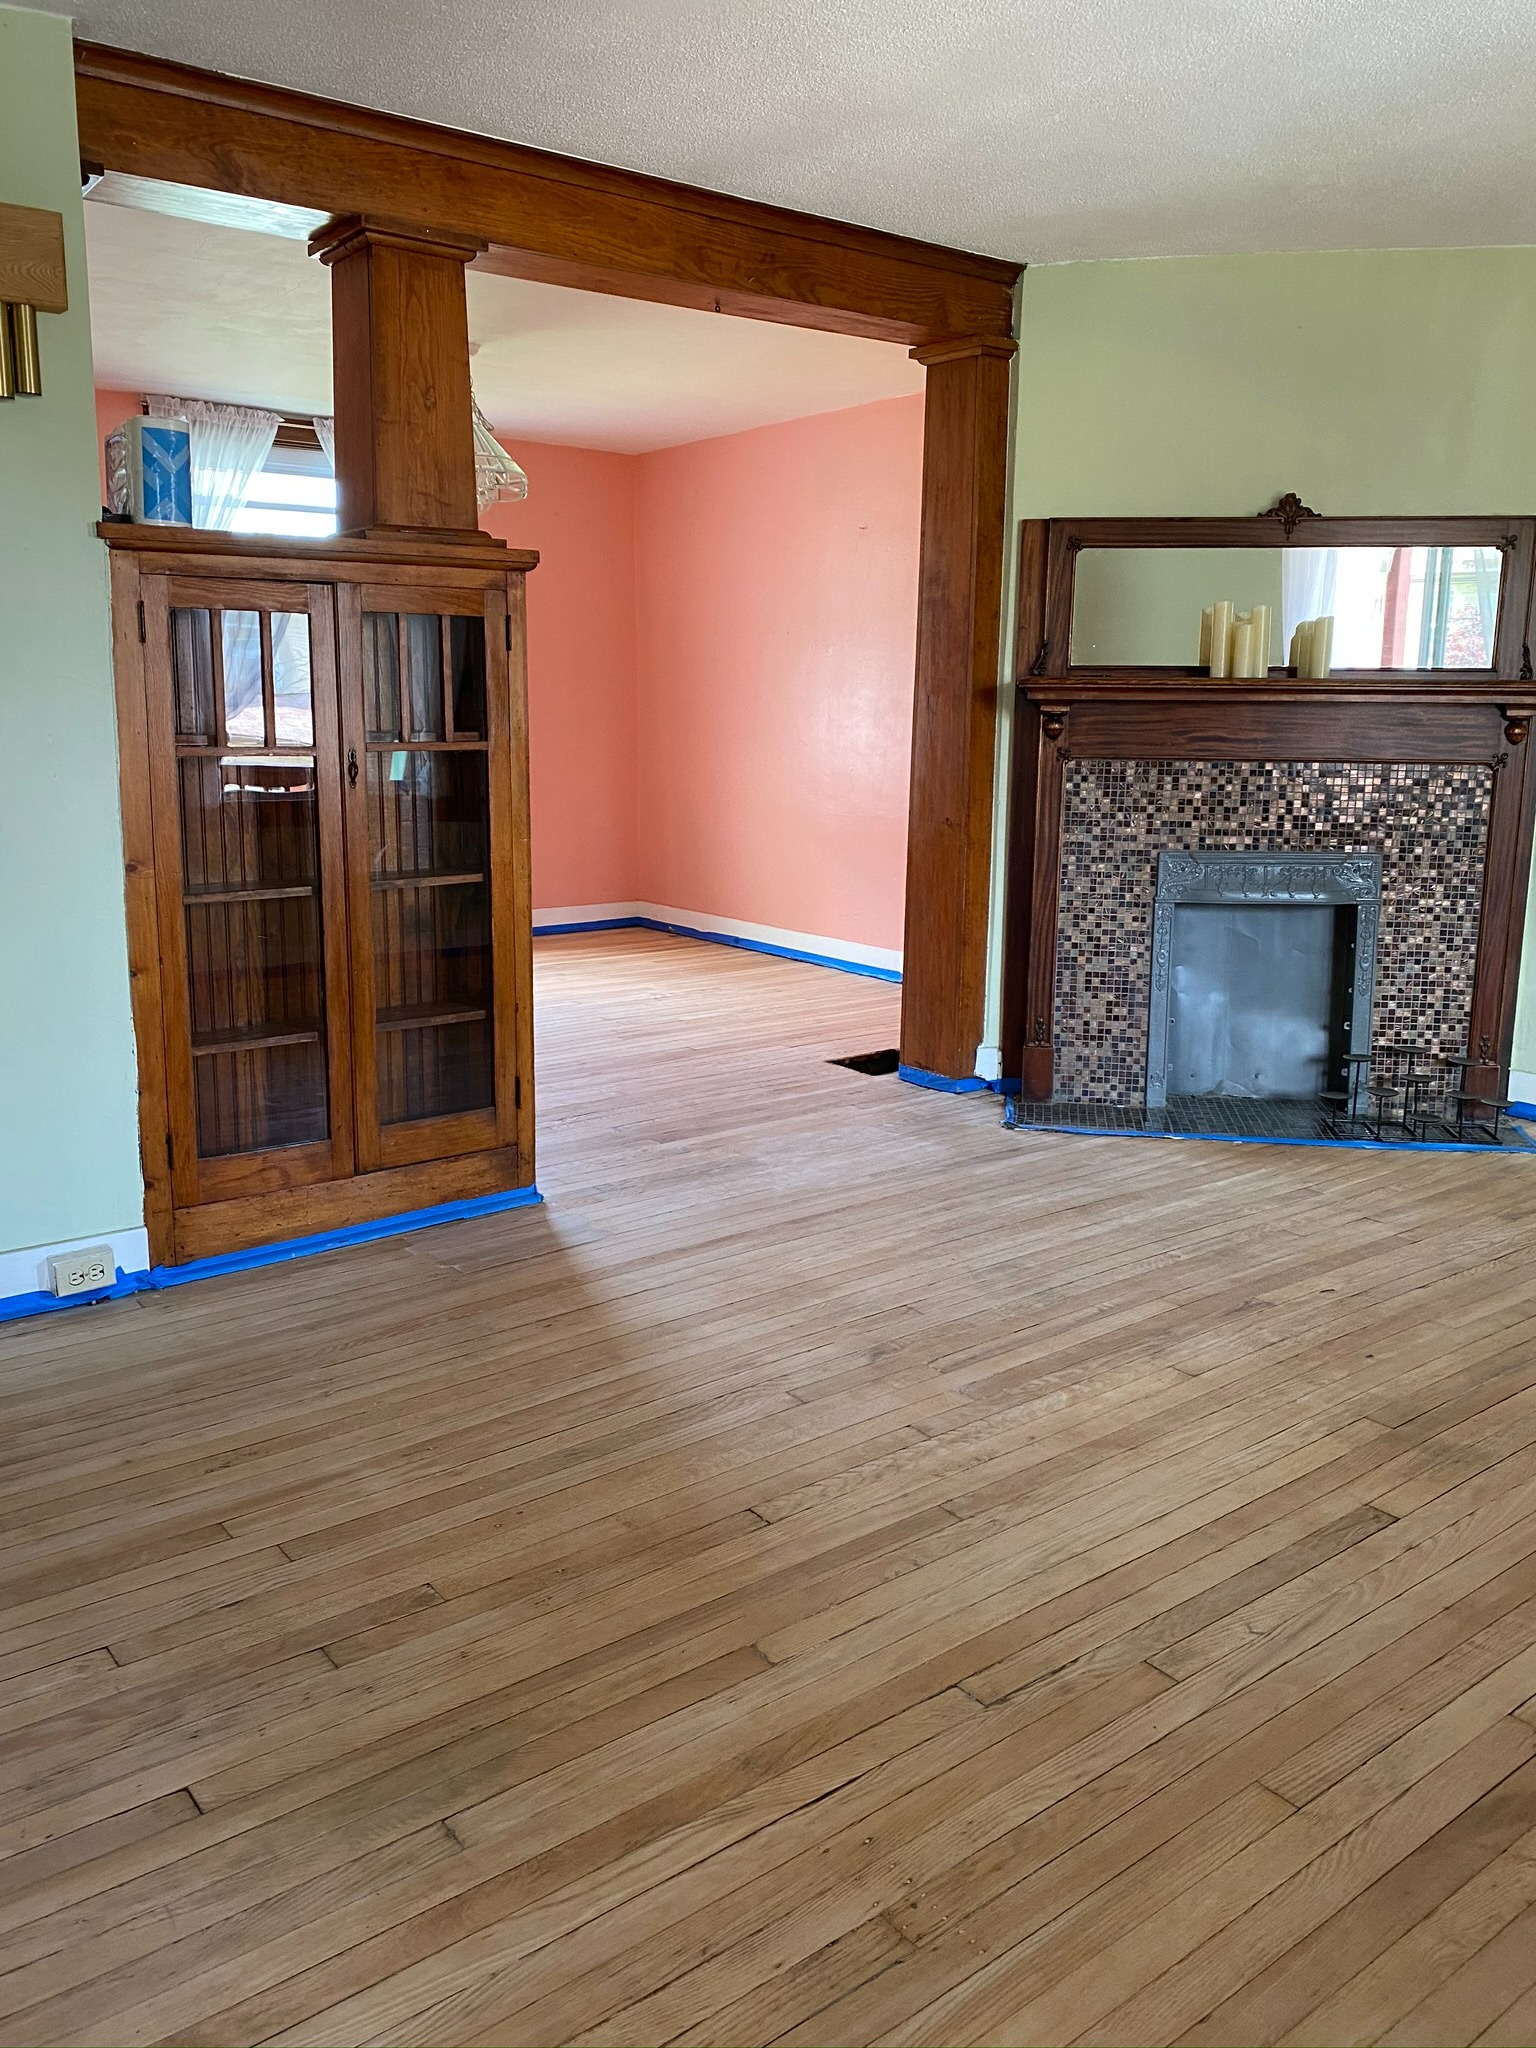
Step #8: Applying the Finish
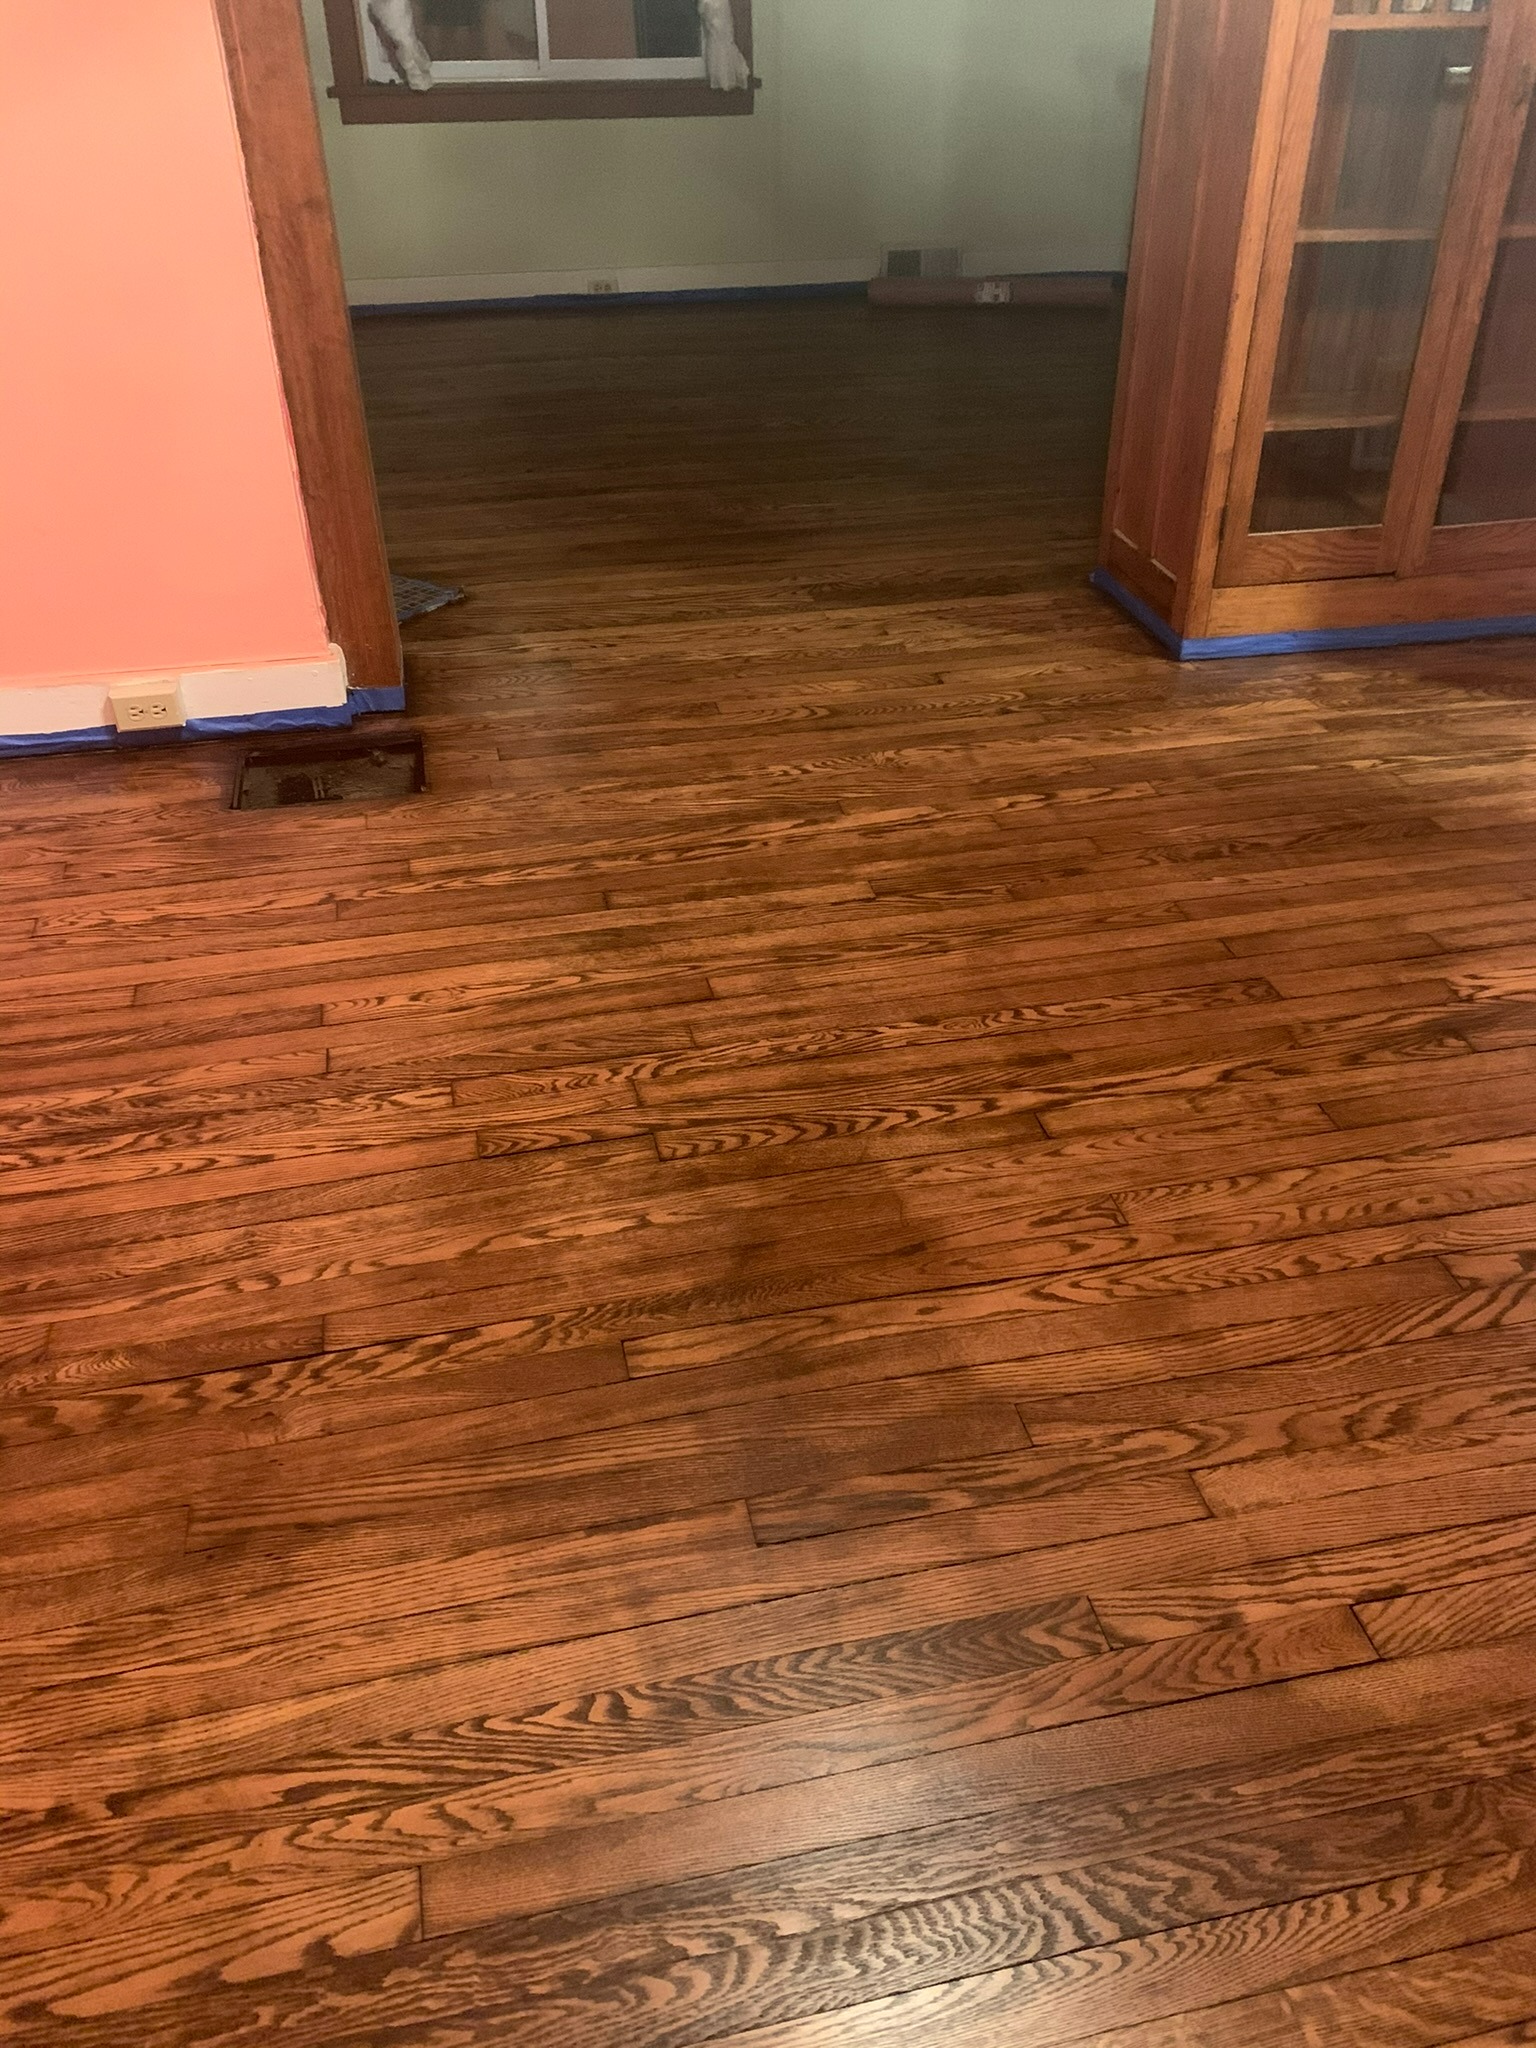
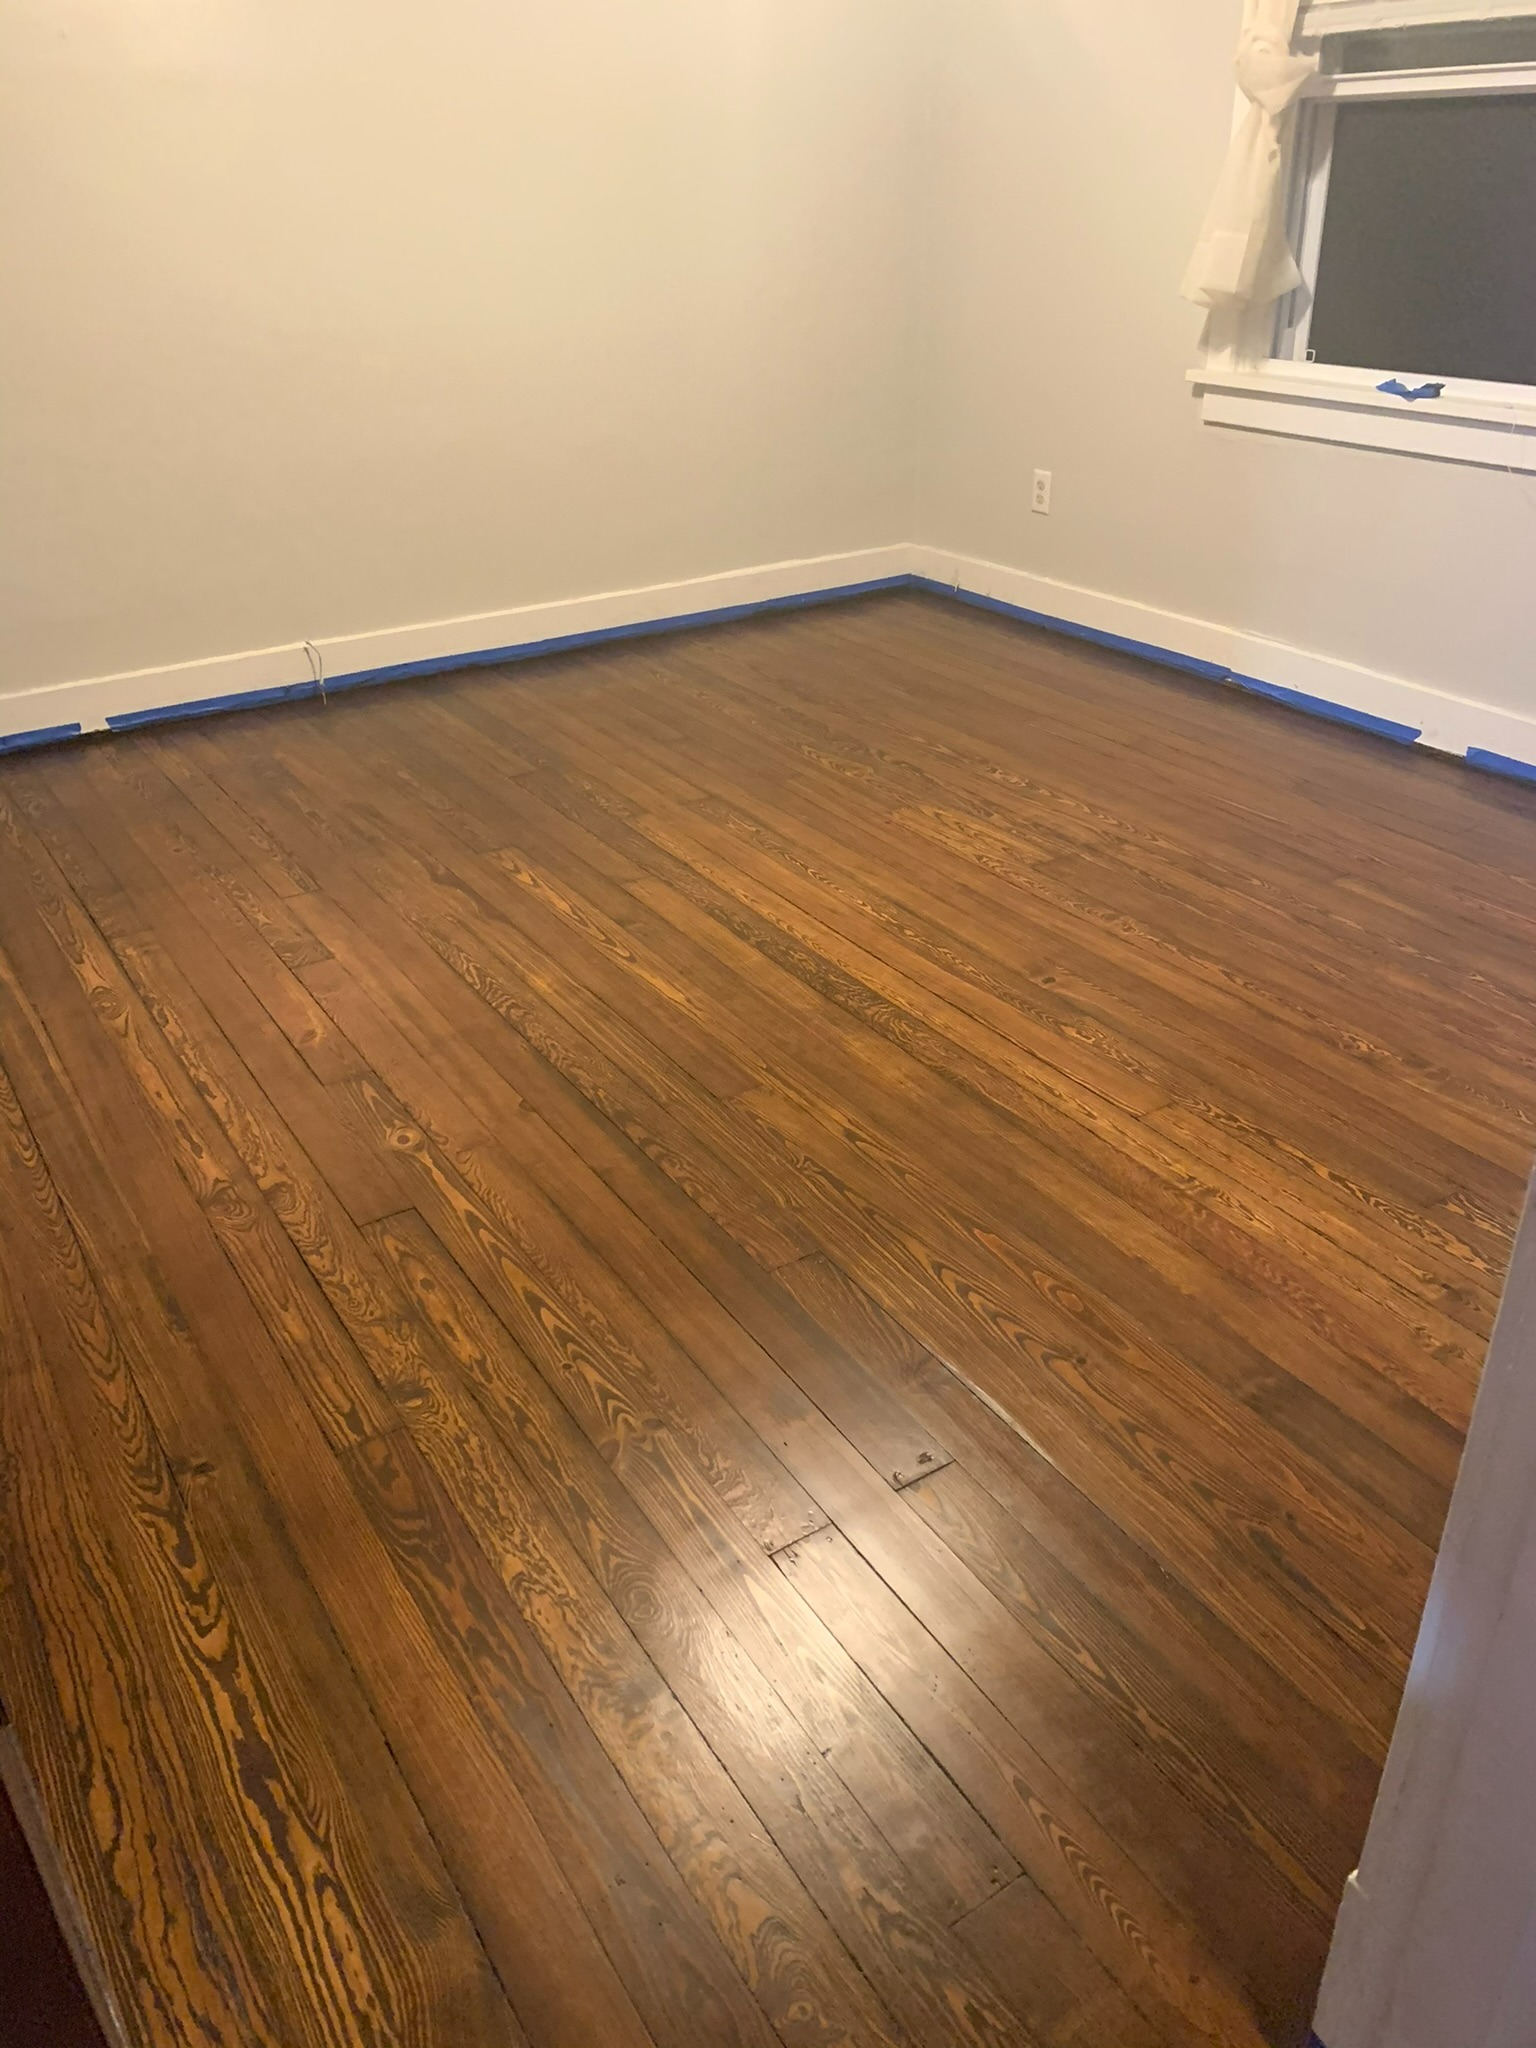
Before vs. After
Post a comment