Lawn Renovation at 1449
Objective
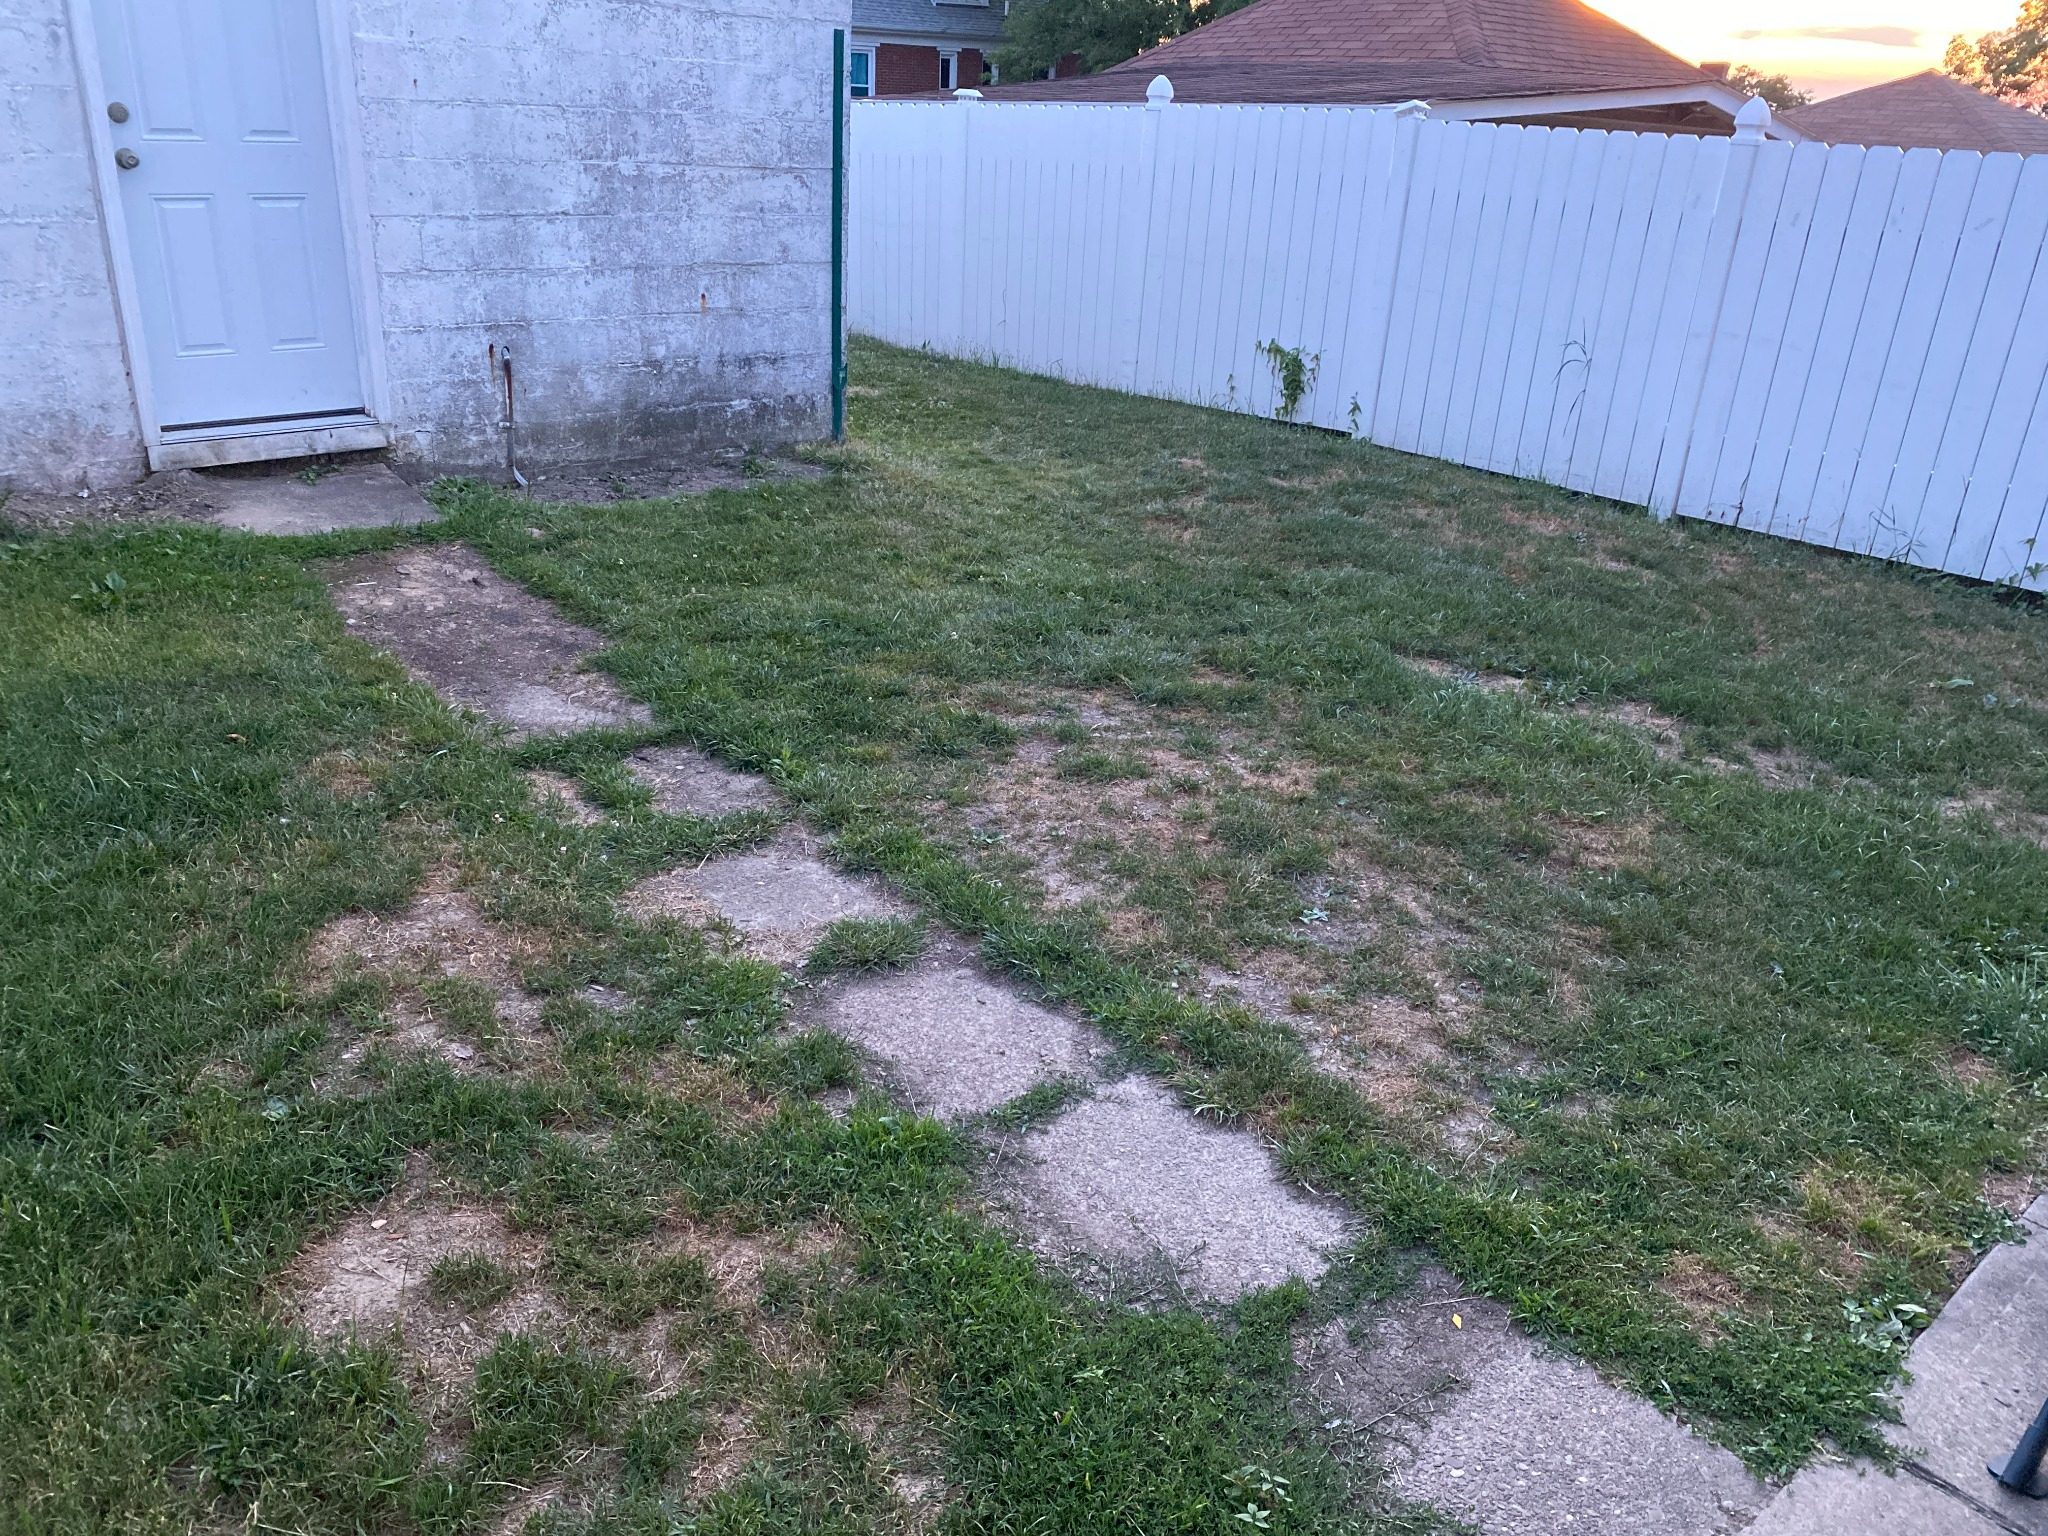
The lawn at our new home was a bit of a mess. Sections of it seemed to have more weeds than grass. There were also patches that were completely dead because they had been covered by piles of dirt that I had dug while rebuilding a window well in the back of the house. So, I wanted to restore the front and back lawns so that they would be primarily grass and look nice.
Step 1: Pull the weeds along the side of the house
Step 2: Kill the Existing Cover (July 2021)
I used RoundUp to kill the patches of the lawn that were more weeds than grass. I applied the RoundUp one day in the middle of July before I went on two vacations. I came back 2-3 weeks later and the grass looked like it does in the picture below.
I have since read about how toxic RoundUp is... A more natural concoction that you could make on your own at home to apply to the grass to try to kill it would be this:
--(1) gallon of white vinegar
--(2) cups of epsom salt
--(1/4) cup of dish soap
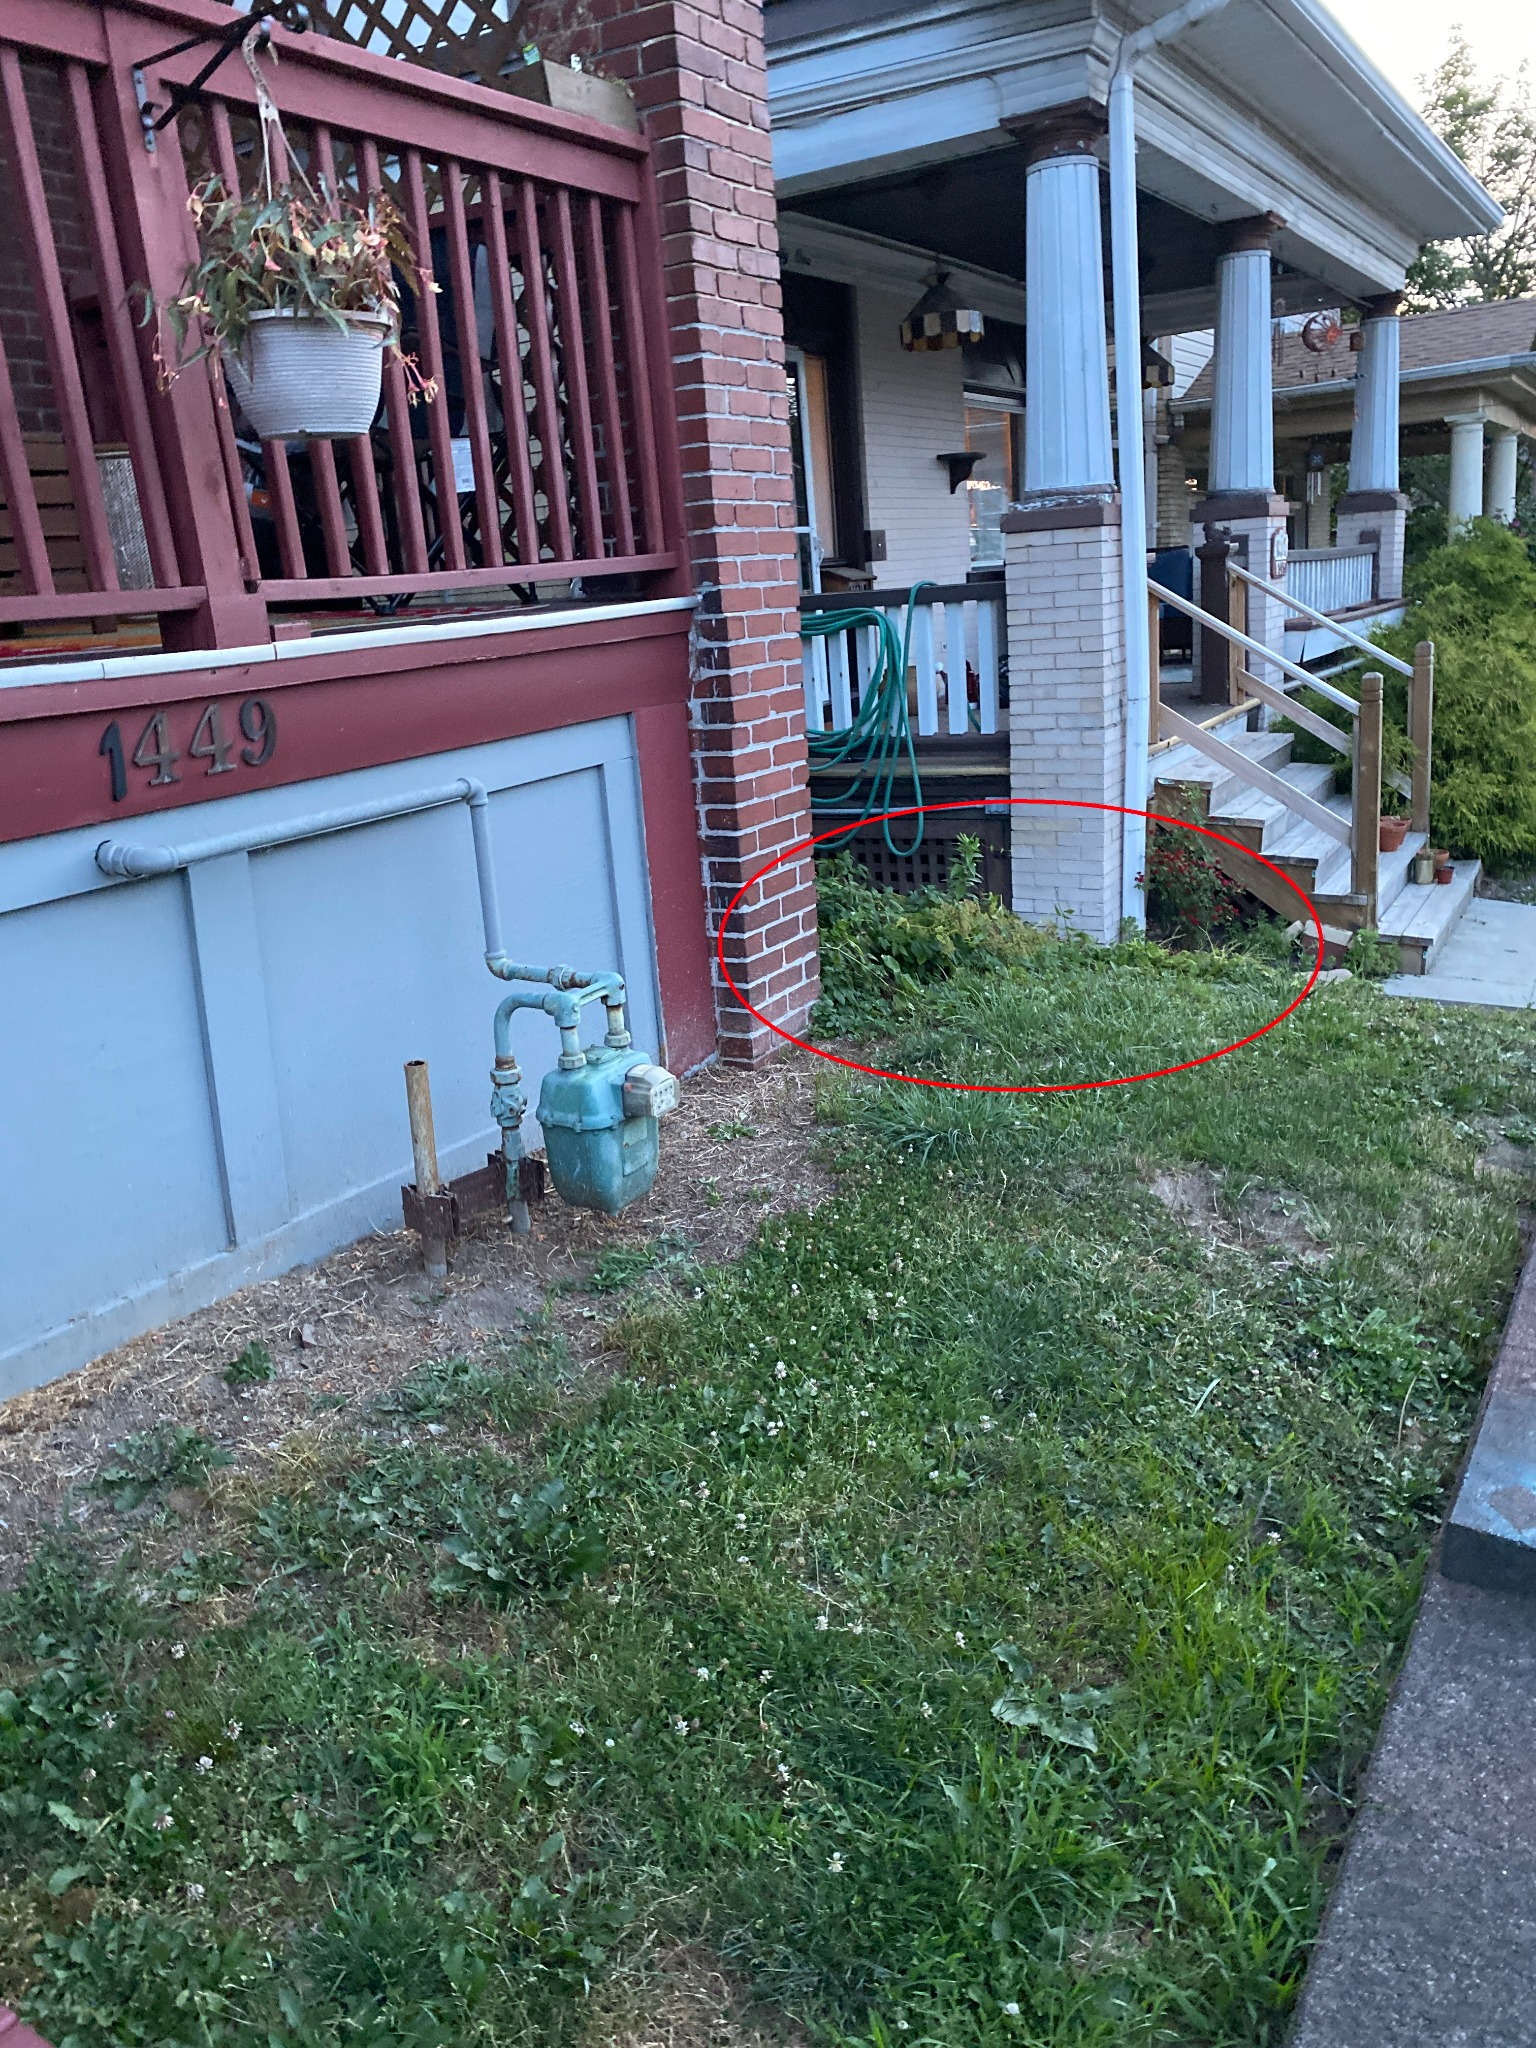
I never took a good picture, but you can kind of see inside the red circle of the picture below the weeds that run along the side of the house.
Step 3: Collect the Dead Grass
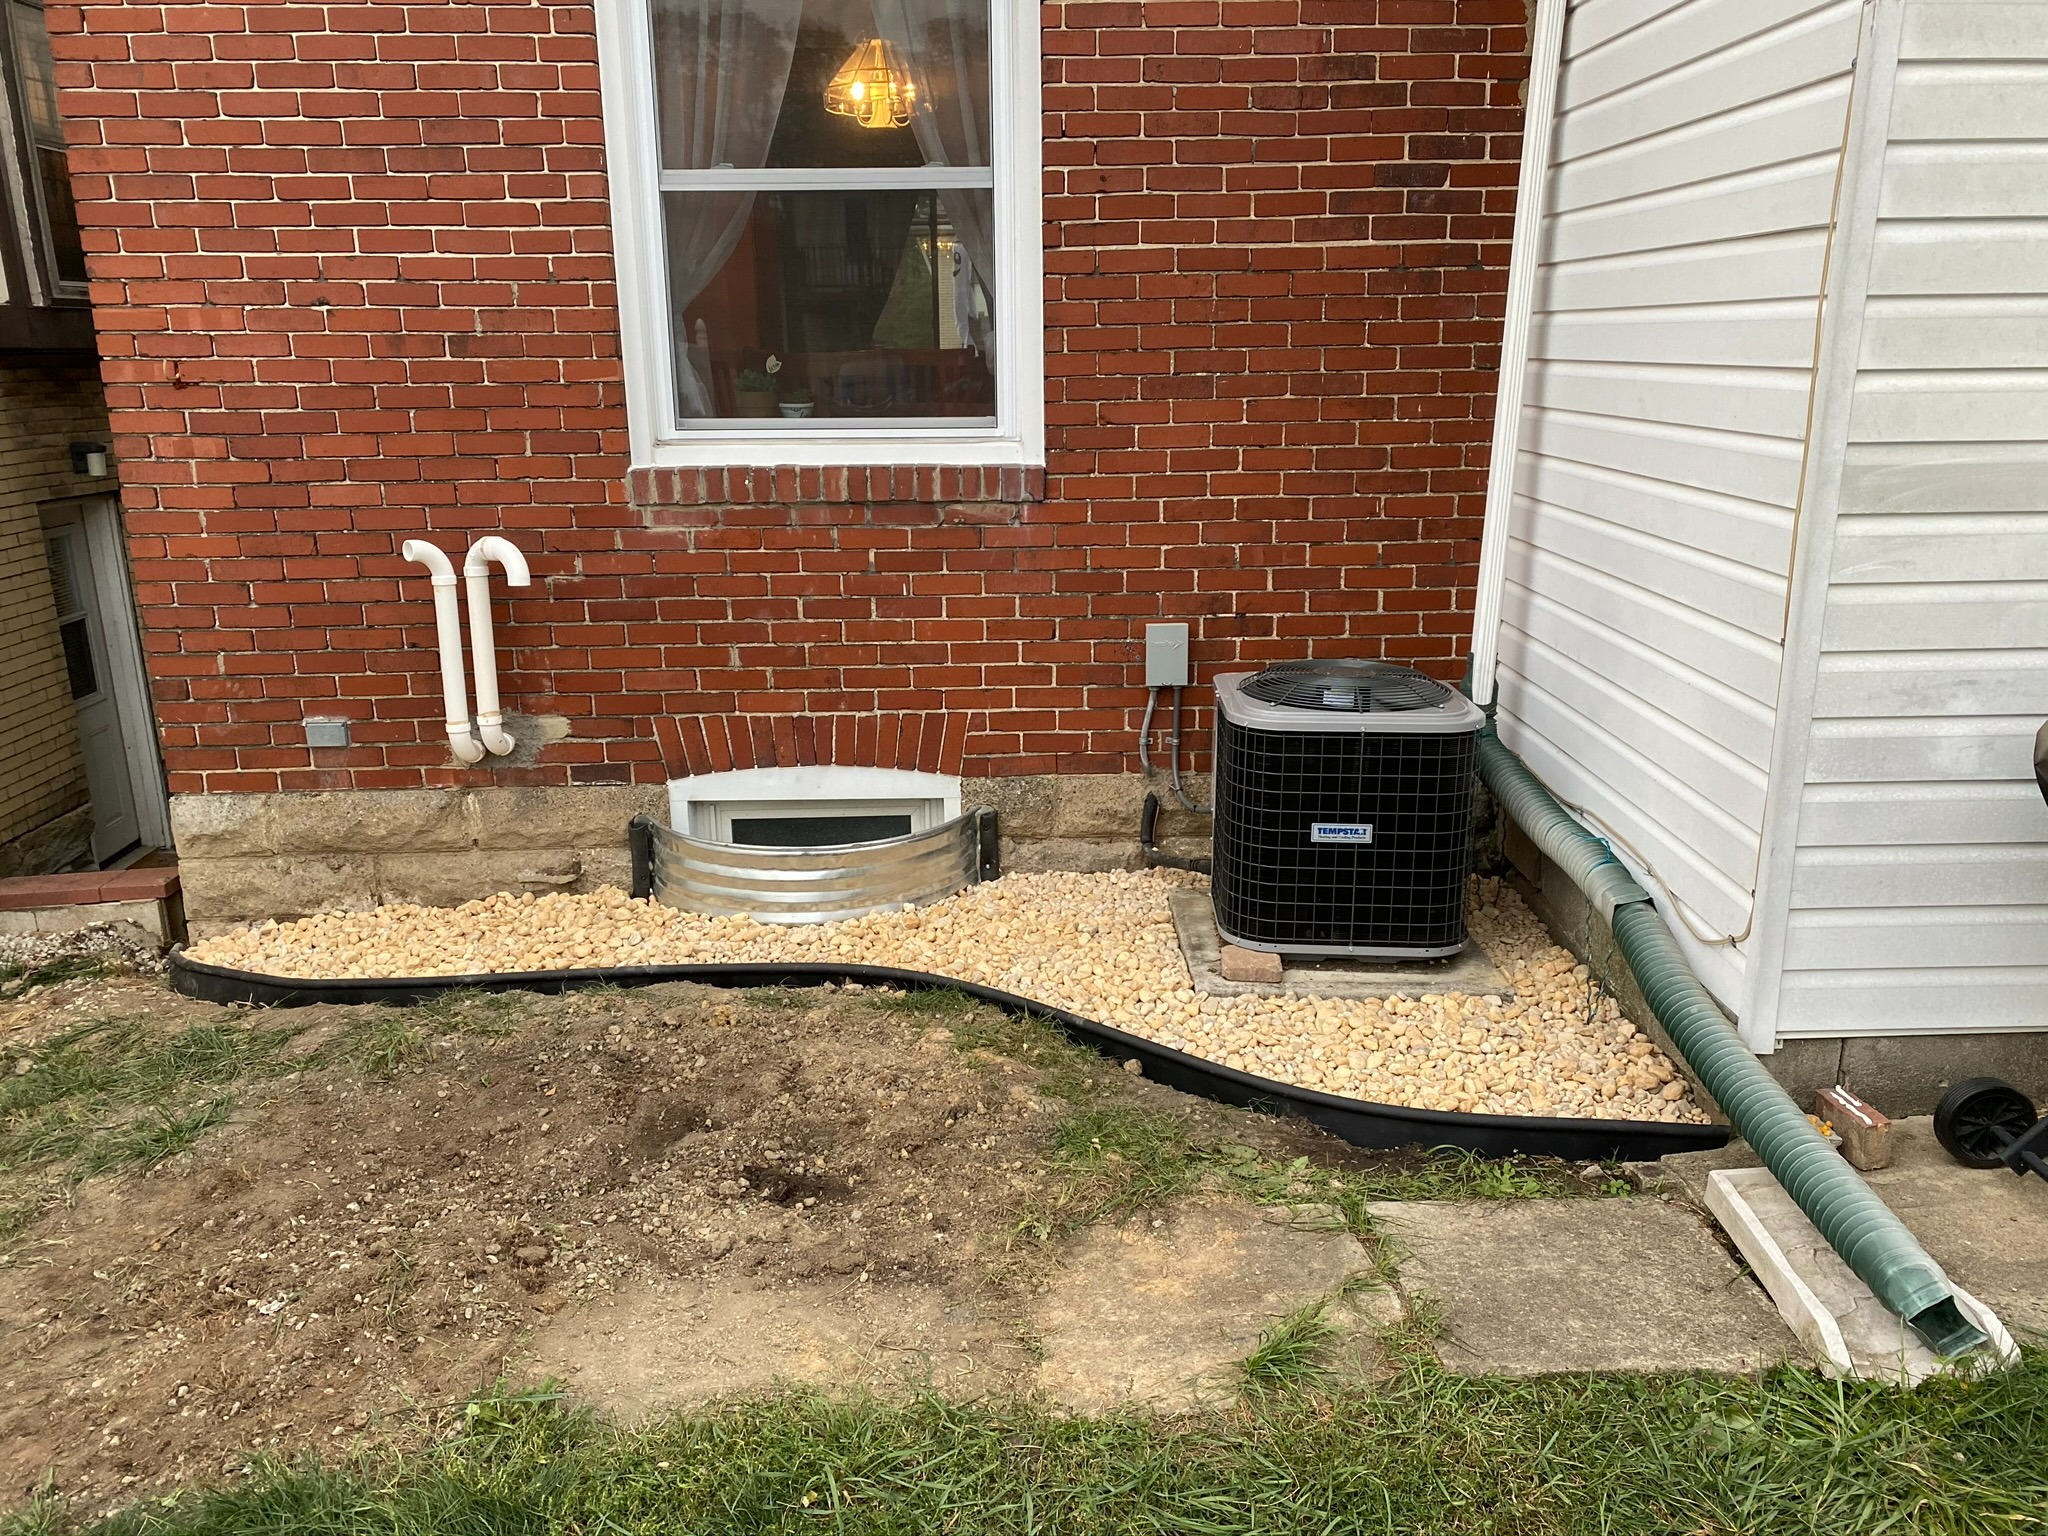
Step #4: Till the Soil (September 2021)
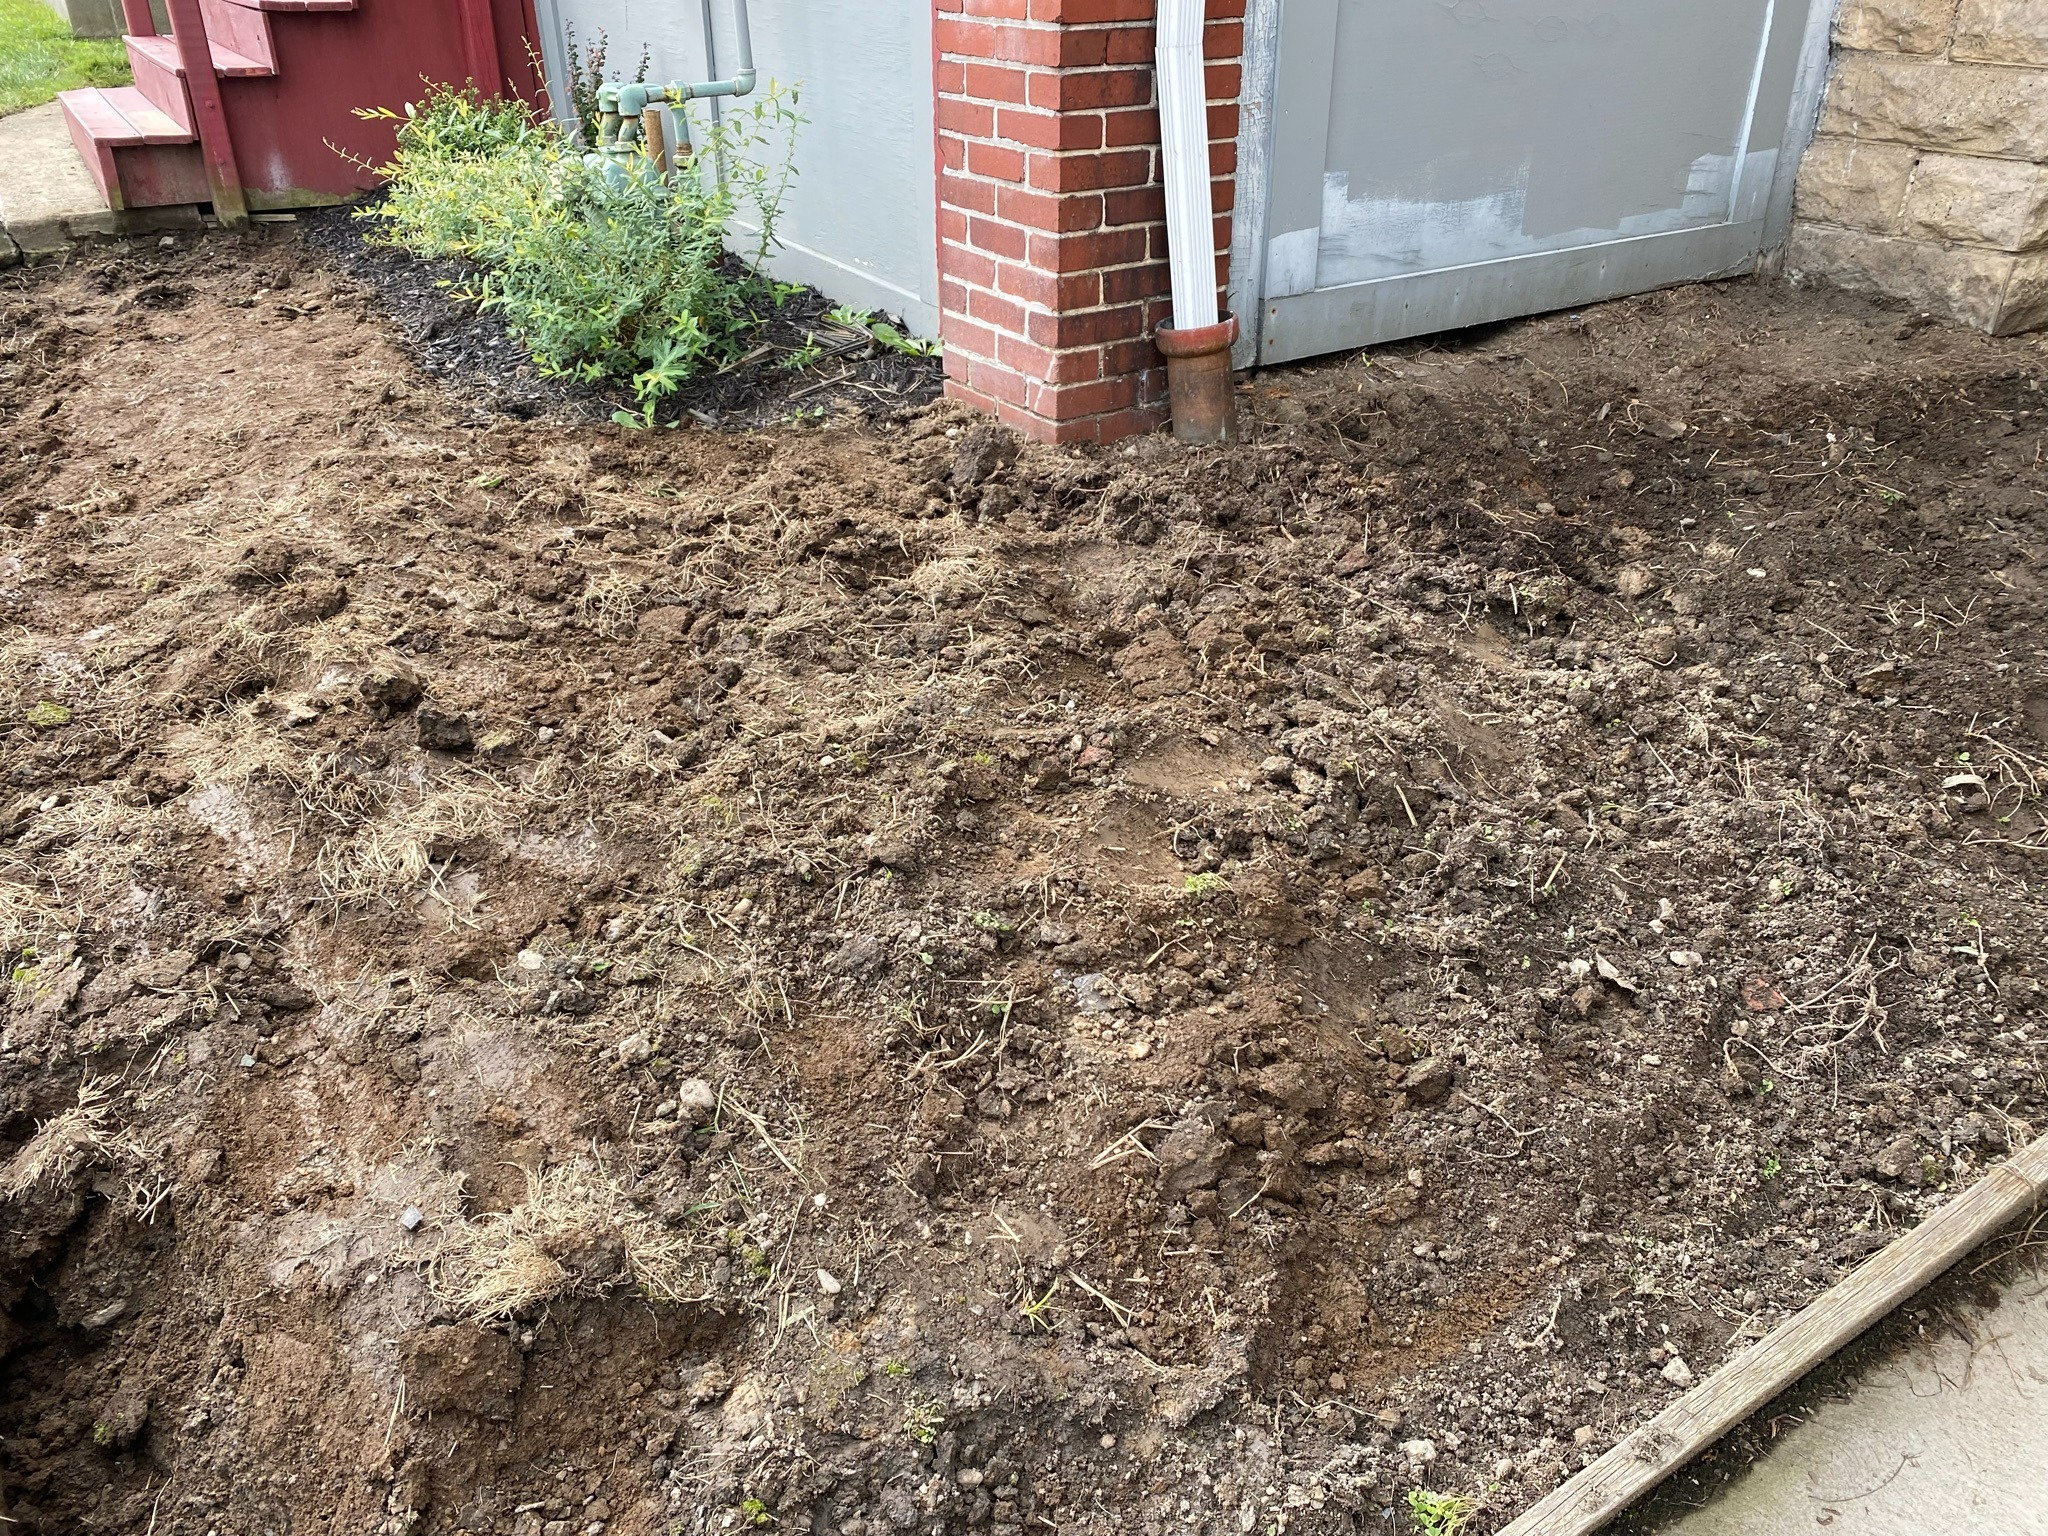
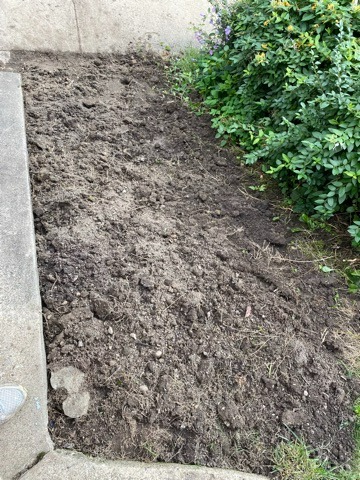
I used a garden hoe and my hands to pull and collect the now-dead grass from the ground. This part does not have to be done perfectly. I wanted to remove lots of, but not all, the grass in order to reveal the soil underneath.
I just used a garden hoe to break up the ground a bit. I figured that the grass seed would "grab hold of" the soil and "root itself" better if it was intermixed among the top layer of dirt as opposed to just sitting on top of it. This step also helped me remove more dead grass.
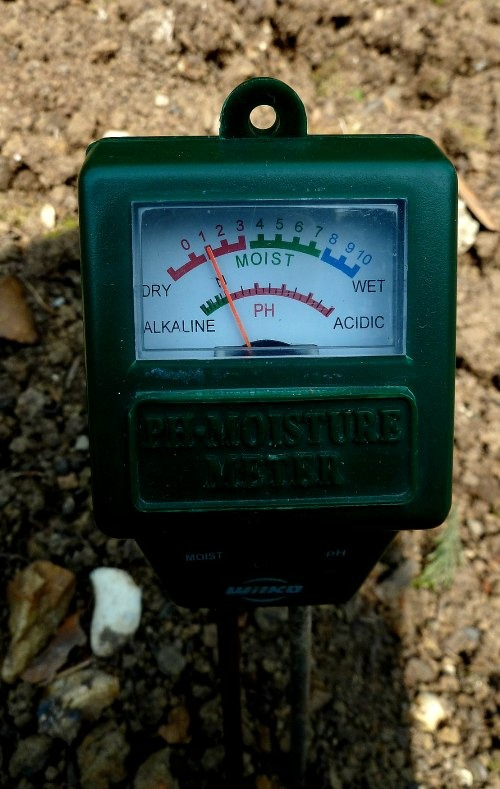
Step #5: Test Your Soil
You want to test your soil to find out its pH level so that you know whether or not you need to treat it in order to prepare it for new grass.
Substances will have pH levels. PH stands for "potential hydrogen" and is the measure of the concentration of hydrogen ions in a substance.
If a substance has a high concentration of hydrogen ions, it is considered acidic. If a substance has a low concentration of hydrogen ions, it is considered basic/alkaline.
This is where the pH scale can be confusing: pH is calculated as the negative log of a solution's hydrogen ion concentration. So, a substance's pH level on the scale is going to be the opposite of its hydrogen ion concentration. In other words, a greater number of hydrogen ions = a smaller pH number, and a lesser number of hydrogen ions = a higher pH number.
Anyway, I found that my soil was slightly basic/alkaline. Most grass will grow best in a neutral soil (around 7 pH). I forget exactly what pH level my soil had, but it wasn't that far from neutral. Ultimately, I decided that I didn't need to treat the soil with anything in order to adjust to pH level.
Step 6: Apply the Seed (September 2021)
It is important to plant the grass seed at the right time. If the weather conditions aren't correct, the grass won't grow.
The best times to plant new grass in a temperate climate where I live (Pennsylvania, USA) are the spring and fall when the temperatures are mild. The heat of June, July, and August, which often exceeds 90-degrees, is too hot. But, if you start too early in the spring, or wait too late in the fall, the frost that often covers the ground overnight into the early morning in these parts of the seasons can kill your "baby grasslings."
I also read all sorts of conflicting information about how long to wait after using RoundUp to plant the grass seed. Some sites said that the RoundUp would exist in the soil for nearly six months. Other sites said that you should be good to plant the new seed 48-72 hours after using RoundUp. I waited two months. I figured that this was a nice middle ground.
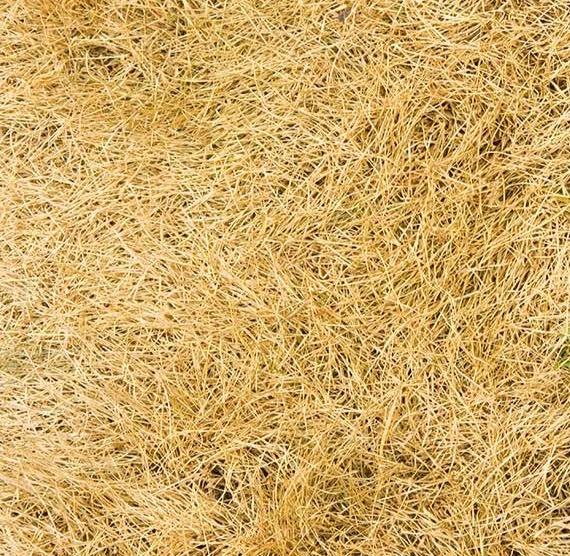
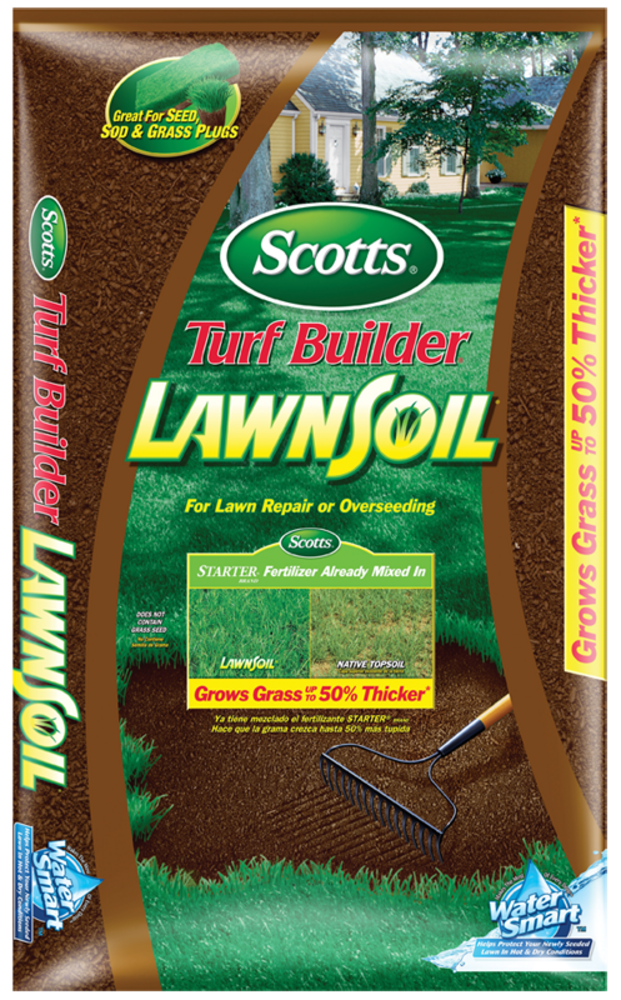
I used the Scott's Sun & Shade Mix shown in the picture below.
I read online about dangers of overseeding. I bought a hand-operated rotary spreader and followed all the instructions to a T--Putting the spreader on the right flow setting, walking forward at the recommended pace, etc. etc. etc.

Step #6: Protect the New Seed
You are supposed to protect the new seed from birds who will eat it. A lot of people recommend using hay, which is what I tried.
I have seen pictures of people who cover the ground with a much denser layer of hay, but I didn't feel compelled to put much more than this. I honestly rarely saw any birds hovering or attempting to eat the seed.

Step #7: Water (Sept. - Oct.)
Next, I watered the lawn 2-3 times day for the next two months until I gave up hope on these entire sections of the lawn re-growing this fall.
Step #5.2 (Re-Try): Spread New Seed (May 2022)
The picture above is actually from October 13, 2021. Not much more grass than the little you can see there grew. So, I went back a few steps and tried again.
First, I bought seed for "dense shade." The way our house is positioned made it so that the sections in front of my house only received 5-6 hours of good sun each day. And, we live in Pittsburgh, where cloudy skies are the norm. So, I got the version of grass seed from the store that, from the labels, seemed was best for darker, shaded settings.
I also abandoned the advice I had received to use a spreader carefully and be cautious of overseeding. This time I grabbed handfuls of seed from the bag and threw them around with my hands. I used two 1-lb bags of this seed--way more than the recommended amount.
Frosts seemed to continue late into the spring this year, so I waited until May to spread the speed when temperatures were consistently between 60 and 80-degrees F.
Step #6.2 (Re-Try): Protect the Seed
This time, instead of hay I protected the seed with topsoil that had starter fertilizer in it.
I also, after spreading, gently intermixed the soil with the seeds.
Step 7.2 (Re-Try): Water
I set up the sprinkler system and watered the lawn for 15 minutes 2-3 times each day.
Step #8: Watch the Grass Grow (but with weeds)
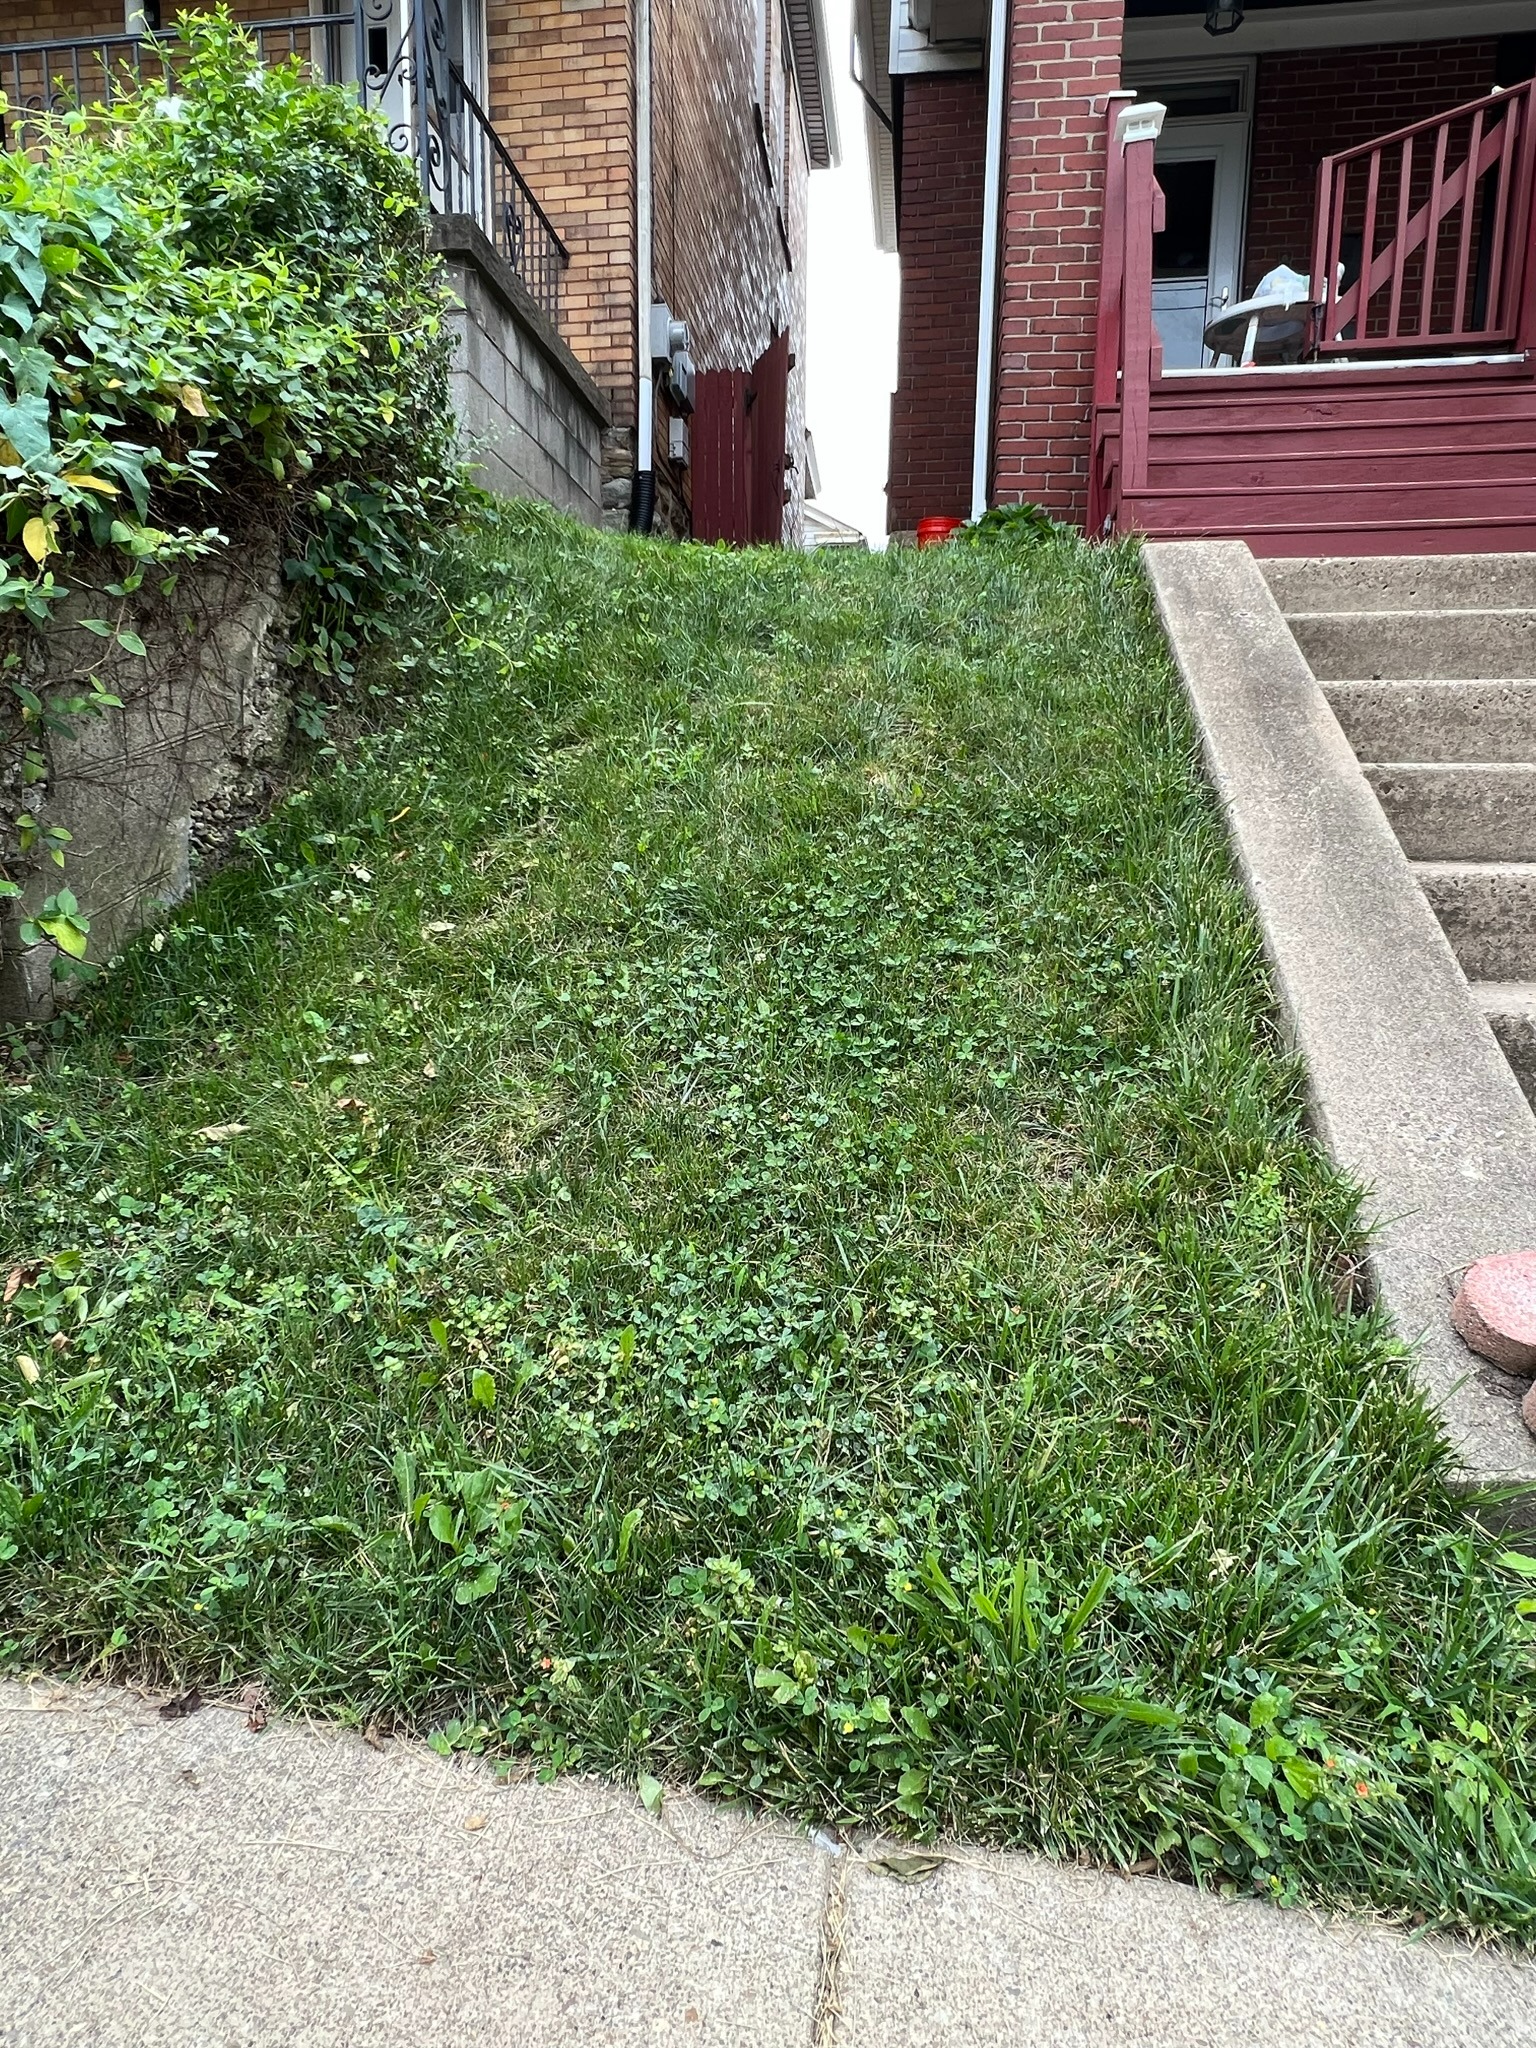
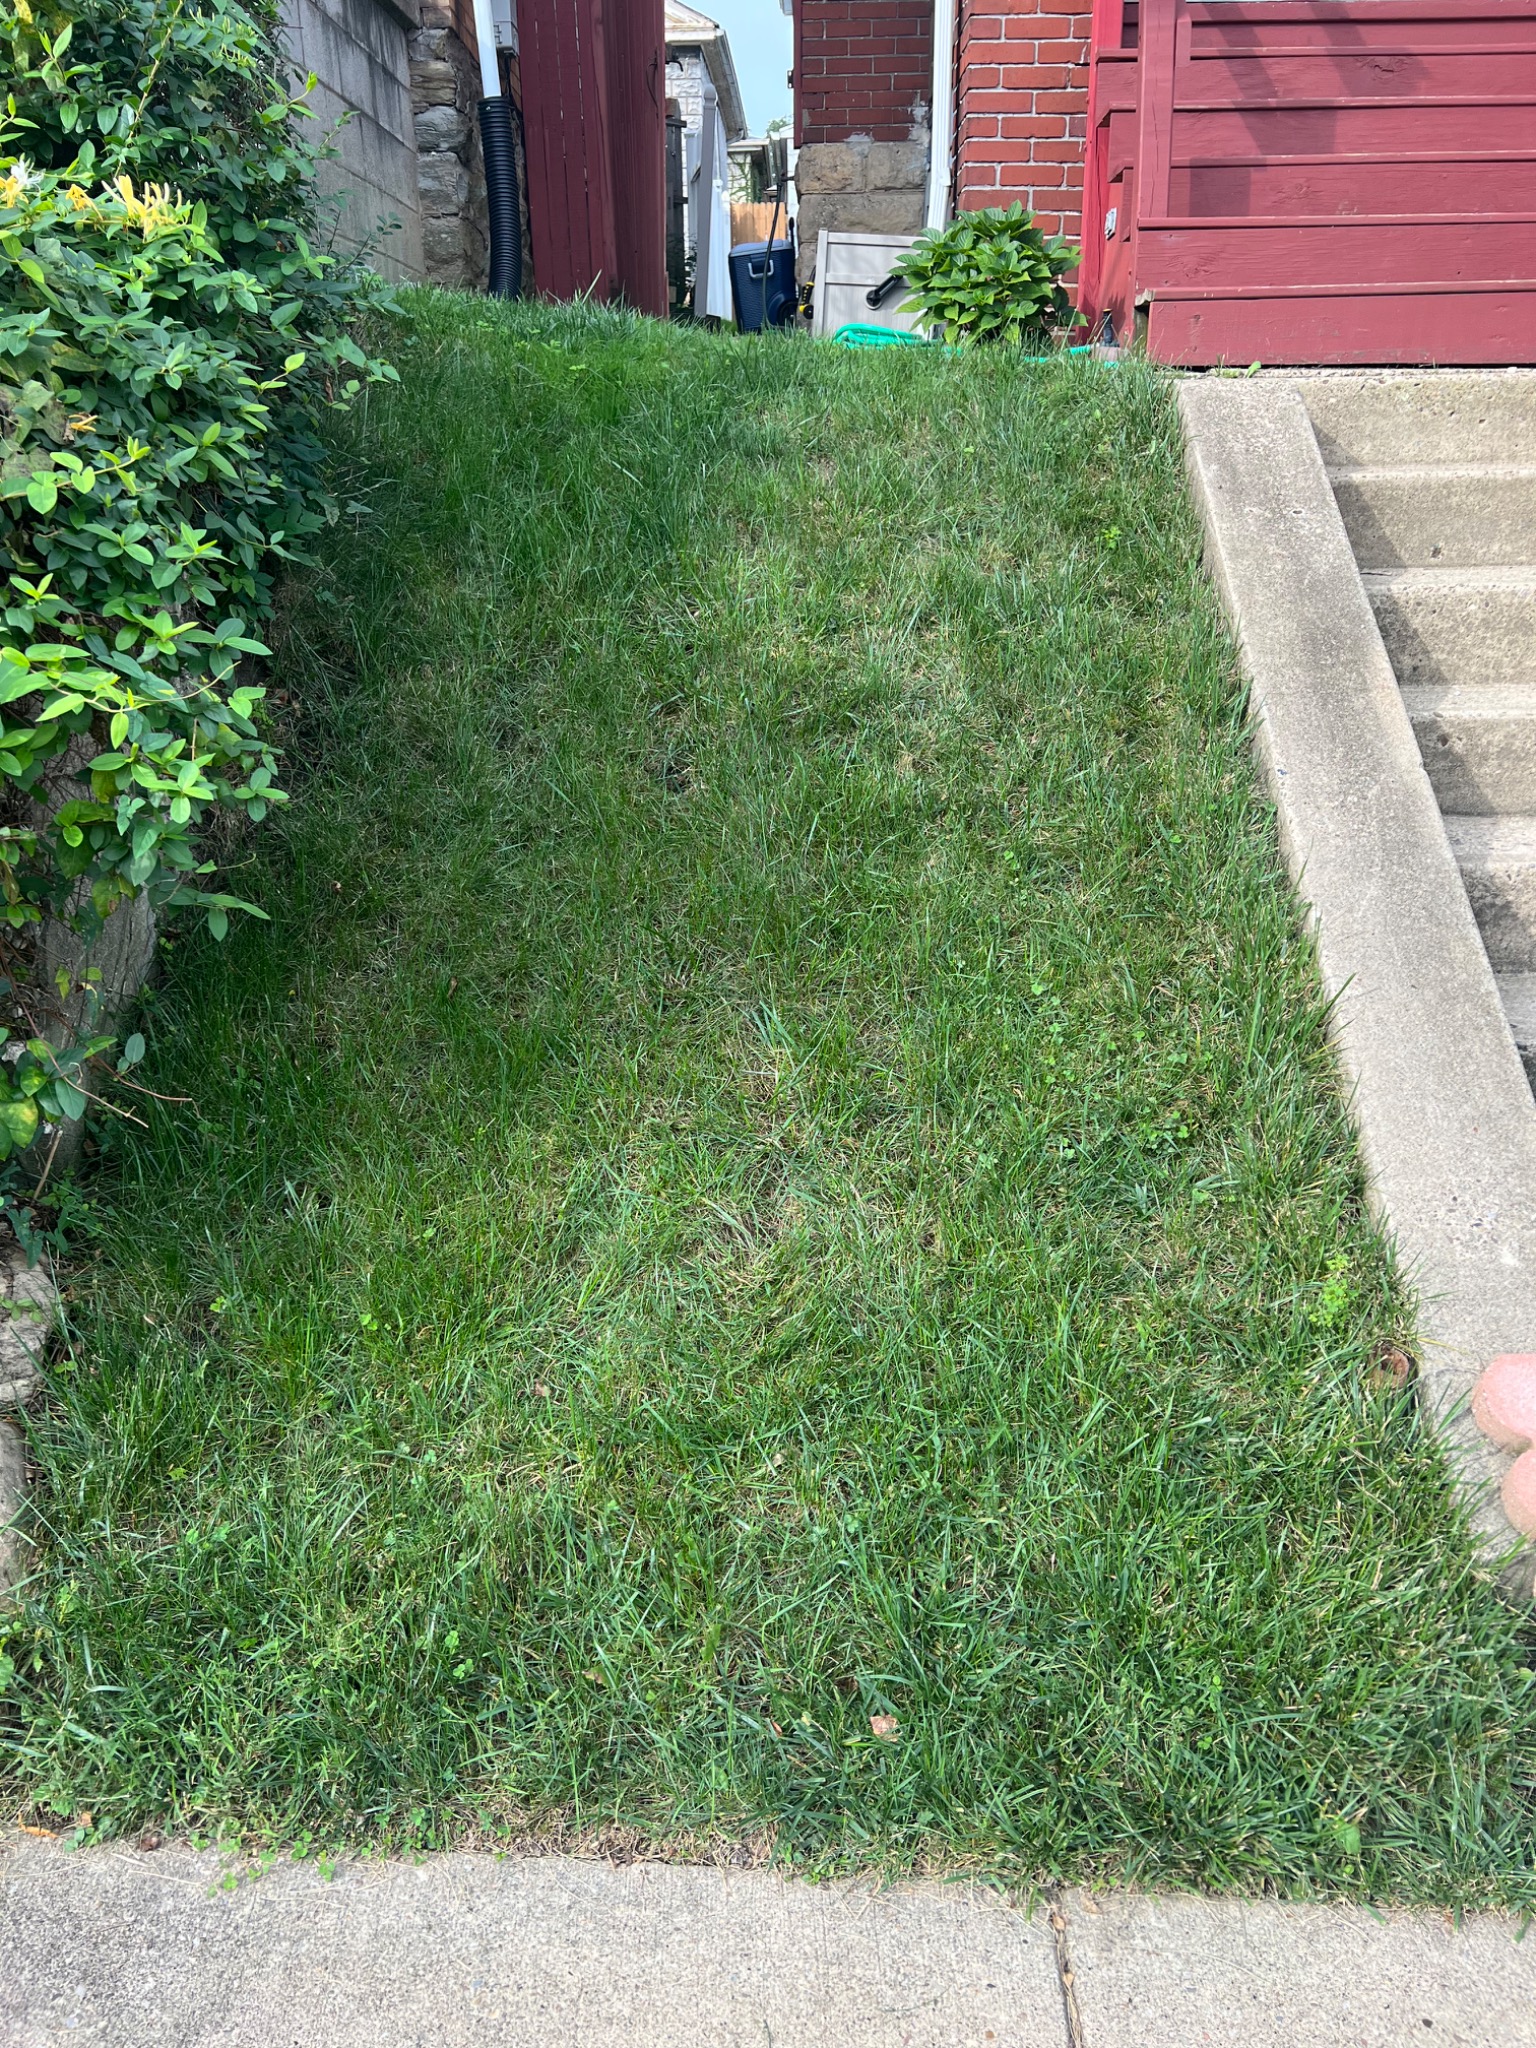
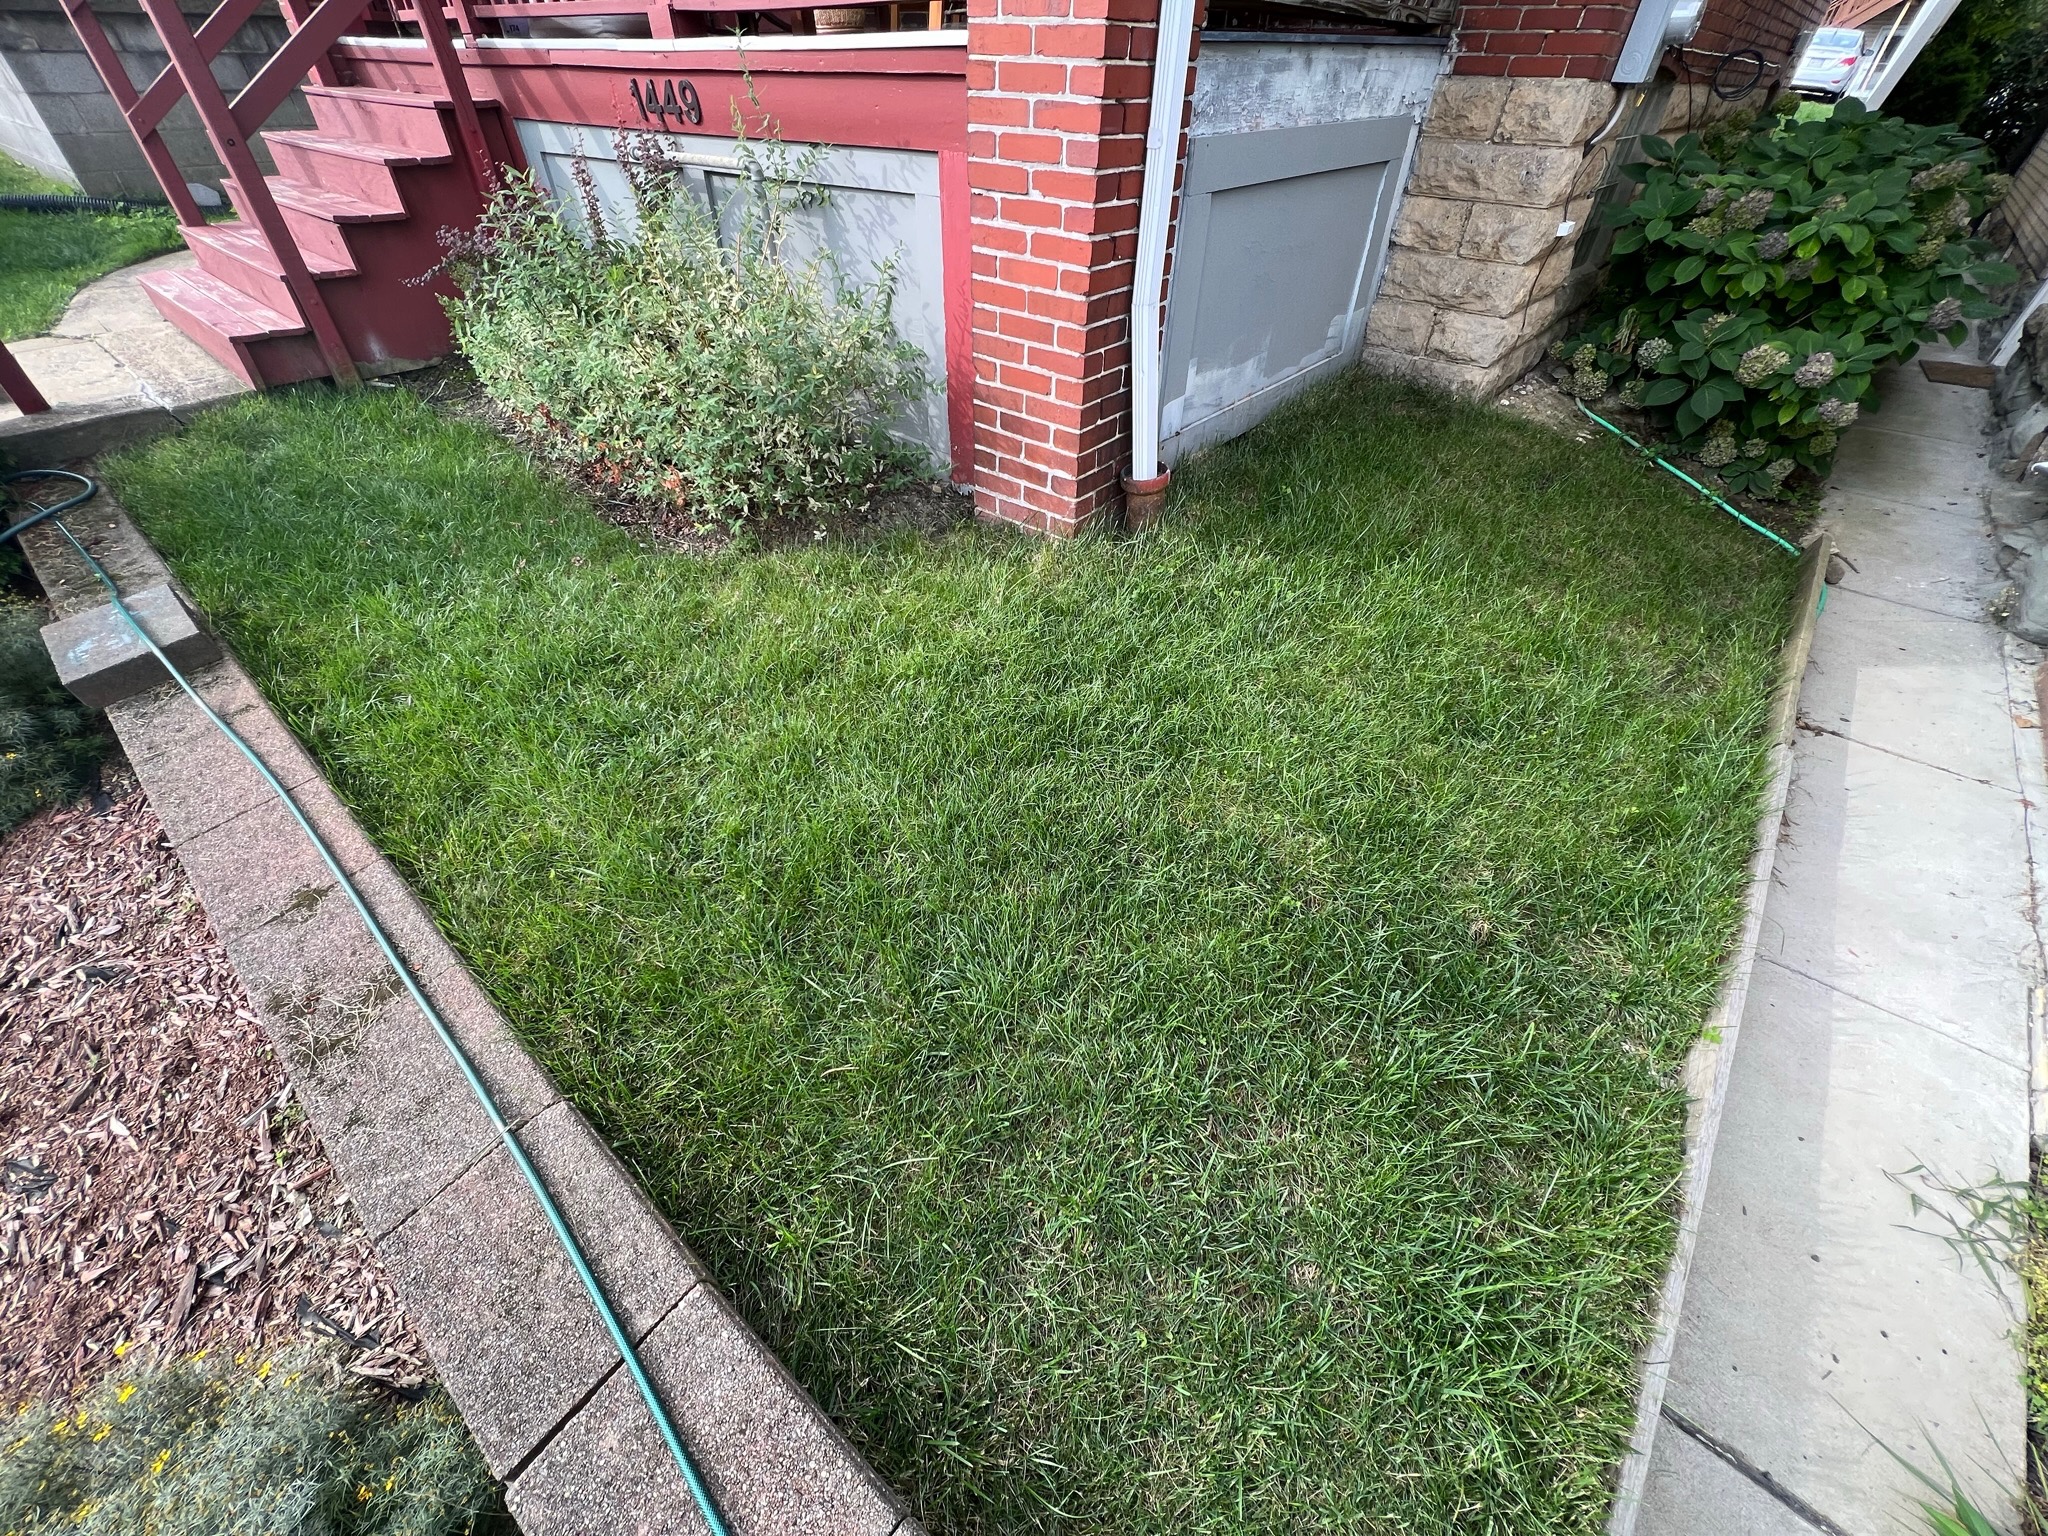
It took nearly three months, but by the first week of July the grass had grown in fully in every section where I had planted it.
I could tell in June that the project was finally going to succeed. Even still, despite the handfuls of seed that I threw over the recommended limit, along the way, I continued noticing patches here and there that needed a dose of more seeds. Part of me now doubts the seriousness of the threat of overseeding a lawn.
By August, though, patches of weeds had crept back into the lawn. I think they are clovers, but I'm not sure. I feel like it's impossible to keep these out of my lawn.
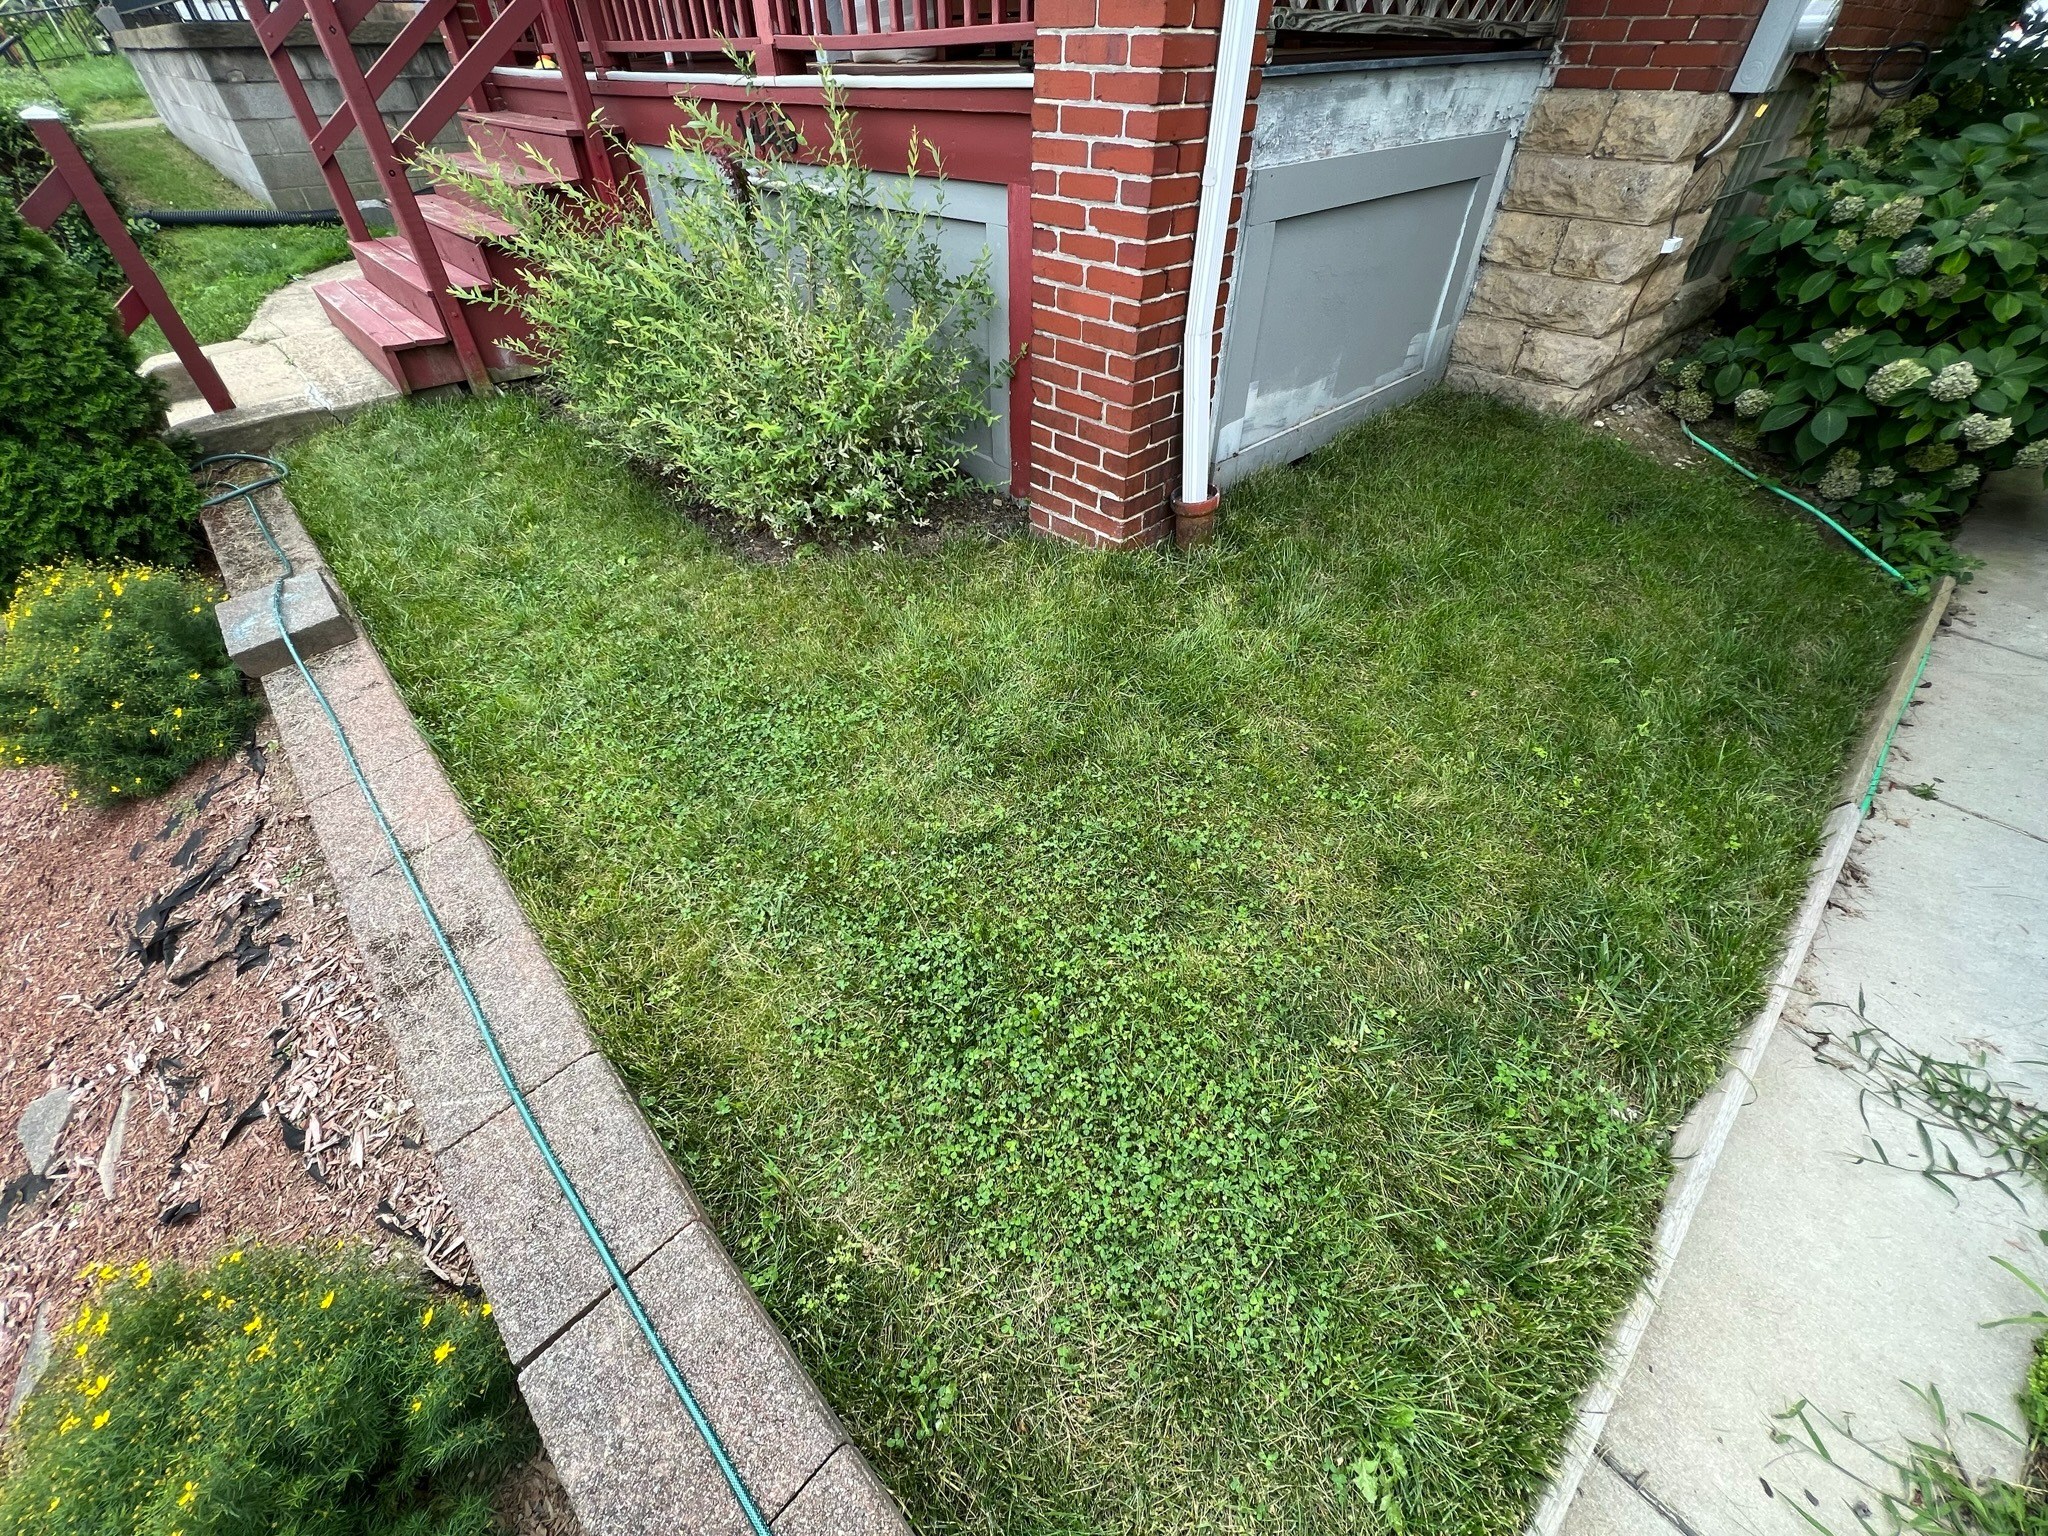
Step #9: Use Weed & Feed

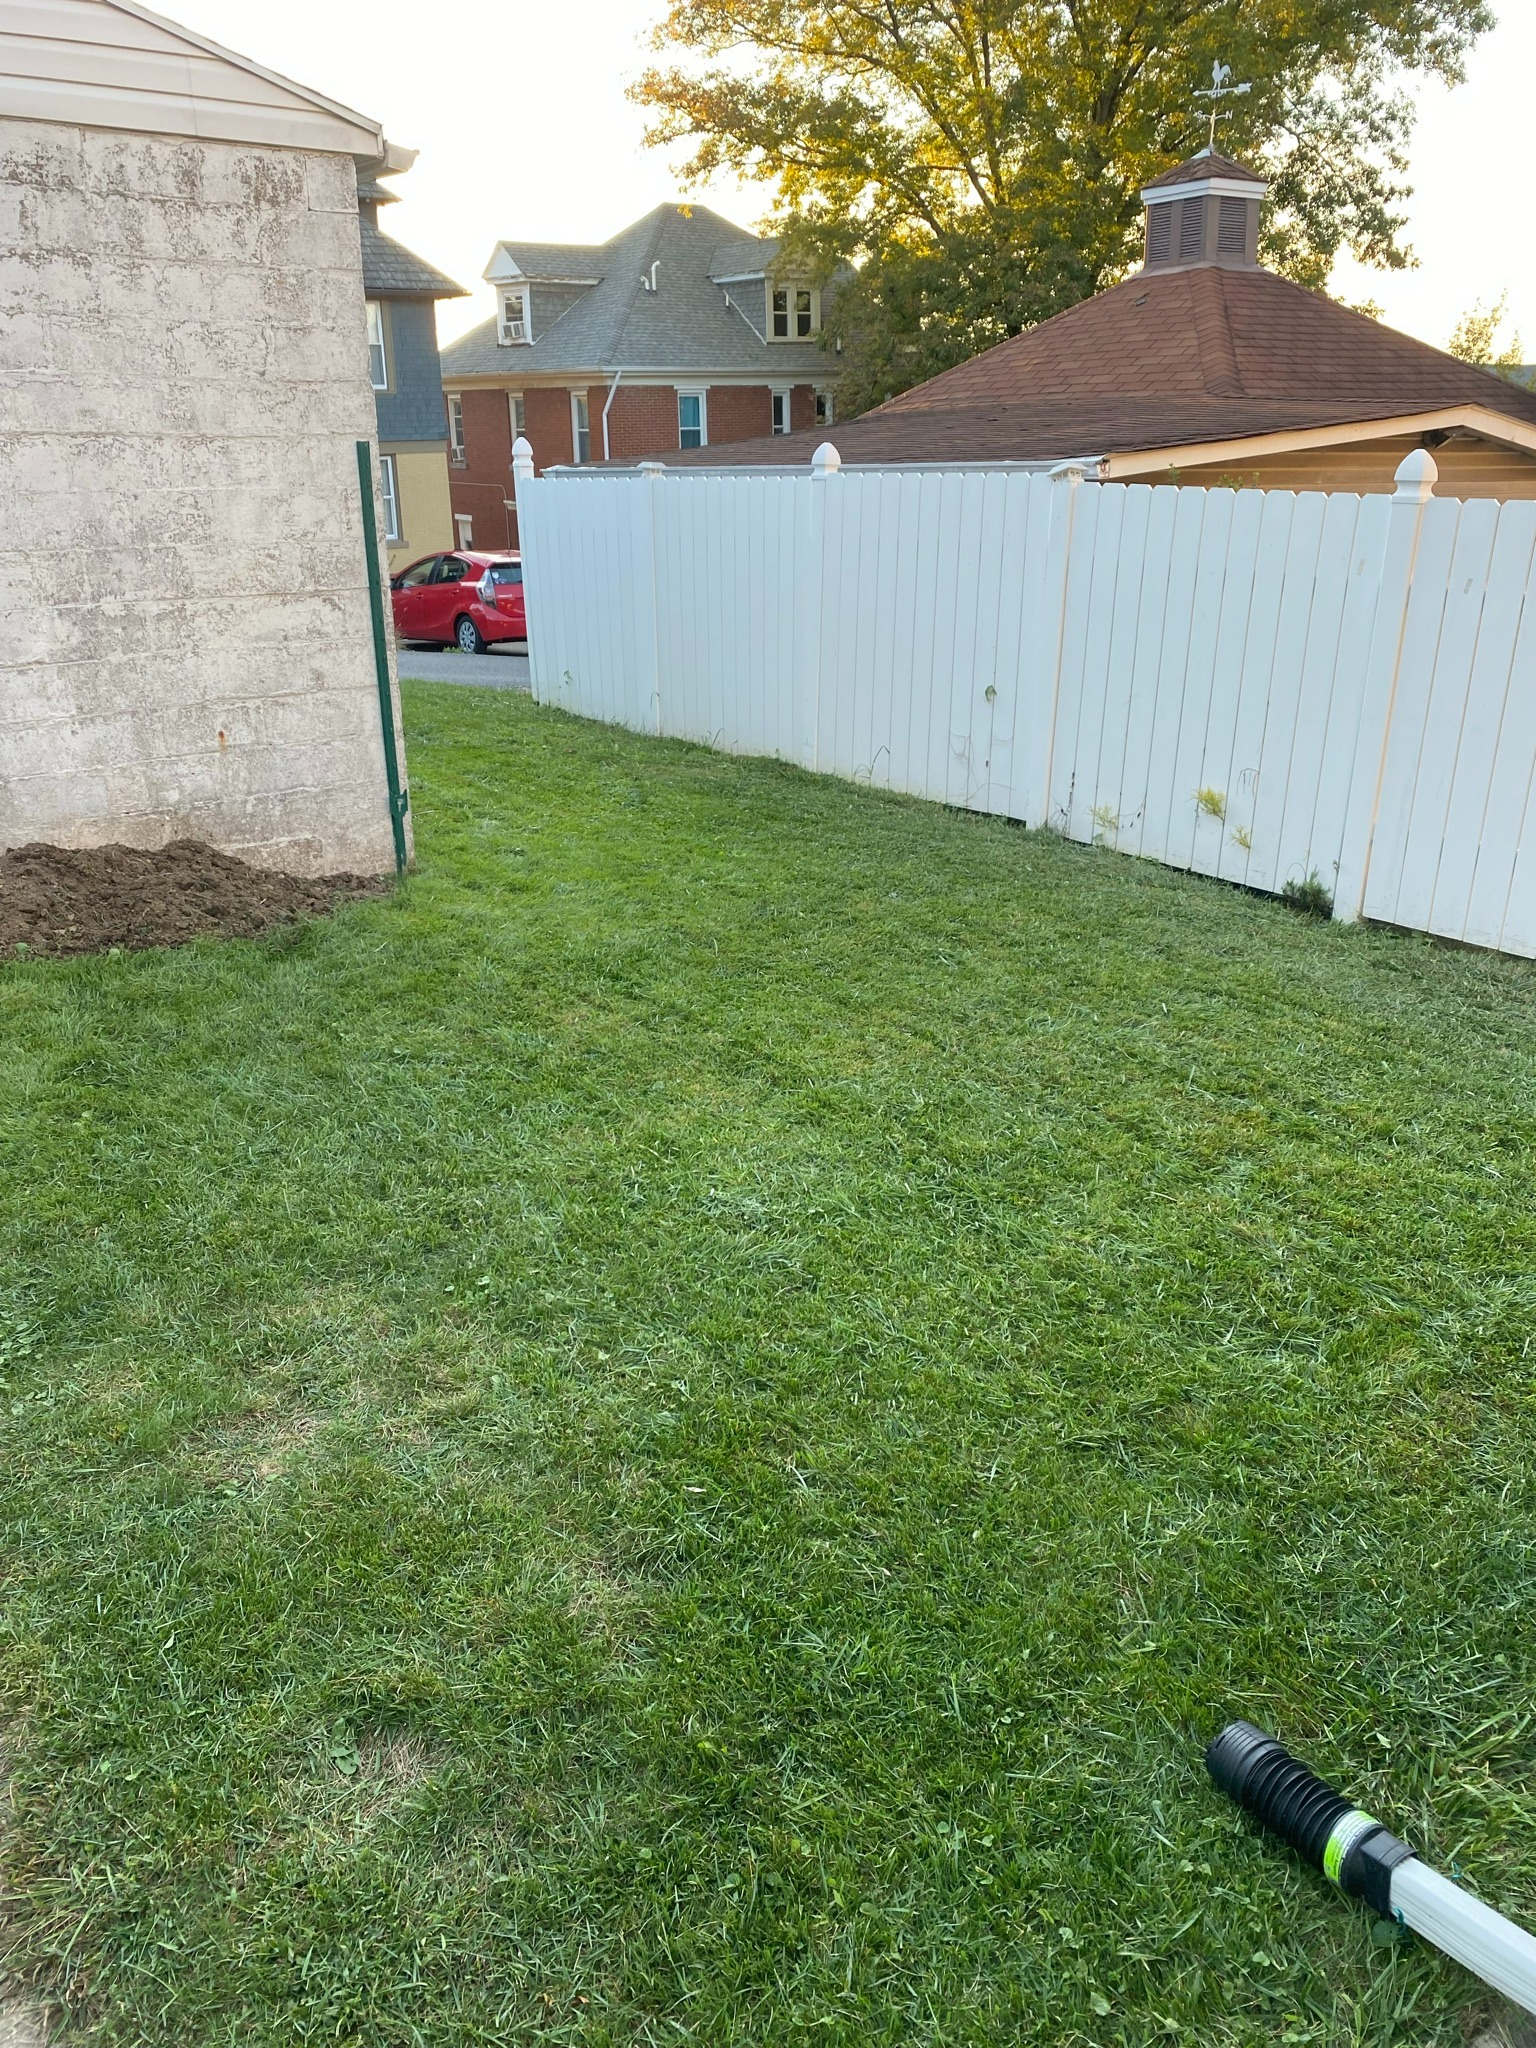
Final Product
Post a comment