Replacing Roof Ridge Cap
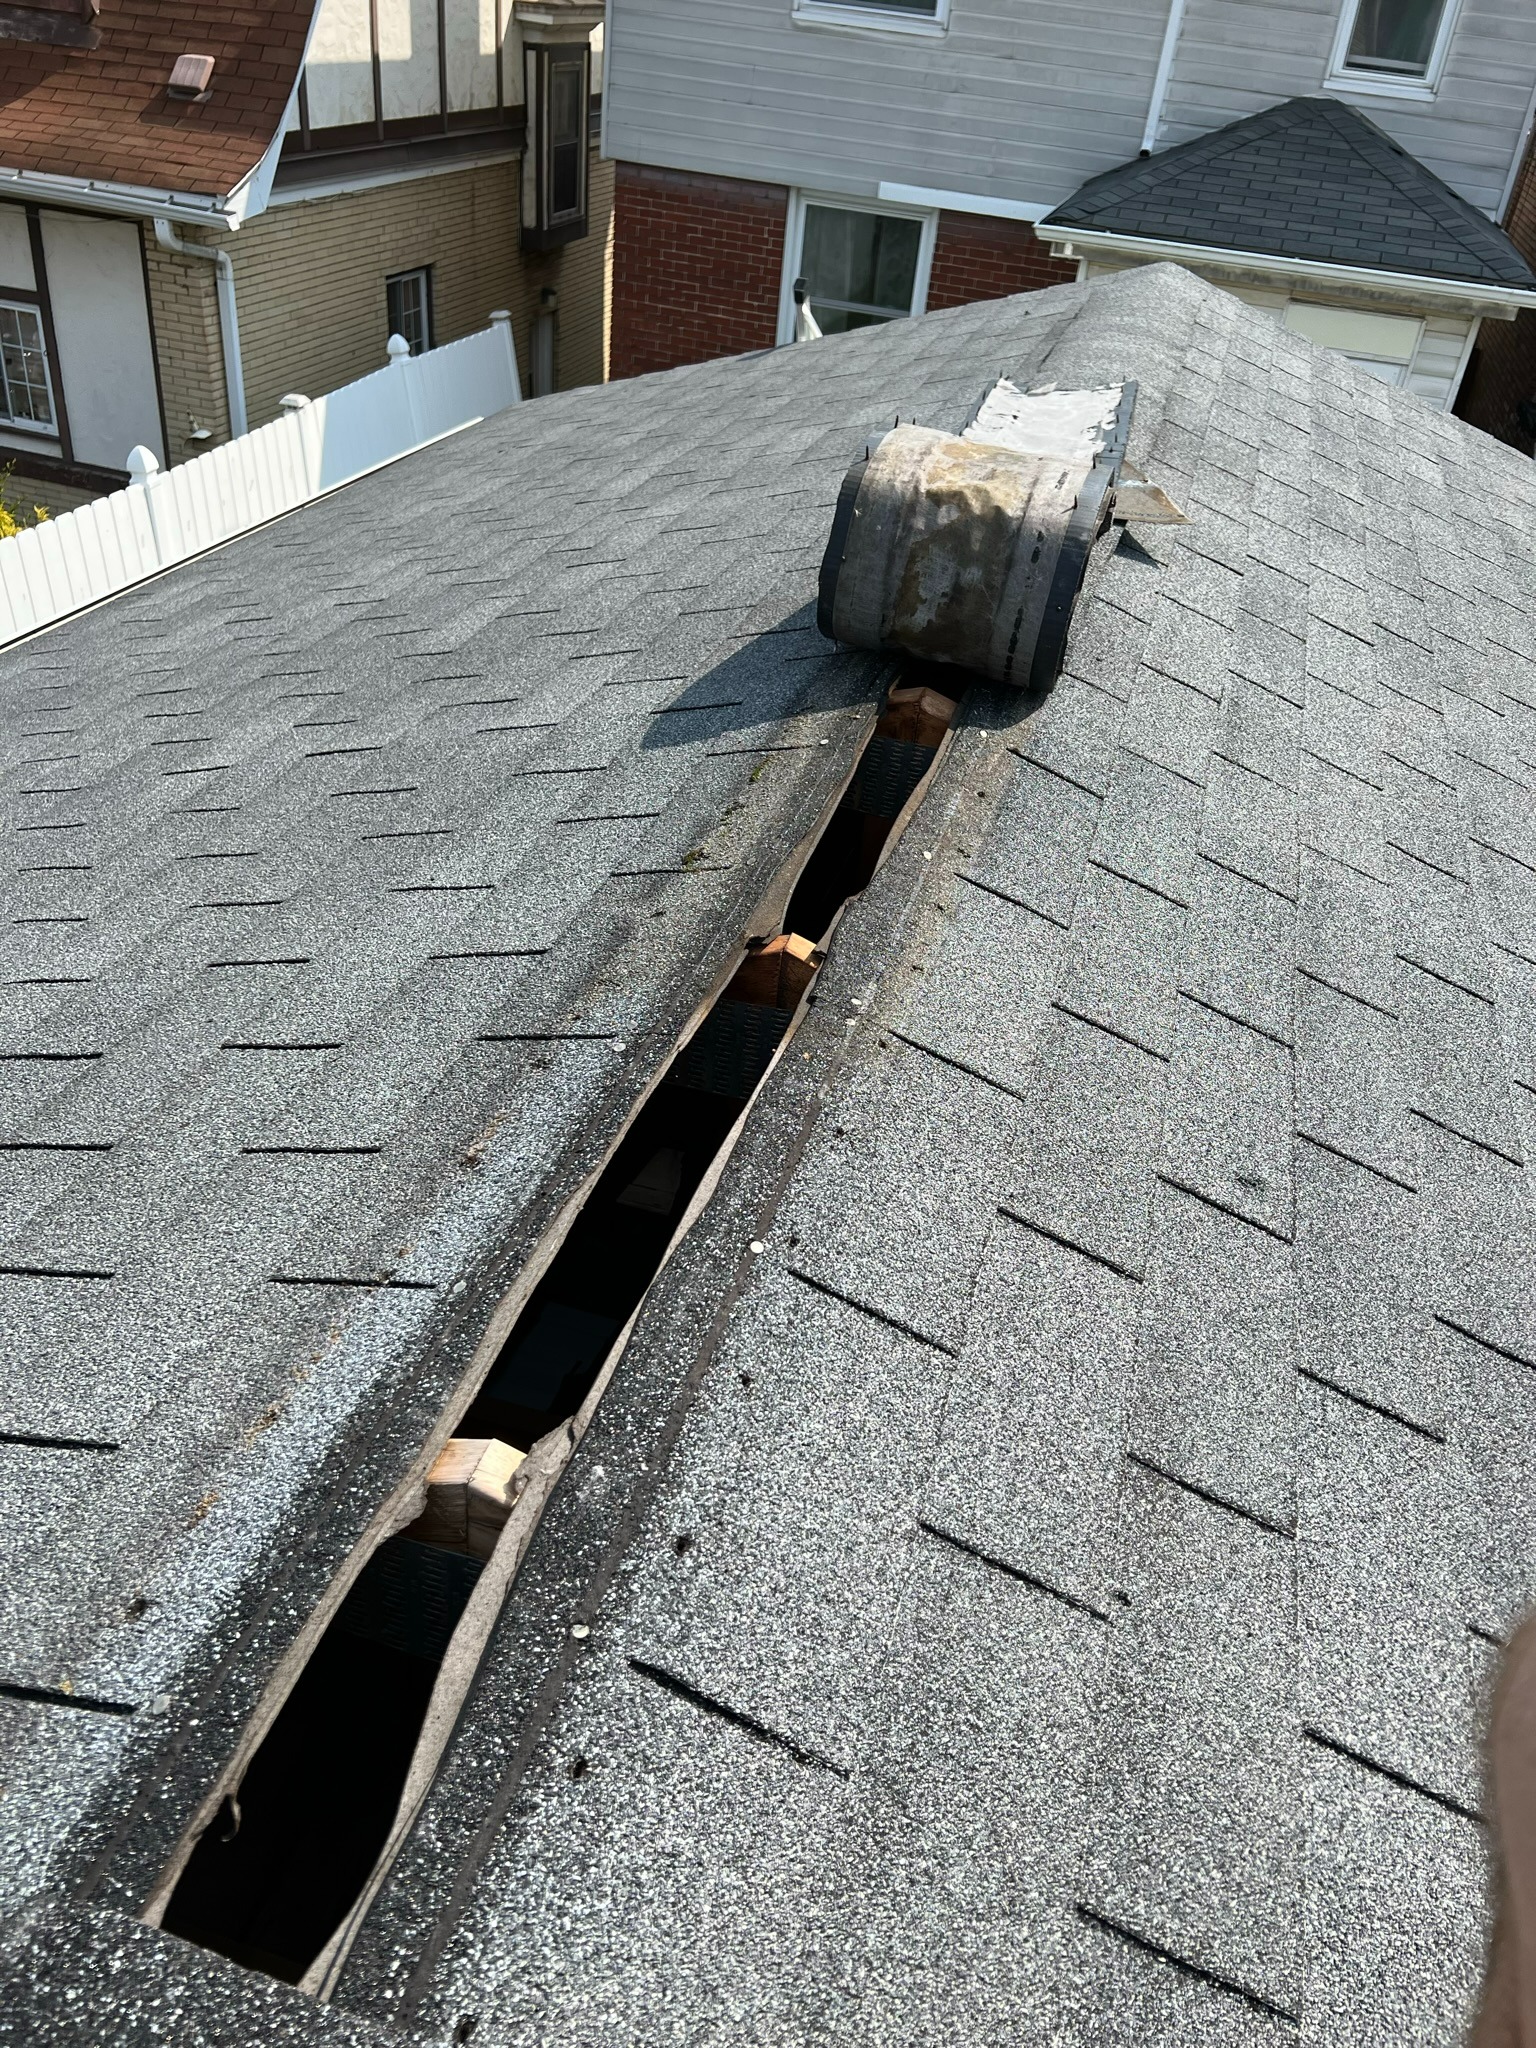
Problem: Loose ridge cap on garage roof
A wind storm uprooted a portion of the ridge cap on my garage roof. Even though the whole thing wasn't uprooted, when I went up to check it, I realized that nearly the whole thing was loose.
I realized that there were two issues with the installation: 1) The roofing nails used were too short, and 2) the shingles had been laid so that their edges would be more exposed to wind. (They were laid facing the southwest. Wind in Pittsburgh tends to blow from the south and west. Also, this is the "open end" of my property--in other words not blocked by the house--which meant that the exposed shingle edges would face even more wind that could potentially loosen them.)
Here is a summary of the work I did to fix the ridge gap.
1) Find a neighbor who is willing to loan you an extension ladder so that you can climb on top of your roof.
2) Remove the existing ridge cap.
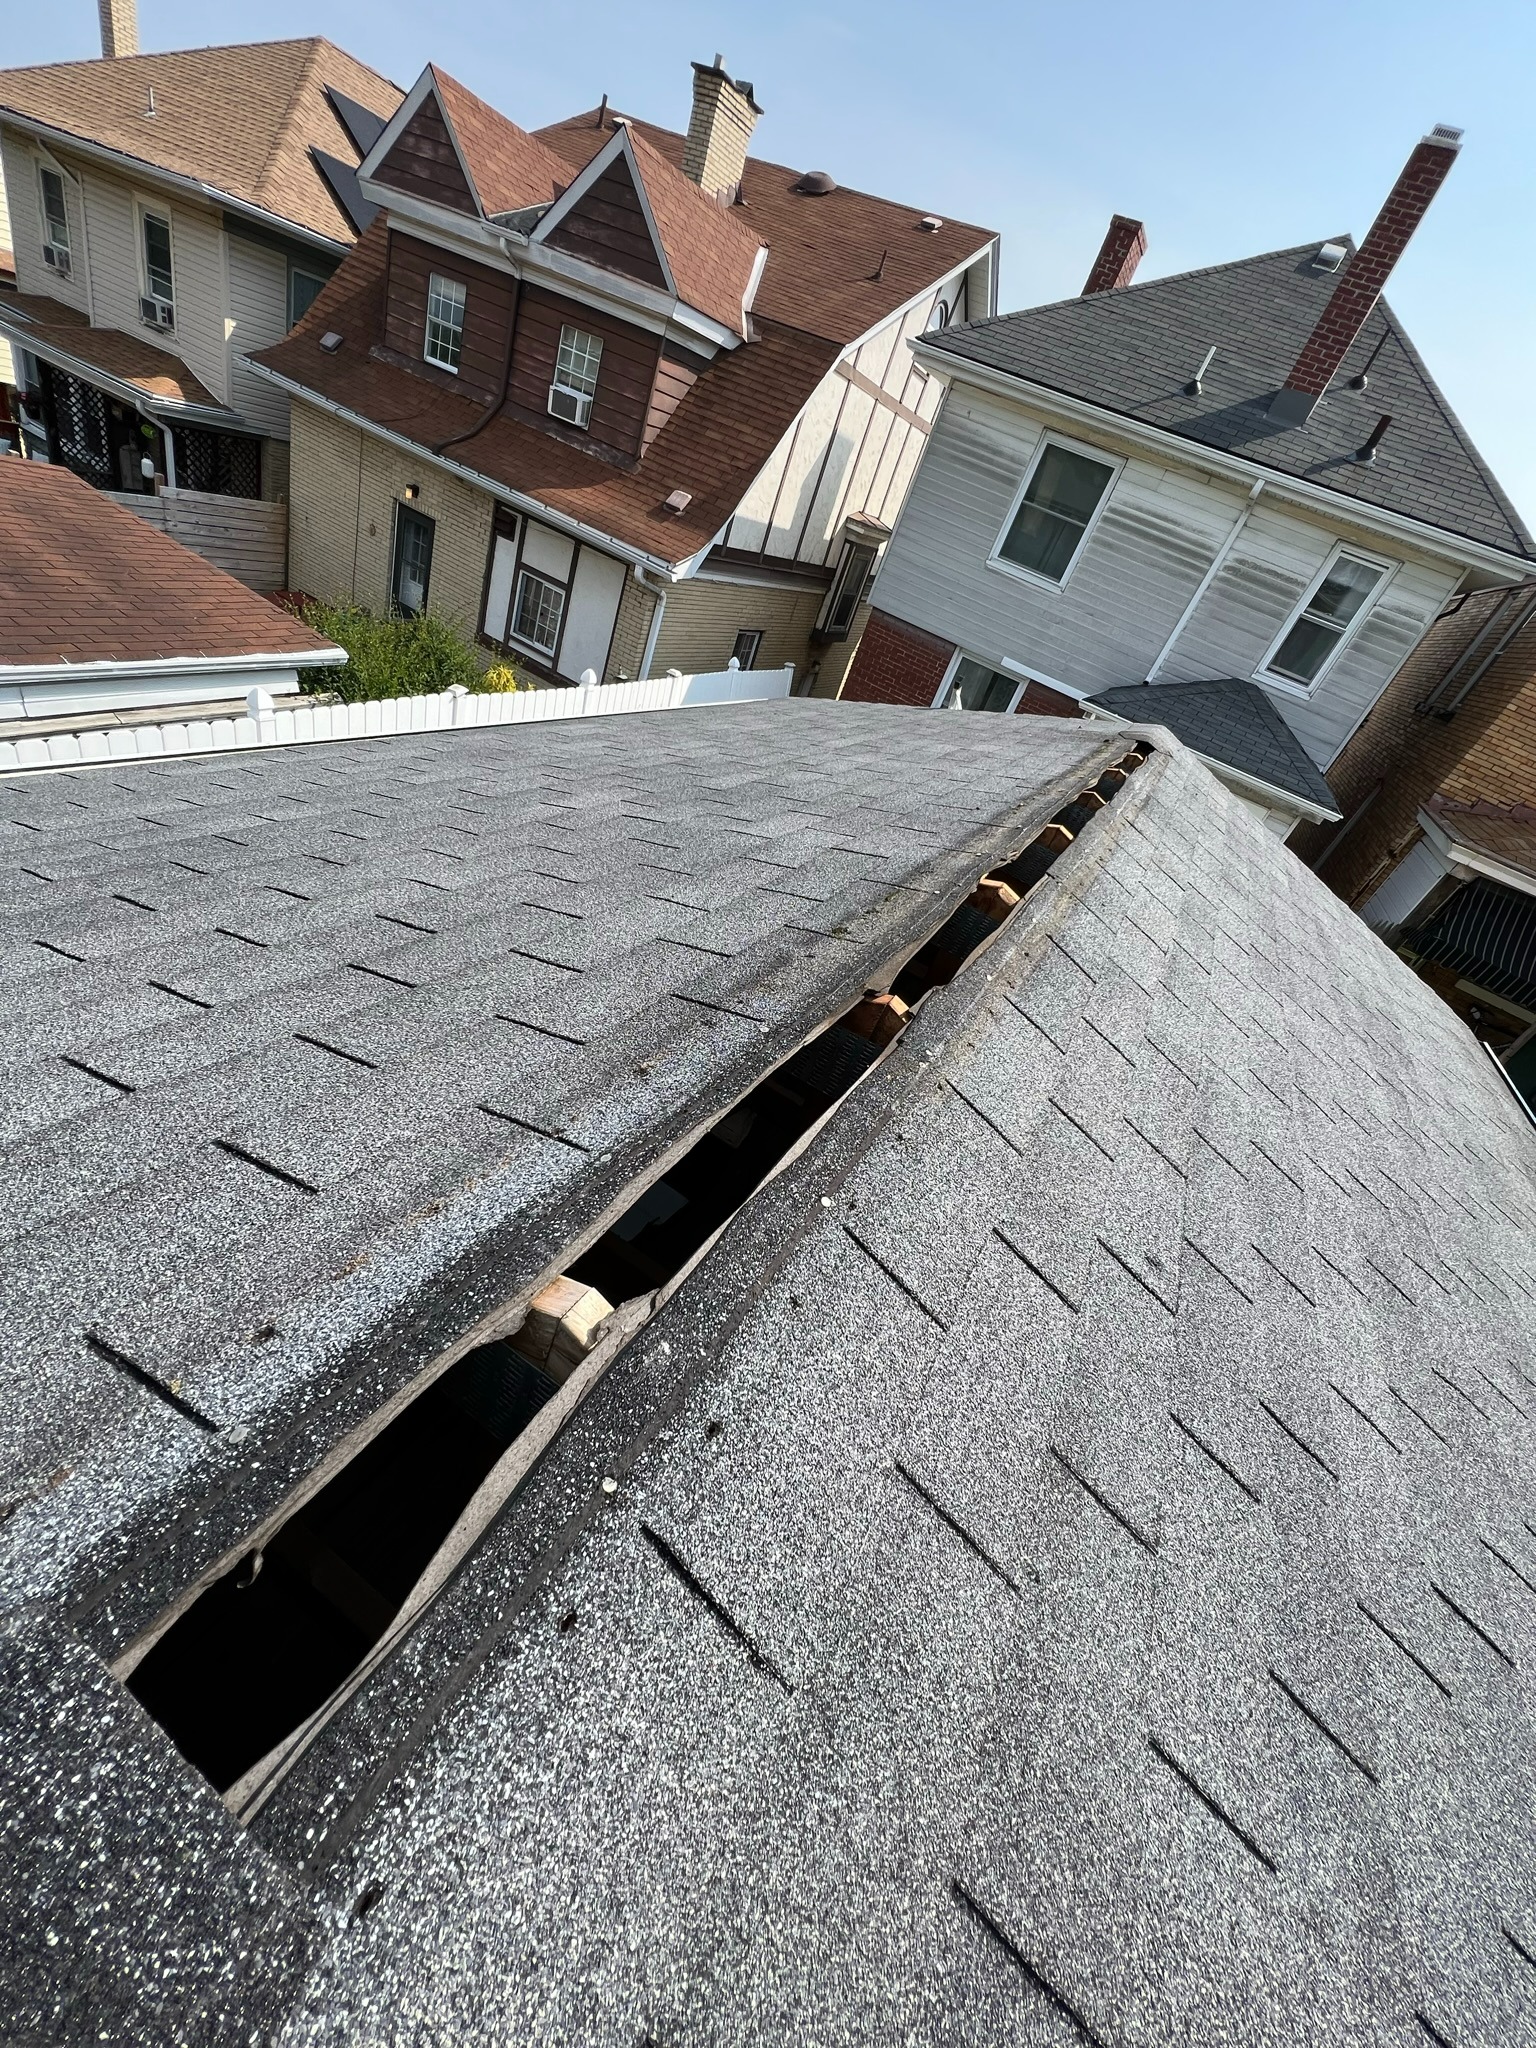
3) Fill resulting holes with roof cement.
Do you see the holes left by the nails of the previous ridge cap? I filled these with roof cement.
Roof cement may also be called "roof sealant" or "mastic." I bought "Roofer's Choice," the brand sold at Home Depot.
Honestly, this step may have been unnecessary because the vent that I would later install would likely cover these holes, but given that water will find its way into anything, and my nerves about making a mistake, I figured I would be thorough and fill these holes with cement.
You can buy the roof cement in either a big tub or small tube. I wasn't going to need that much, so I bought a tube. You use a caulk gun to squeeze the tube, and a putty knife to smooth the roof cement.
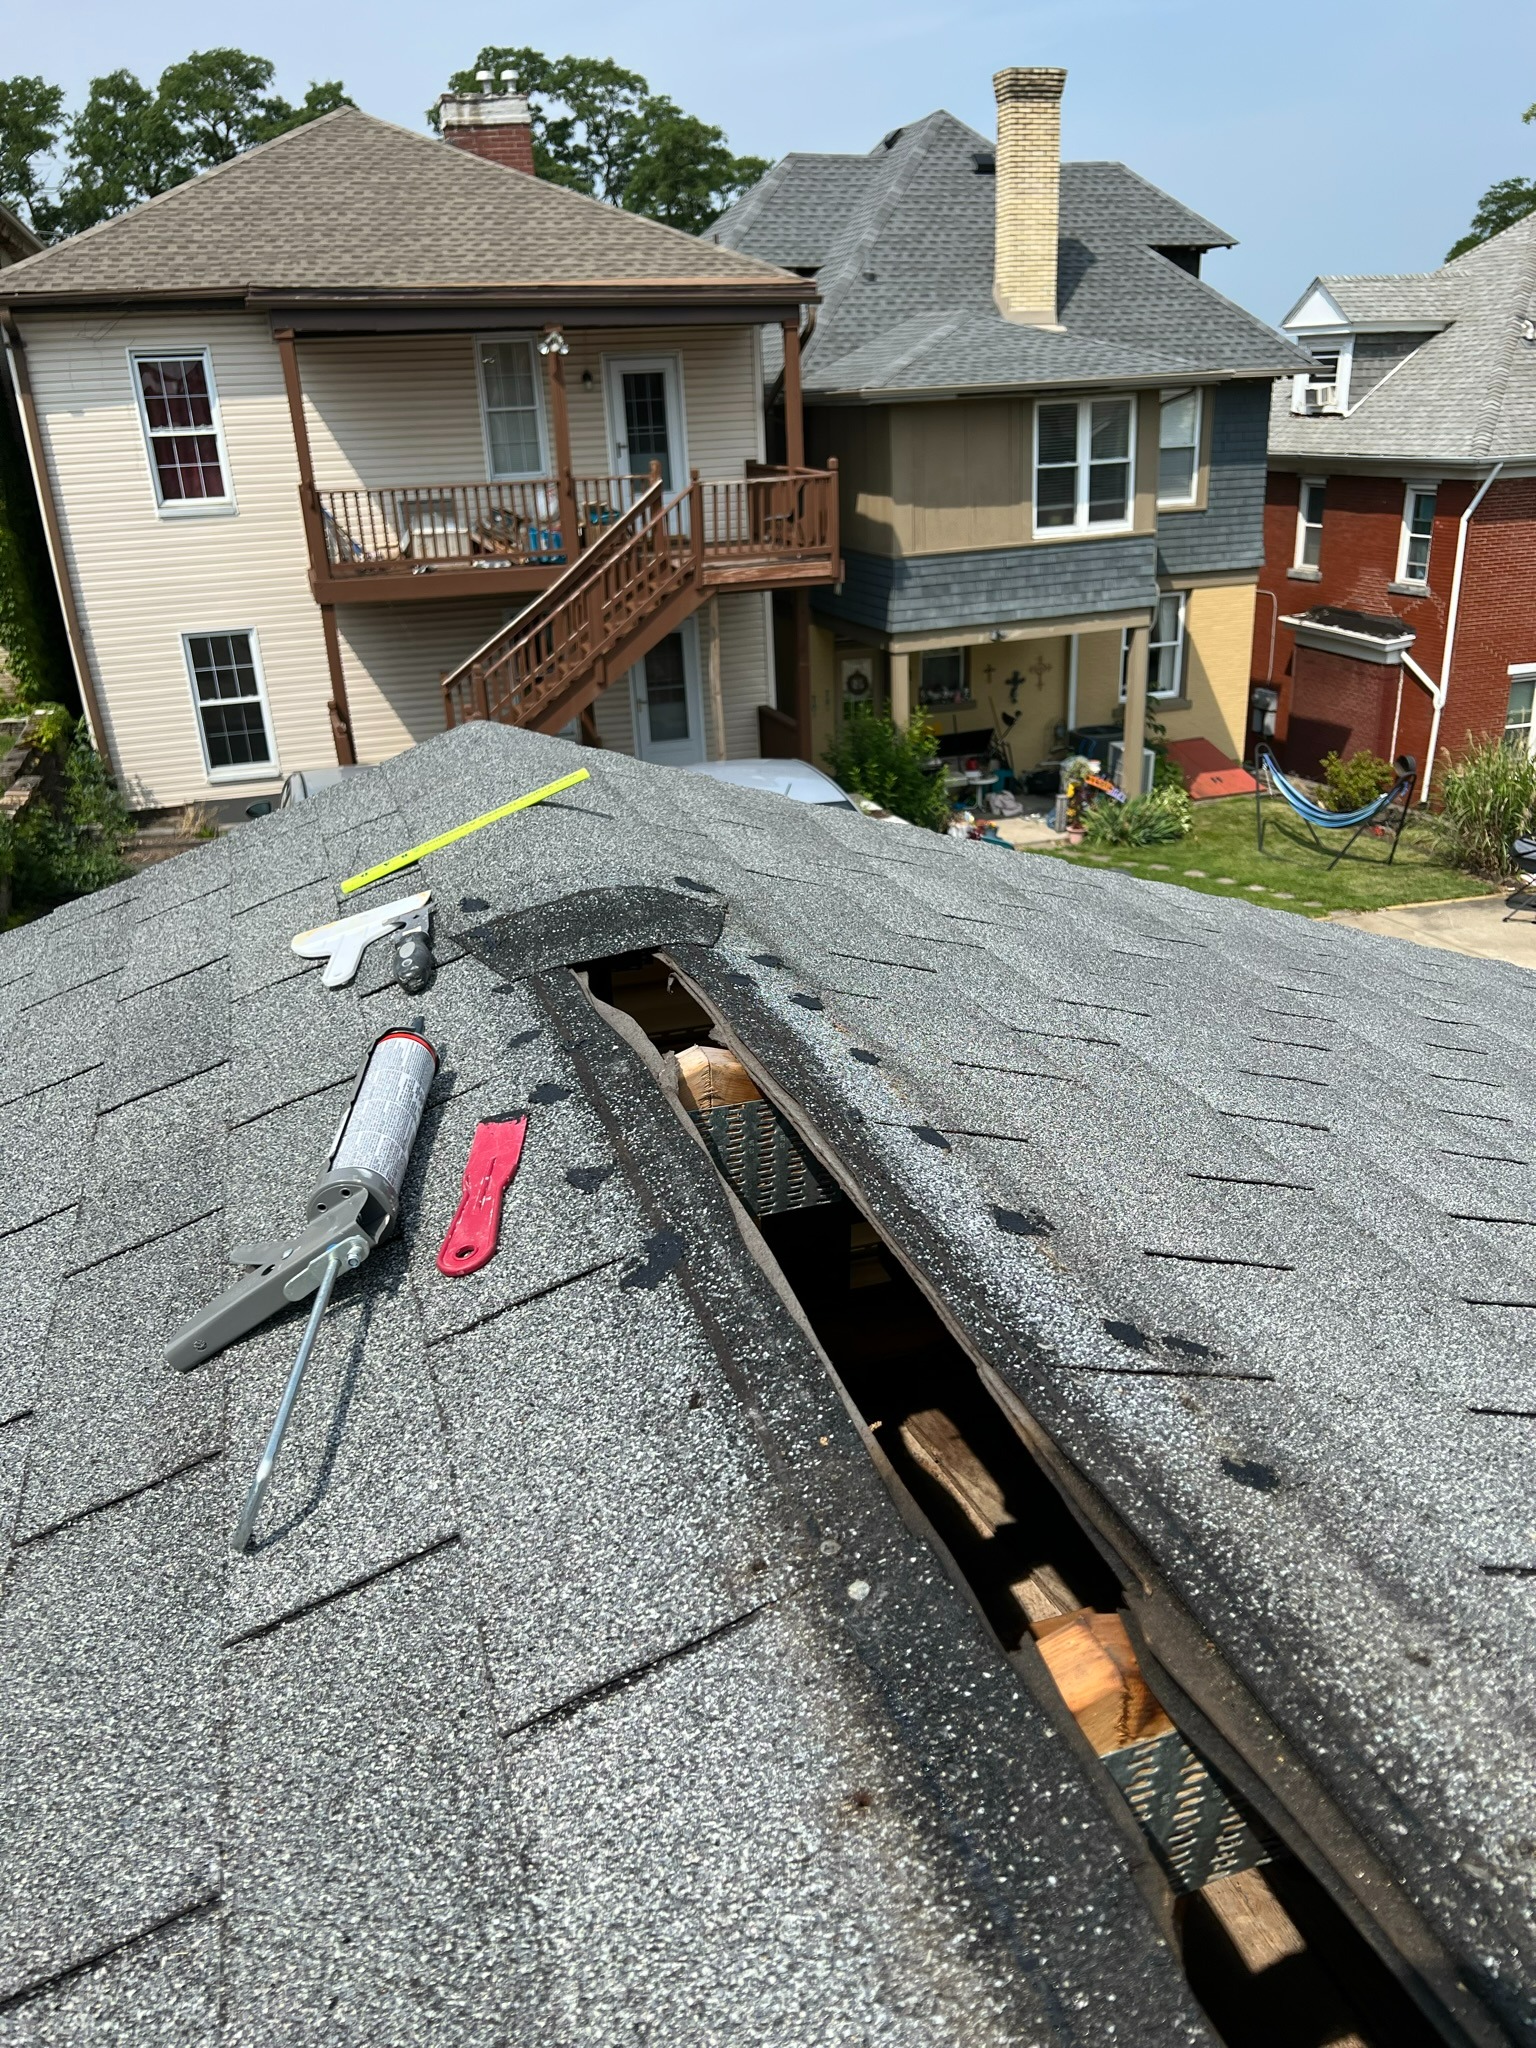
4) Mark the trusses.
I was going to have to nail vents and shingles into place and those nails would obviously hold stronger if hammered into existing wood, so I marked the location of the trusses running underneath the decking and existing shingles with masking tape. This would help me identify the trusses because the vents that I would lay would be wider than the gap that I need to cover and completely block the trusses from view.
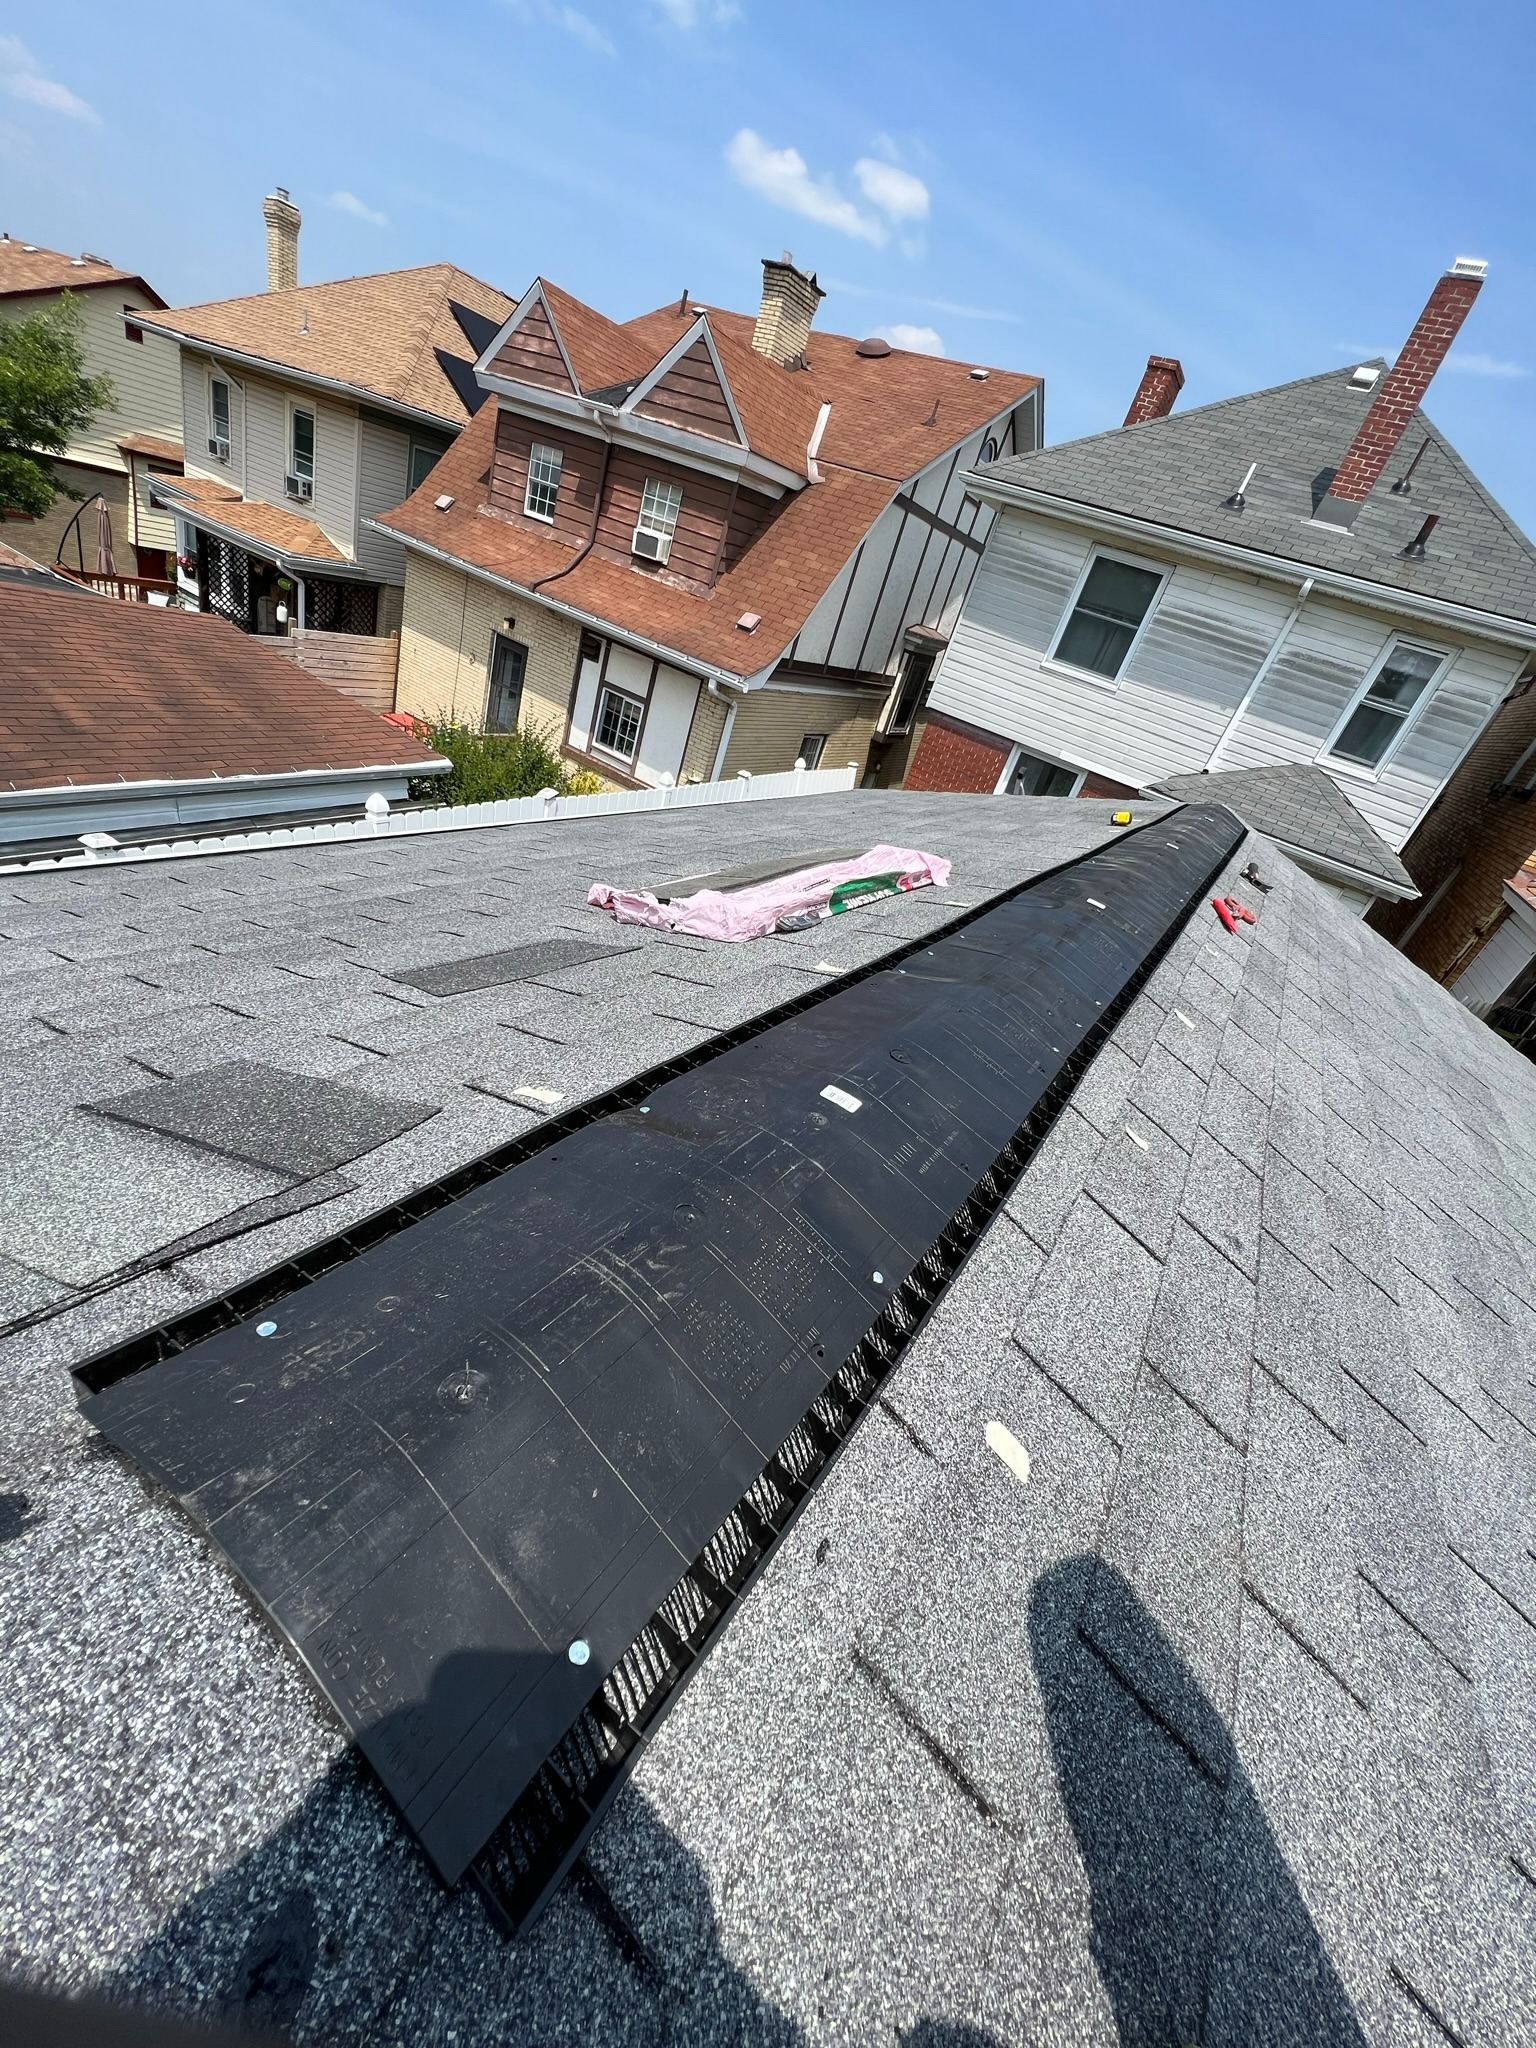
5) Secure the vents.
A roof needs some sort of vent so that it doesn't overheat from underneath (because heat rises). There are different types of vents. I'm not a specialist in this topic. My roof was already designed to have its vent attached to the ridge gap, so I stuck with this design.
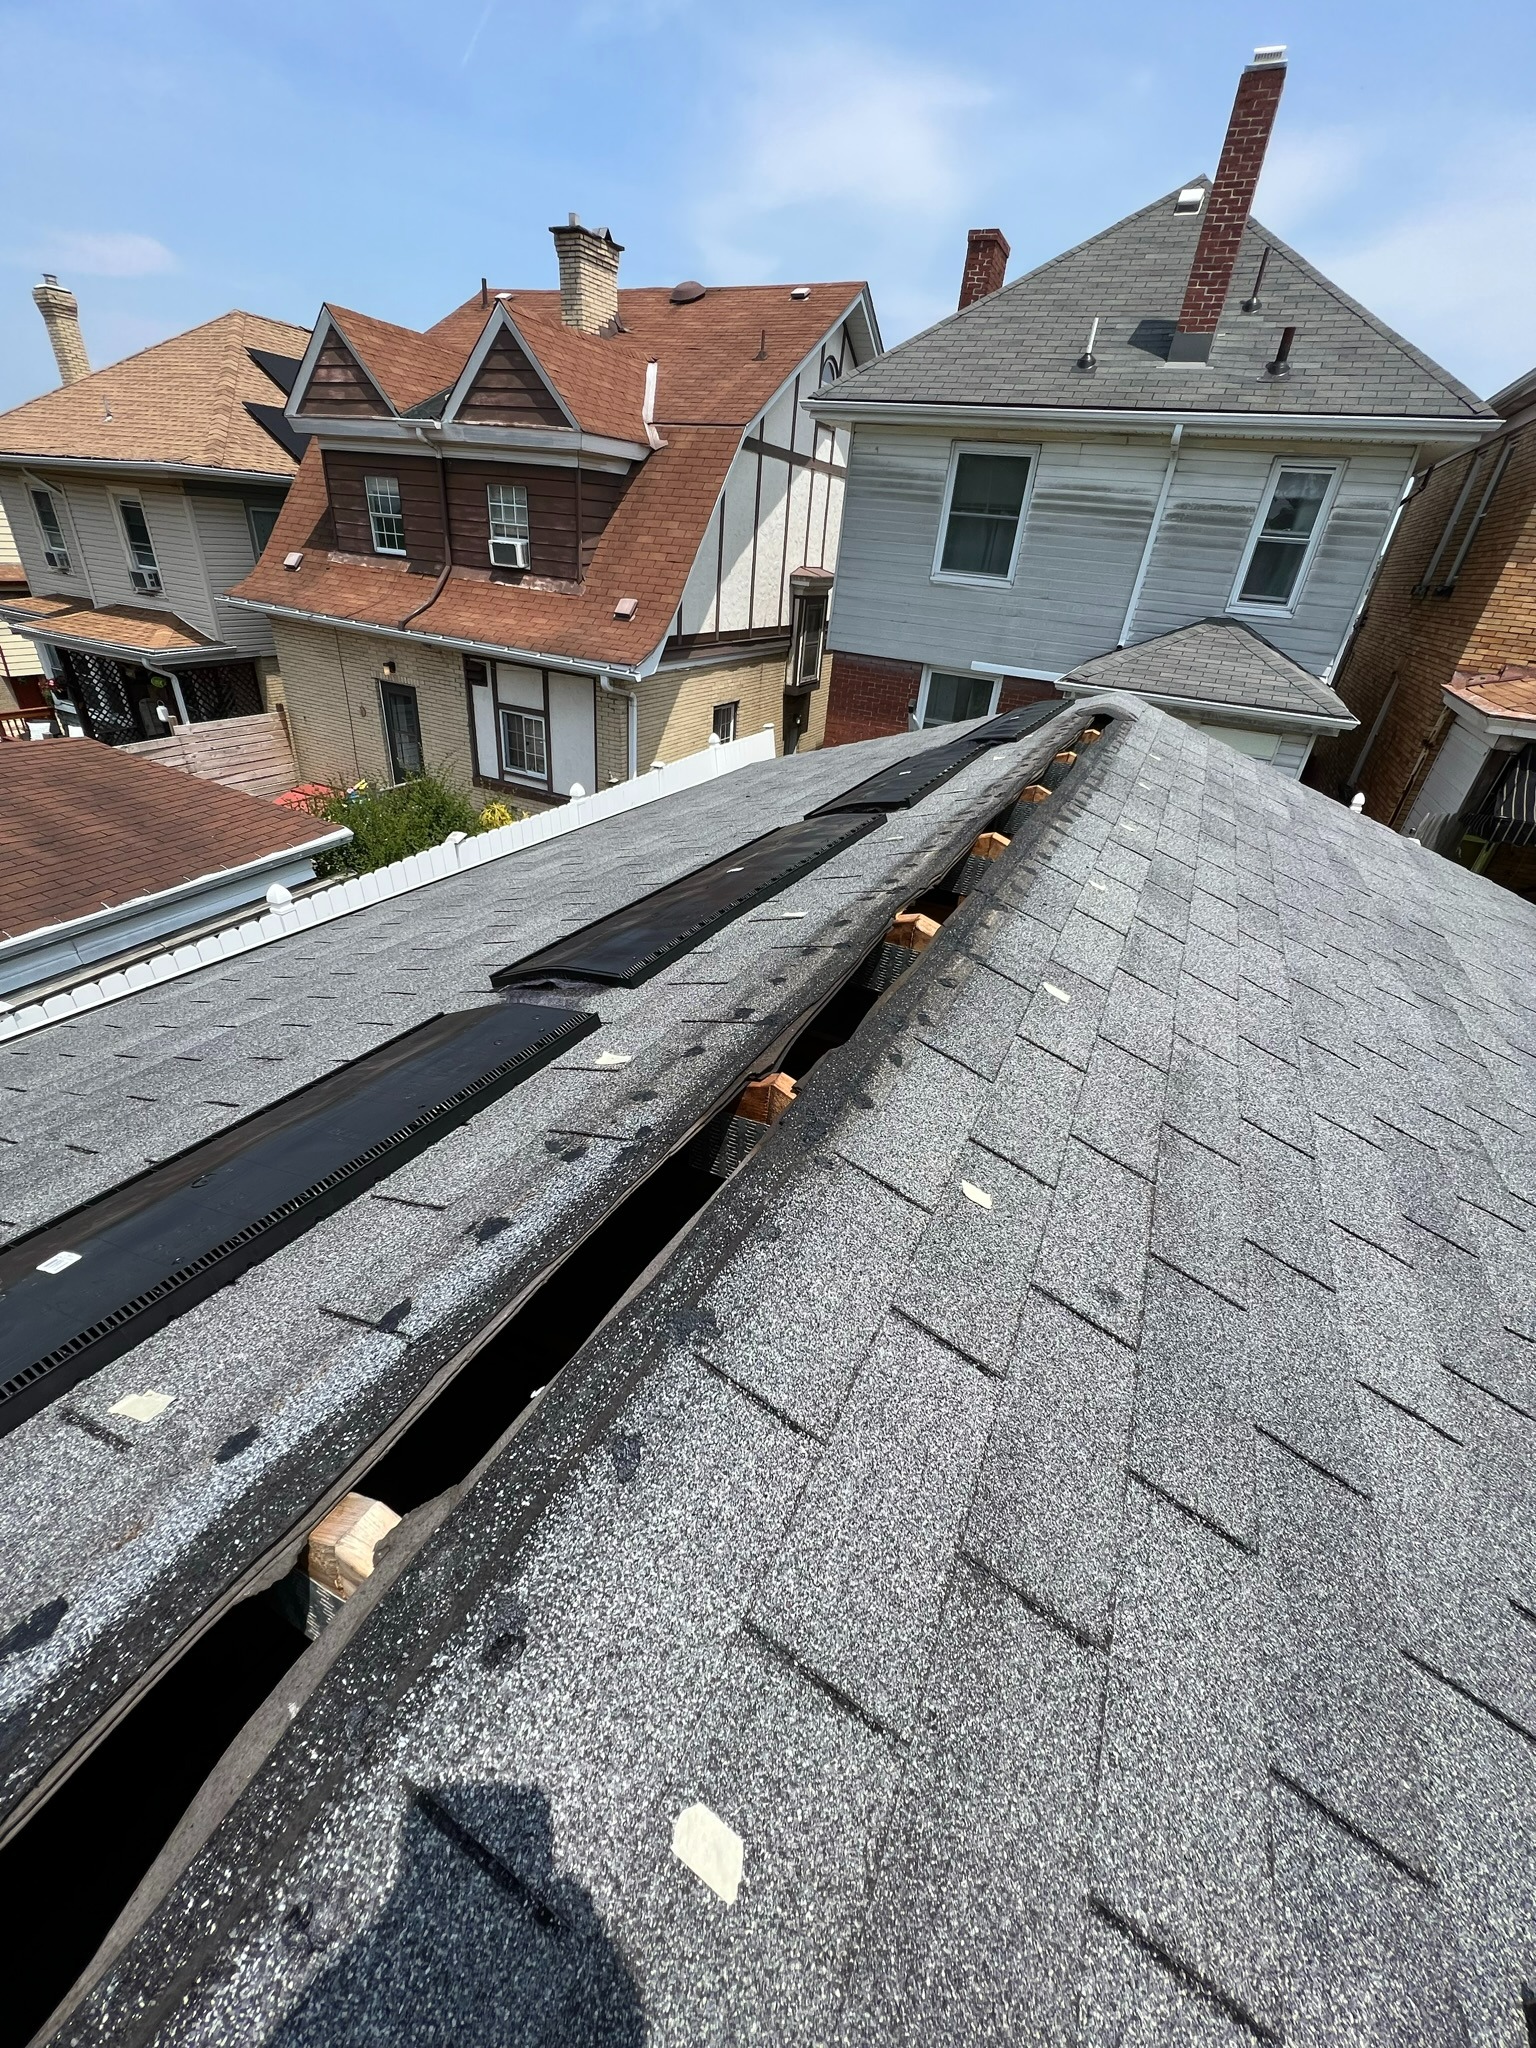
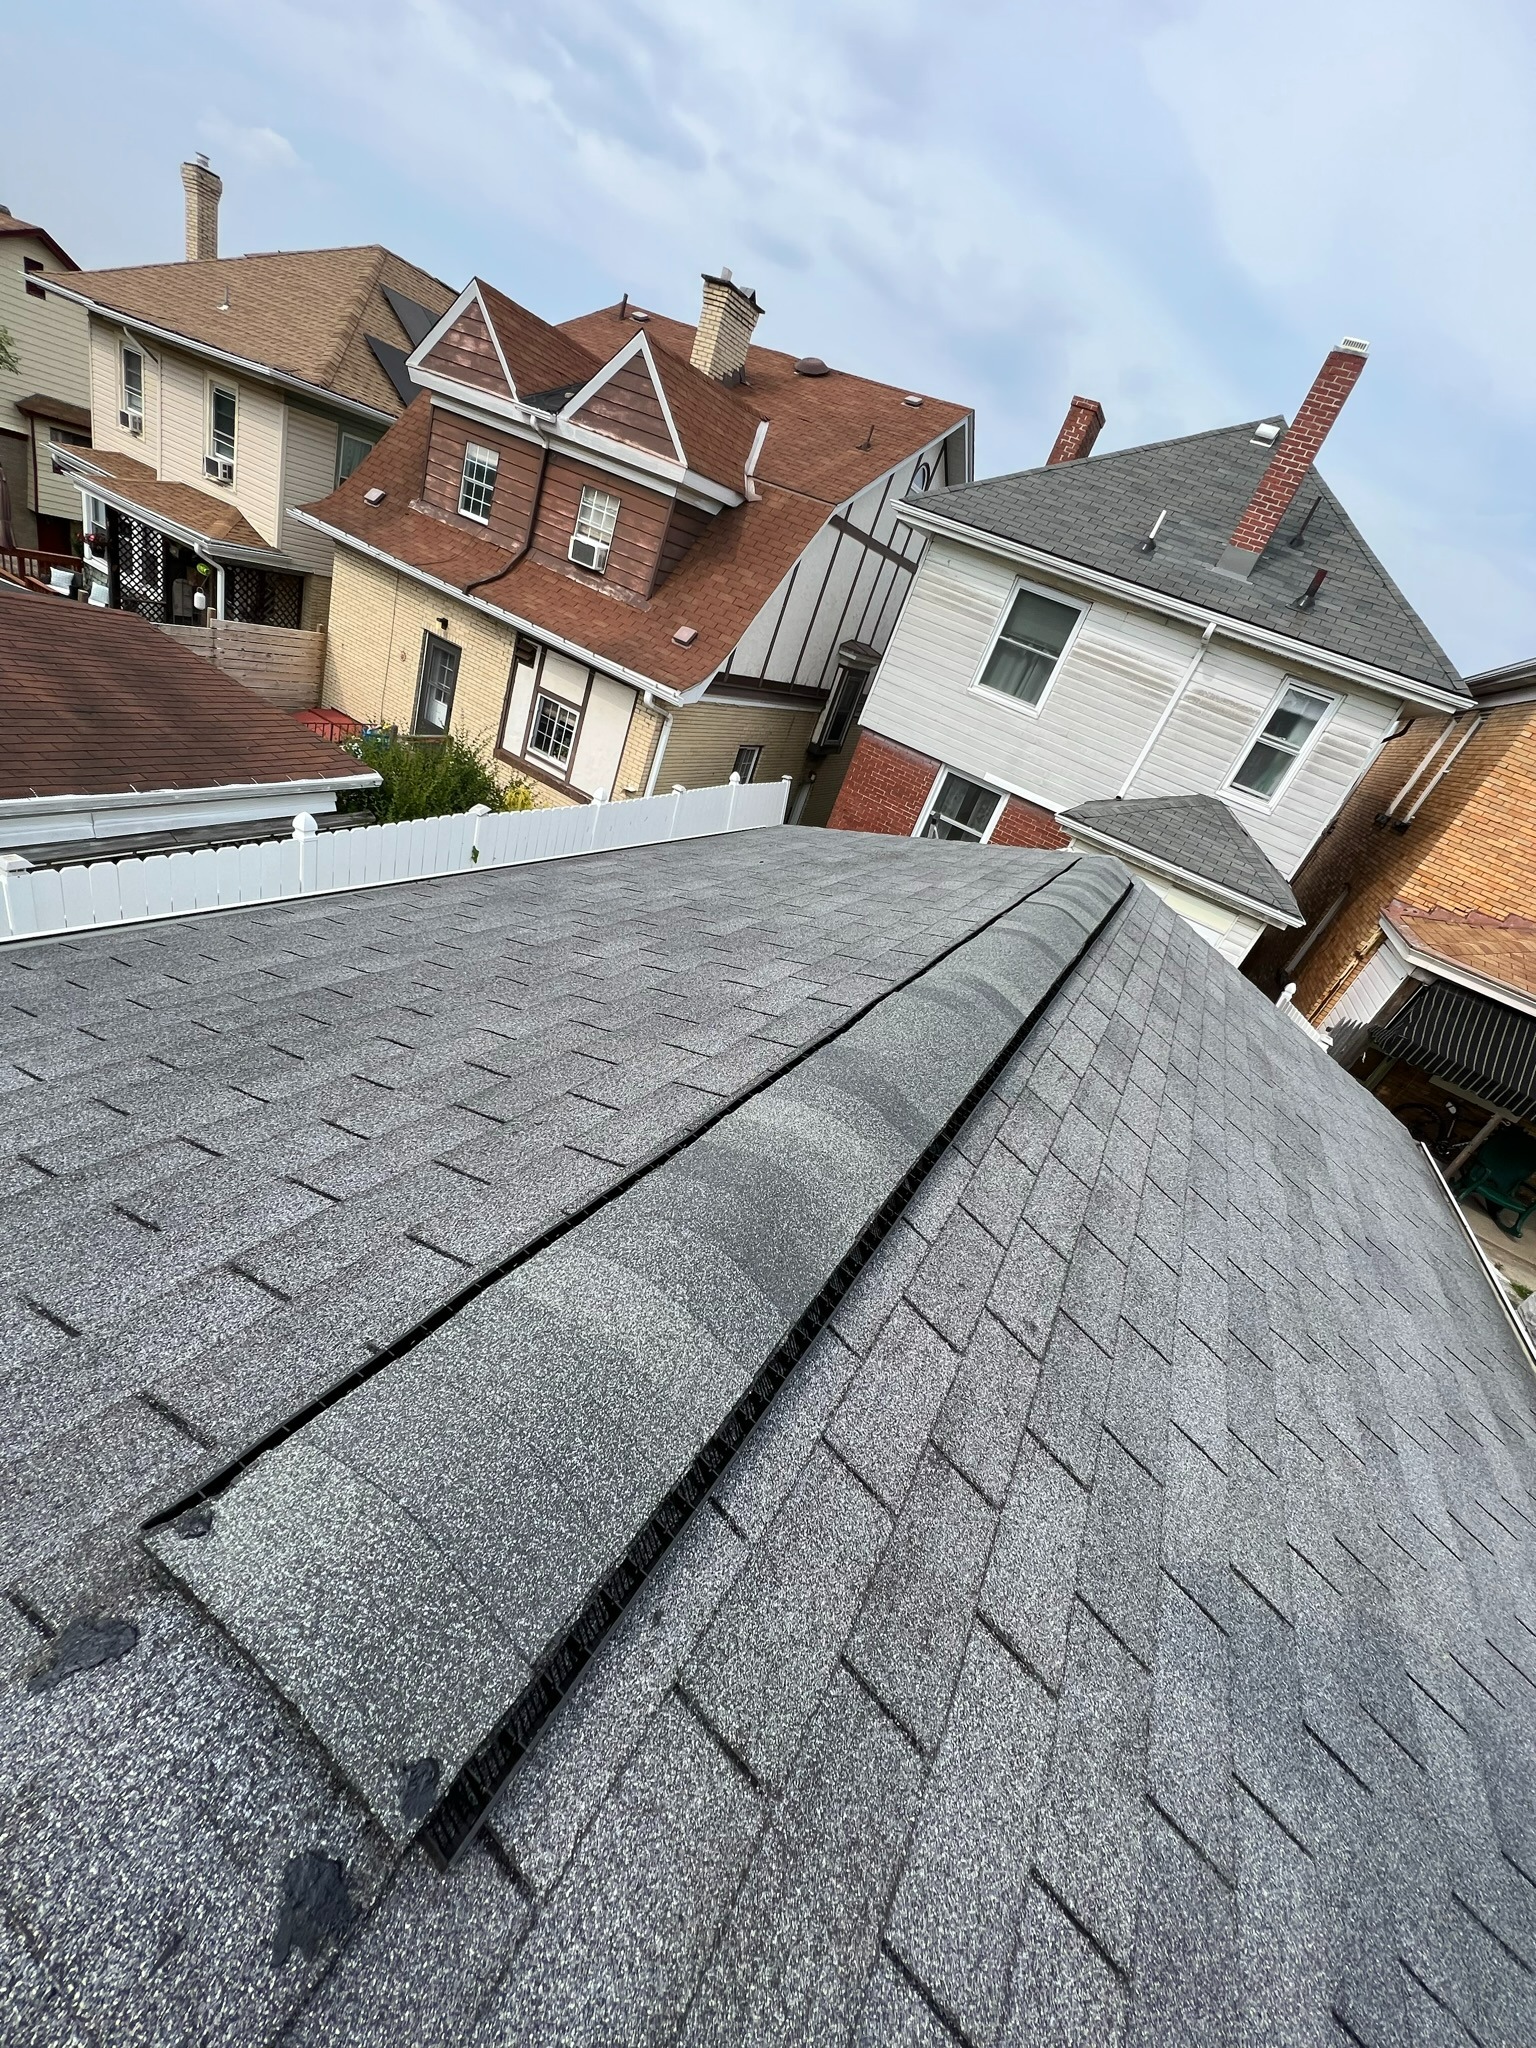
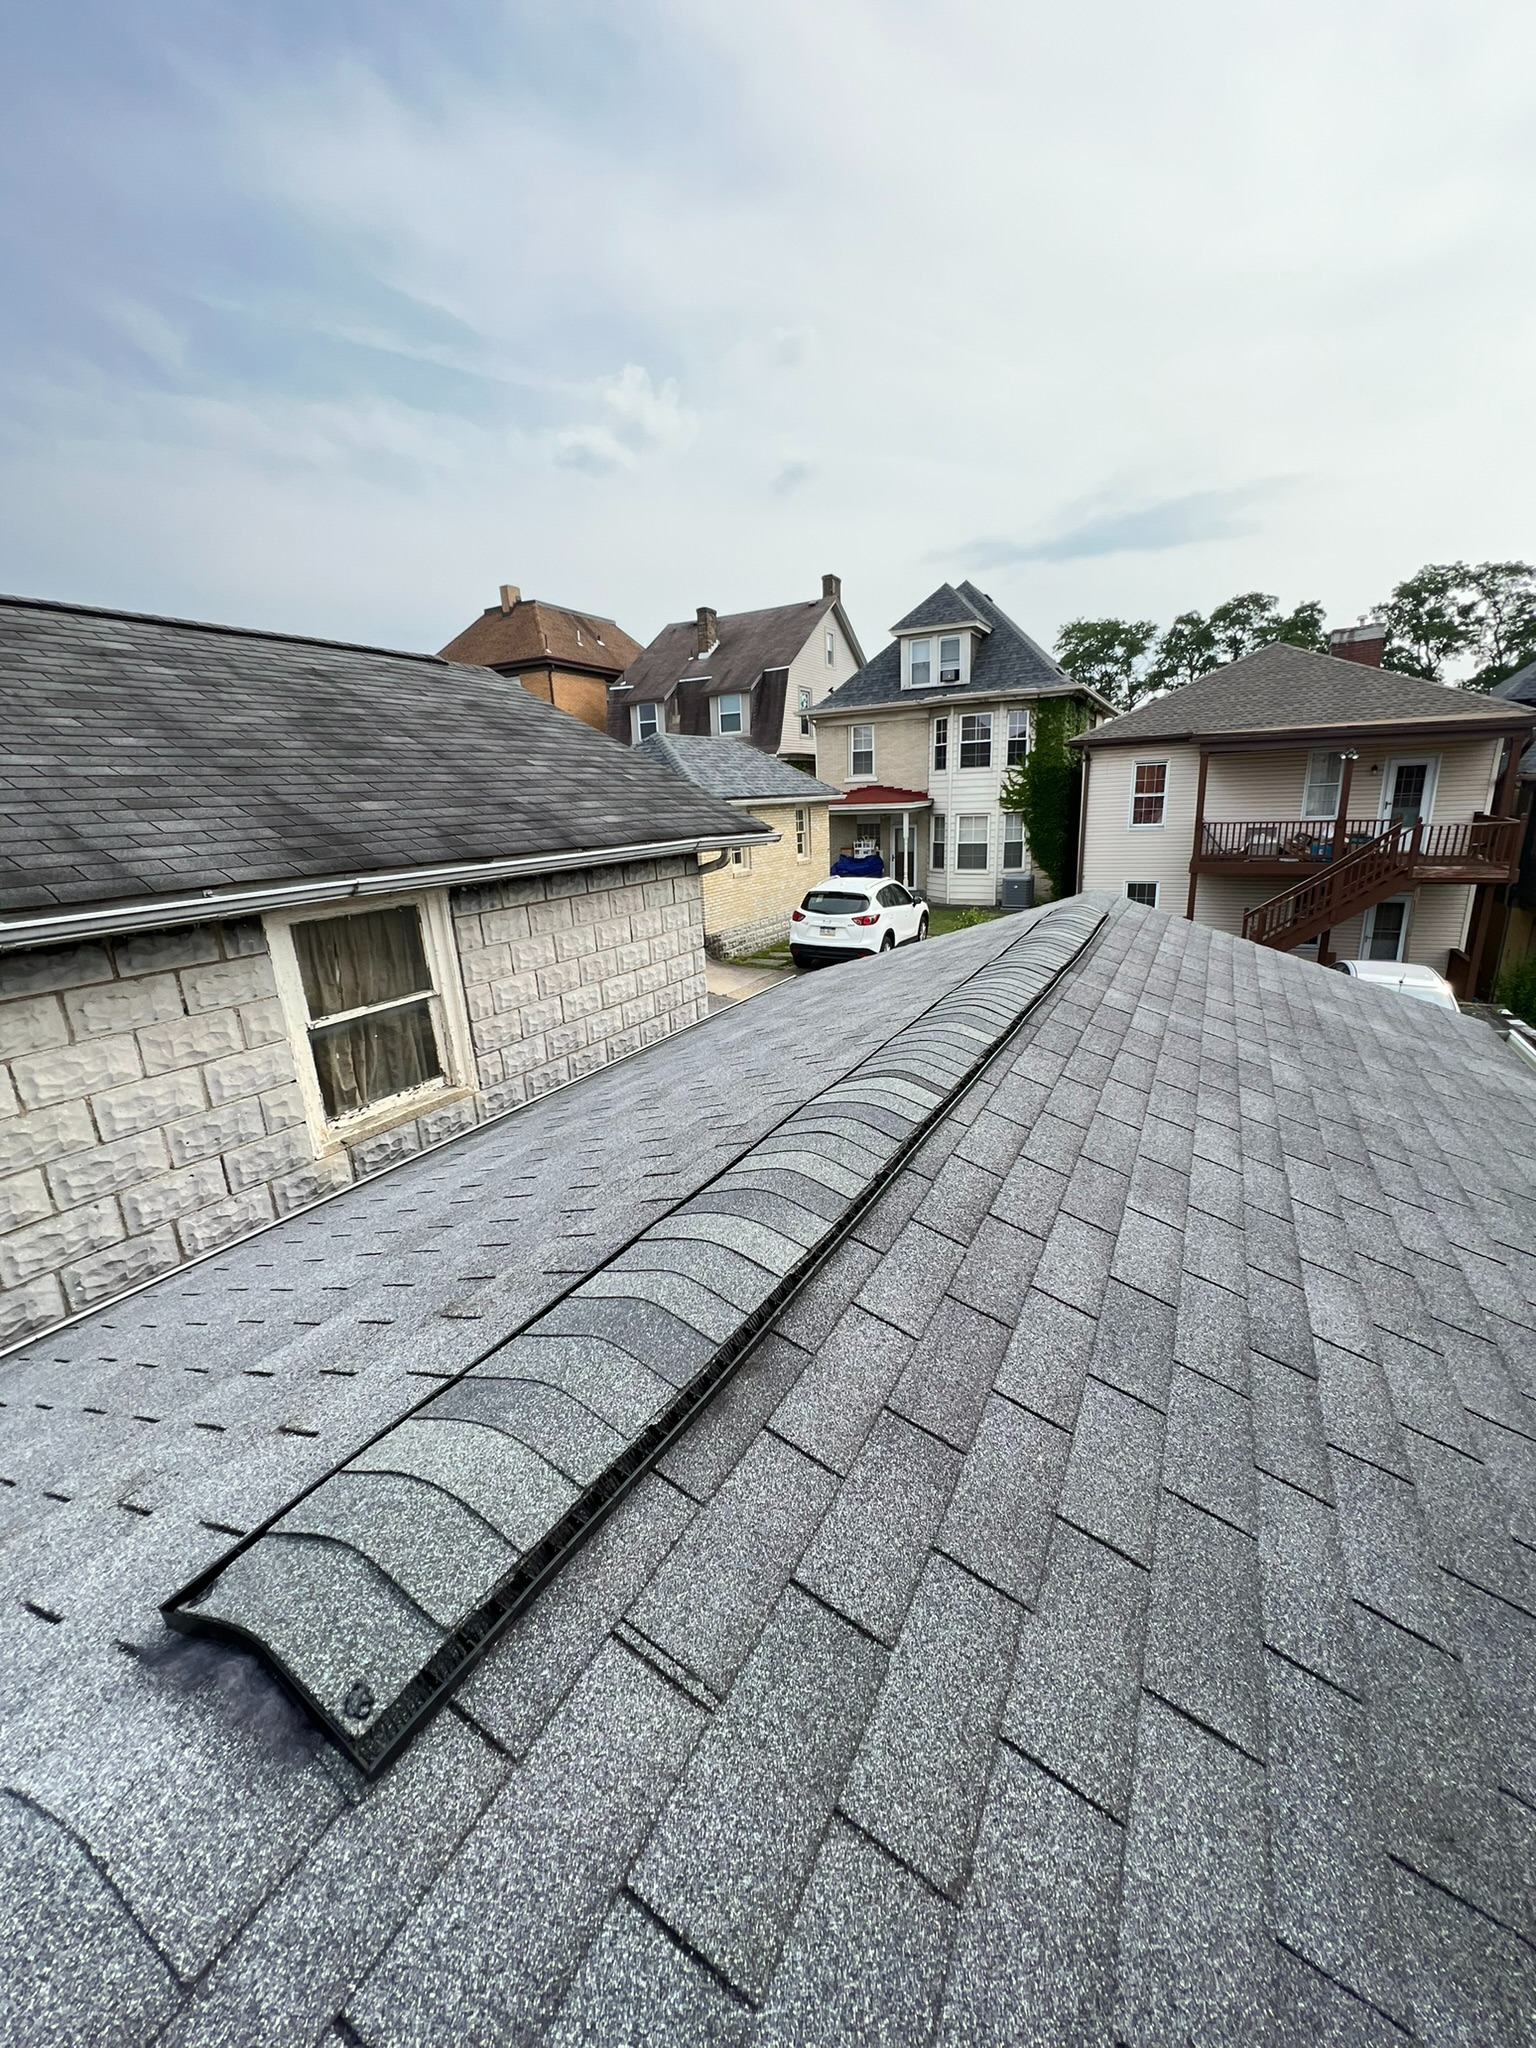
I read that ridge cap vents with wind baffles (the one-inch extensions that you can see on either side of the pieces below) were best, so I bought four 4-ft long vents that would almost perfectly fit the length space I needed to cover, as well as support 12-inch wide shingles.
Then, I nailed the vents into the roof. I used 2-inch roofing nails, which were a bit longer than I actually needed. I read that the code says that 3/8-inch of each roofing nail should be exposed beneath the decking. The vent was 3/4-inch thick plus another 3/4-inch of existing shingles and decking, which would add to 1.5-inch of nail coverage and make 1.75-inch nails perfect for the job, but I wanted my vents to be extra secure given that the nails used initially were too short and ultimately didn't hold.
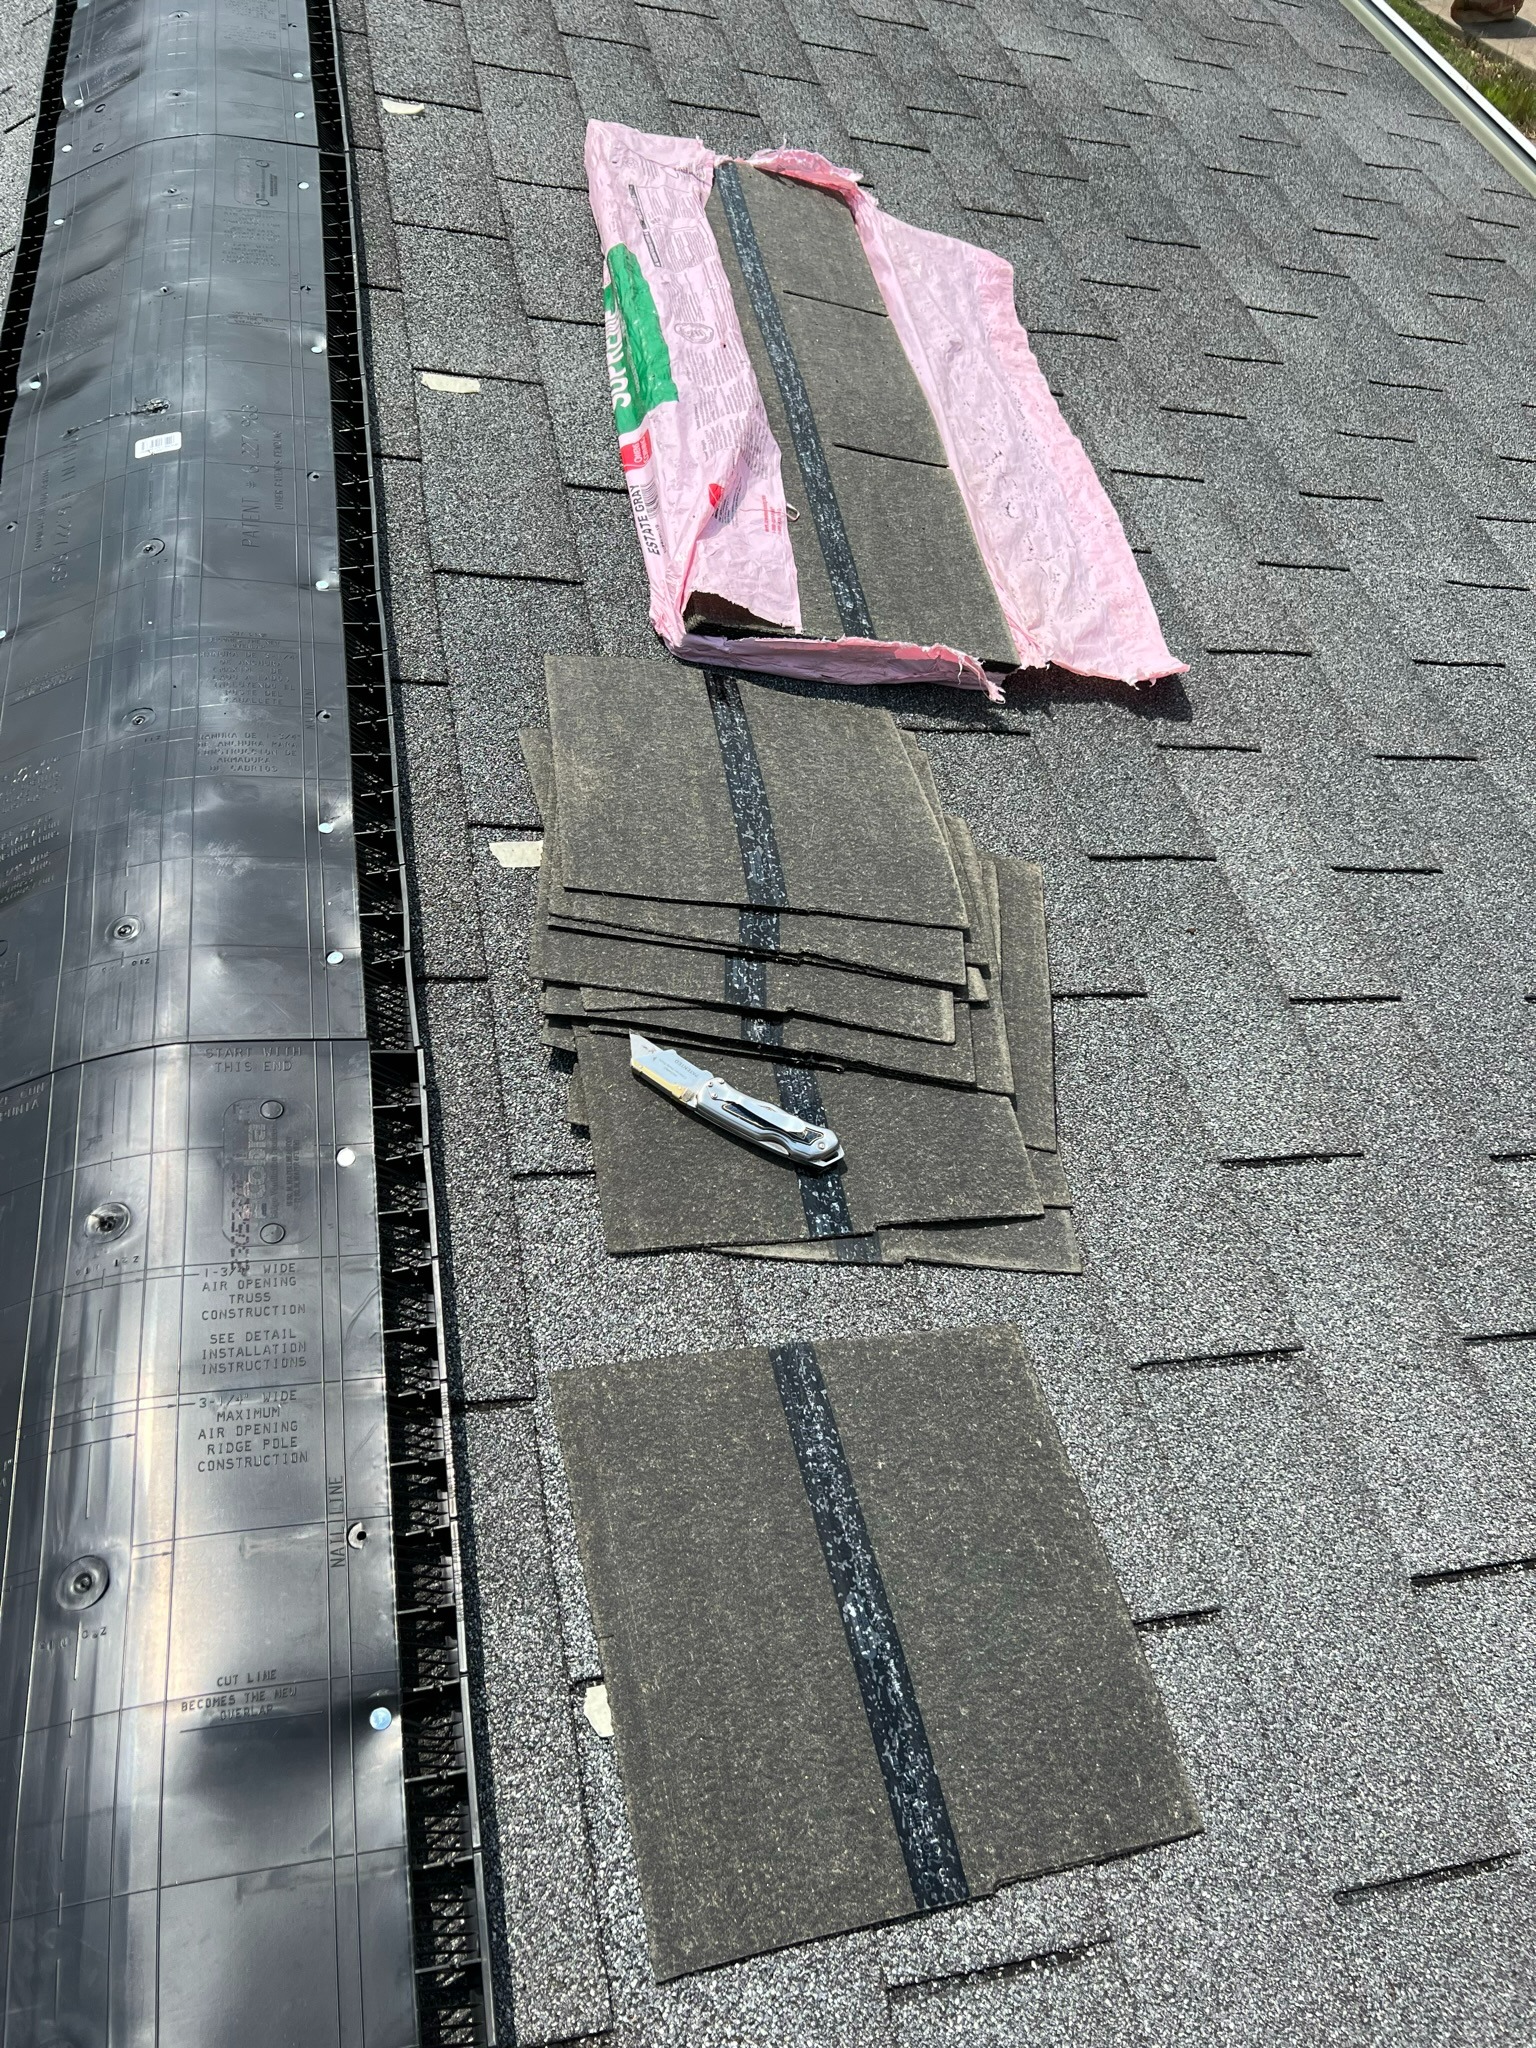
6) Cut your shingles.
I found some pewter grey shingles at Home Depot that seemed like they were the closet color that I was going to find to match my existing roof shingles. Luckily, my neighbor happened to have and give me extra shingles that were the exact color of the existing shingles, so I used those. If I had to guess, based on what I see online, the color would be "nickel grey."
The shingles came in tabs of three. I used a utility knife to cut them into 12-inch wide pieces.
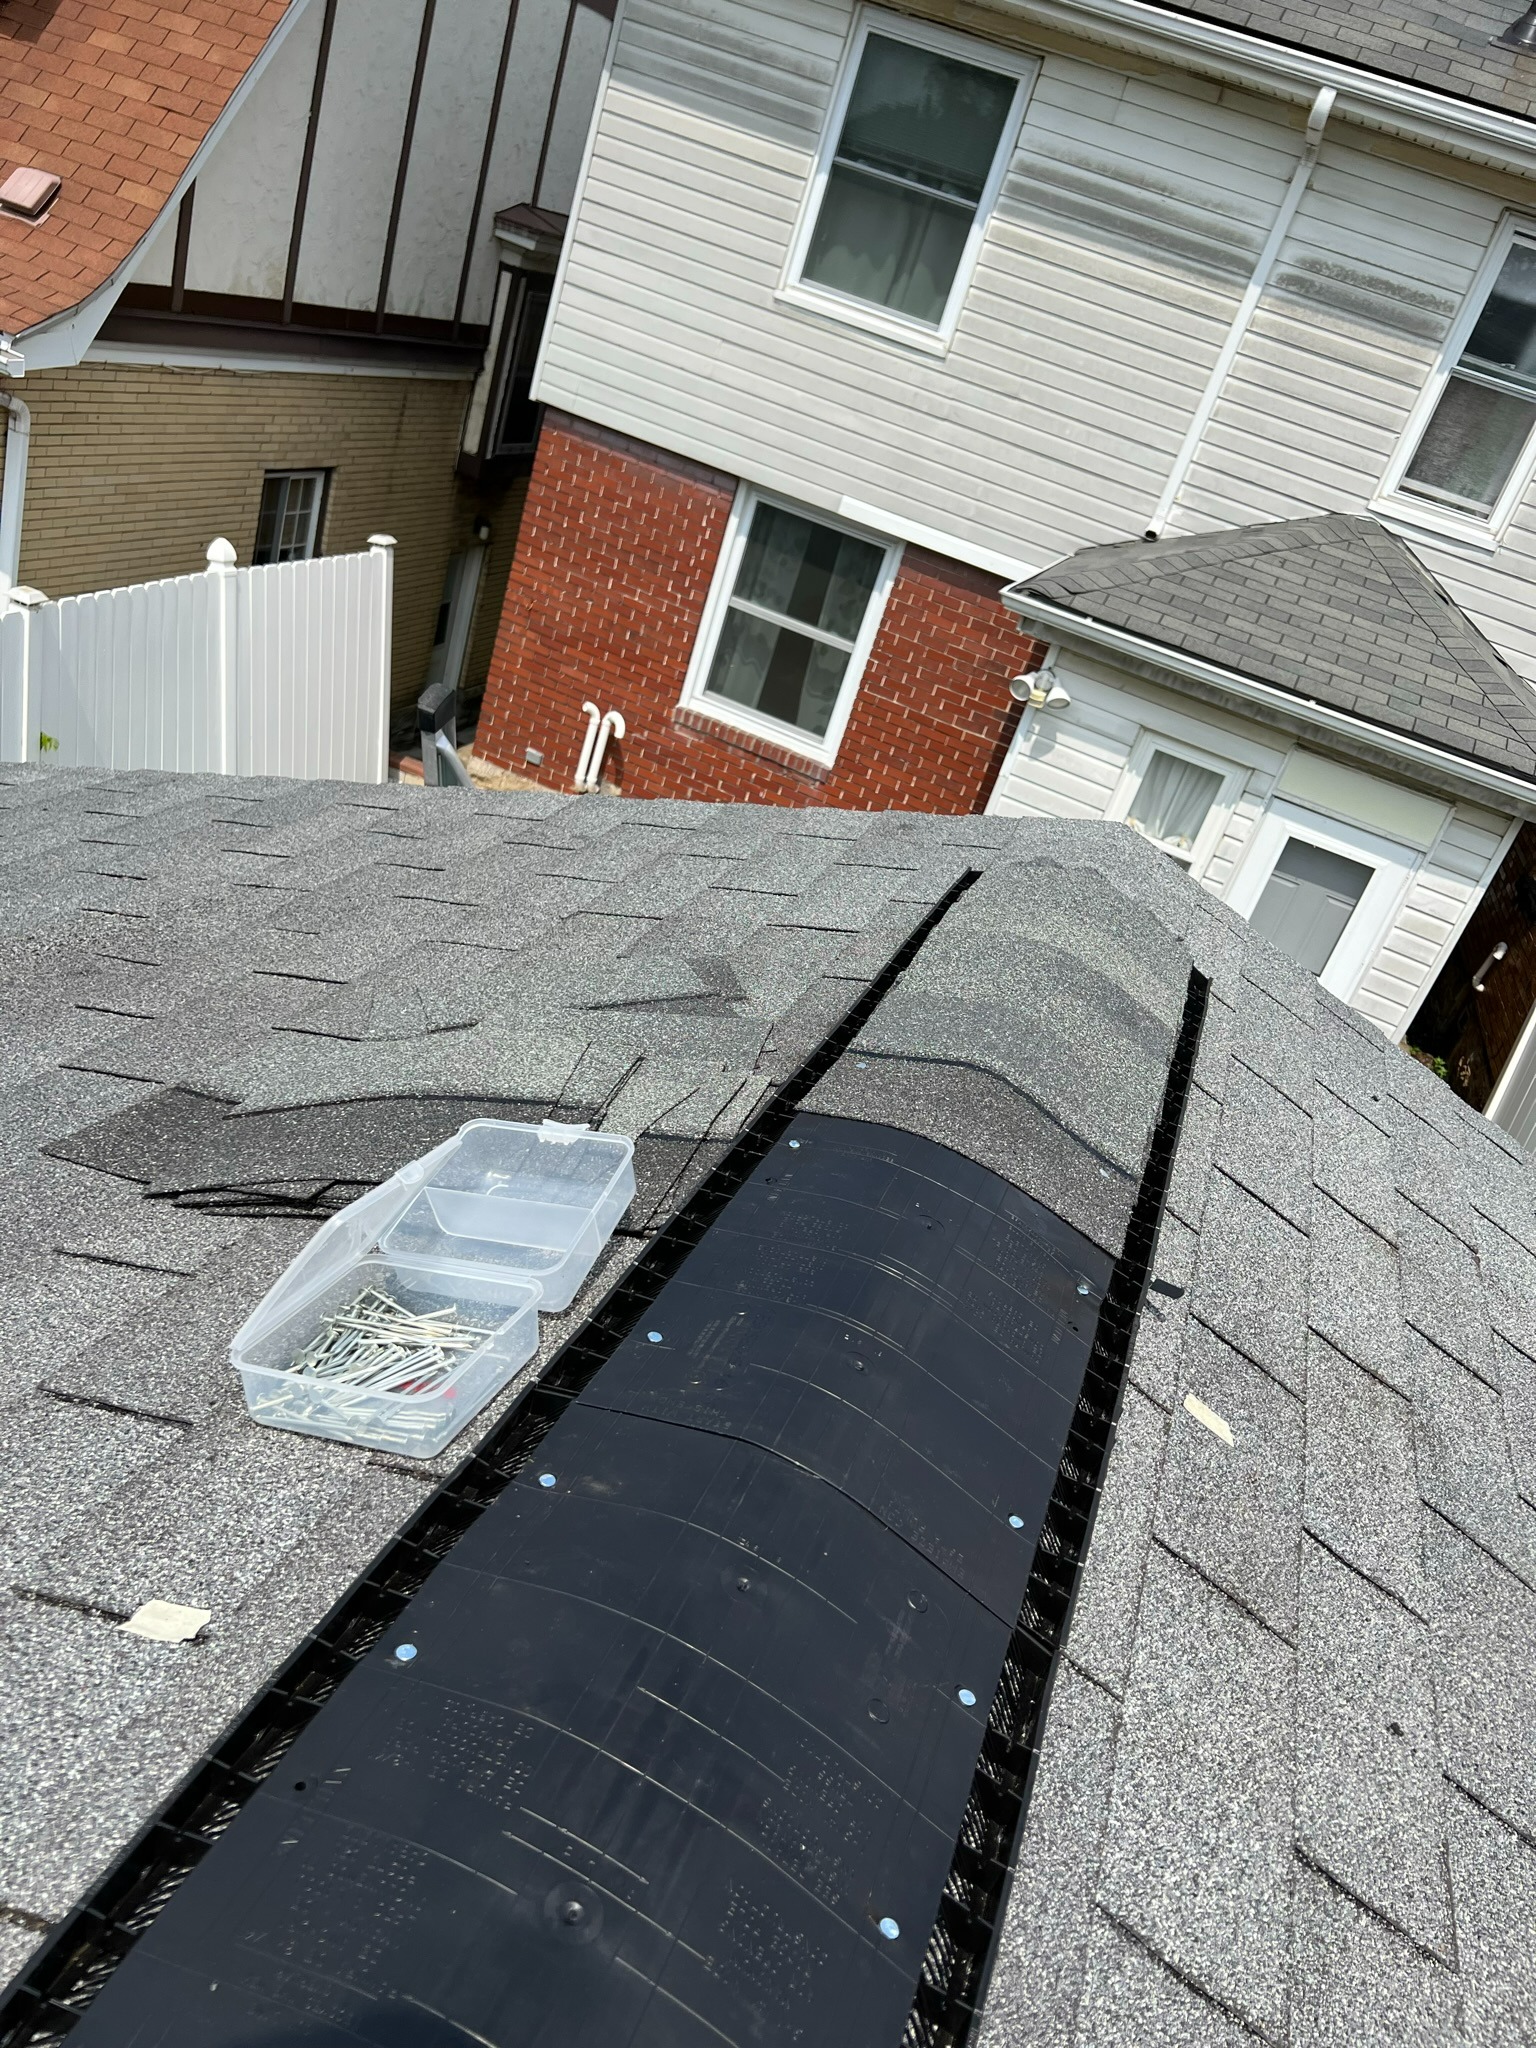
7) Lay the shingles.
First, remember to lay the shingles so that their edges are less exposed to wind. I started by laying my shingles so that they would face the house, which would likely block much of the wind blowing from its direction. My house also happens to be north / northeast of my garage. Most wind in Pittsburgh blows from the south / southwest.
Then, I started laying the shingles.
Each shingle will have two halves--One darker half that is meant to be covered by an overlapping shingle plus a lighter colored half that will be the exposed, visible color of the roof. Each half will be divided by an adhesive strip that is made of an asphalt-like material and will help overlapping shingles bond to each other.
You want to lay each shingle so that the actual roof color comes first followed by the darker color (assuming that you are positioned behind the shingle).
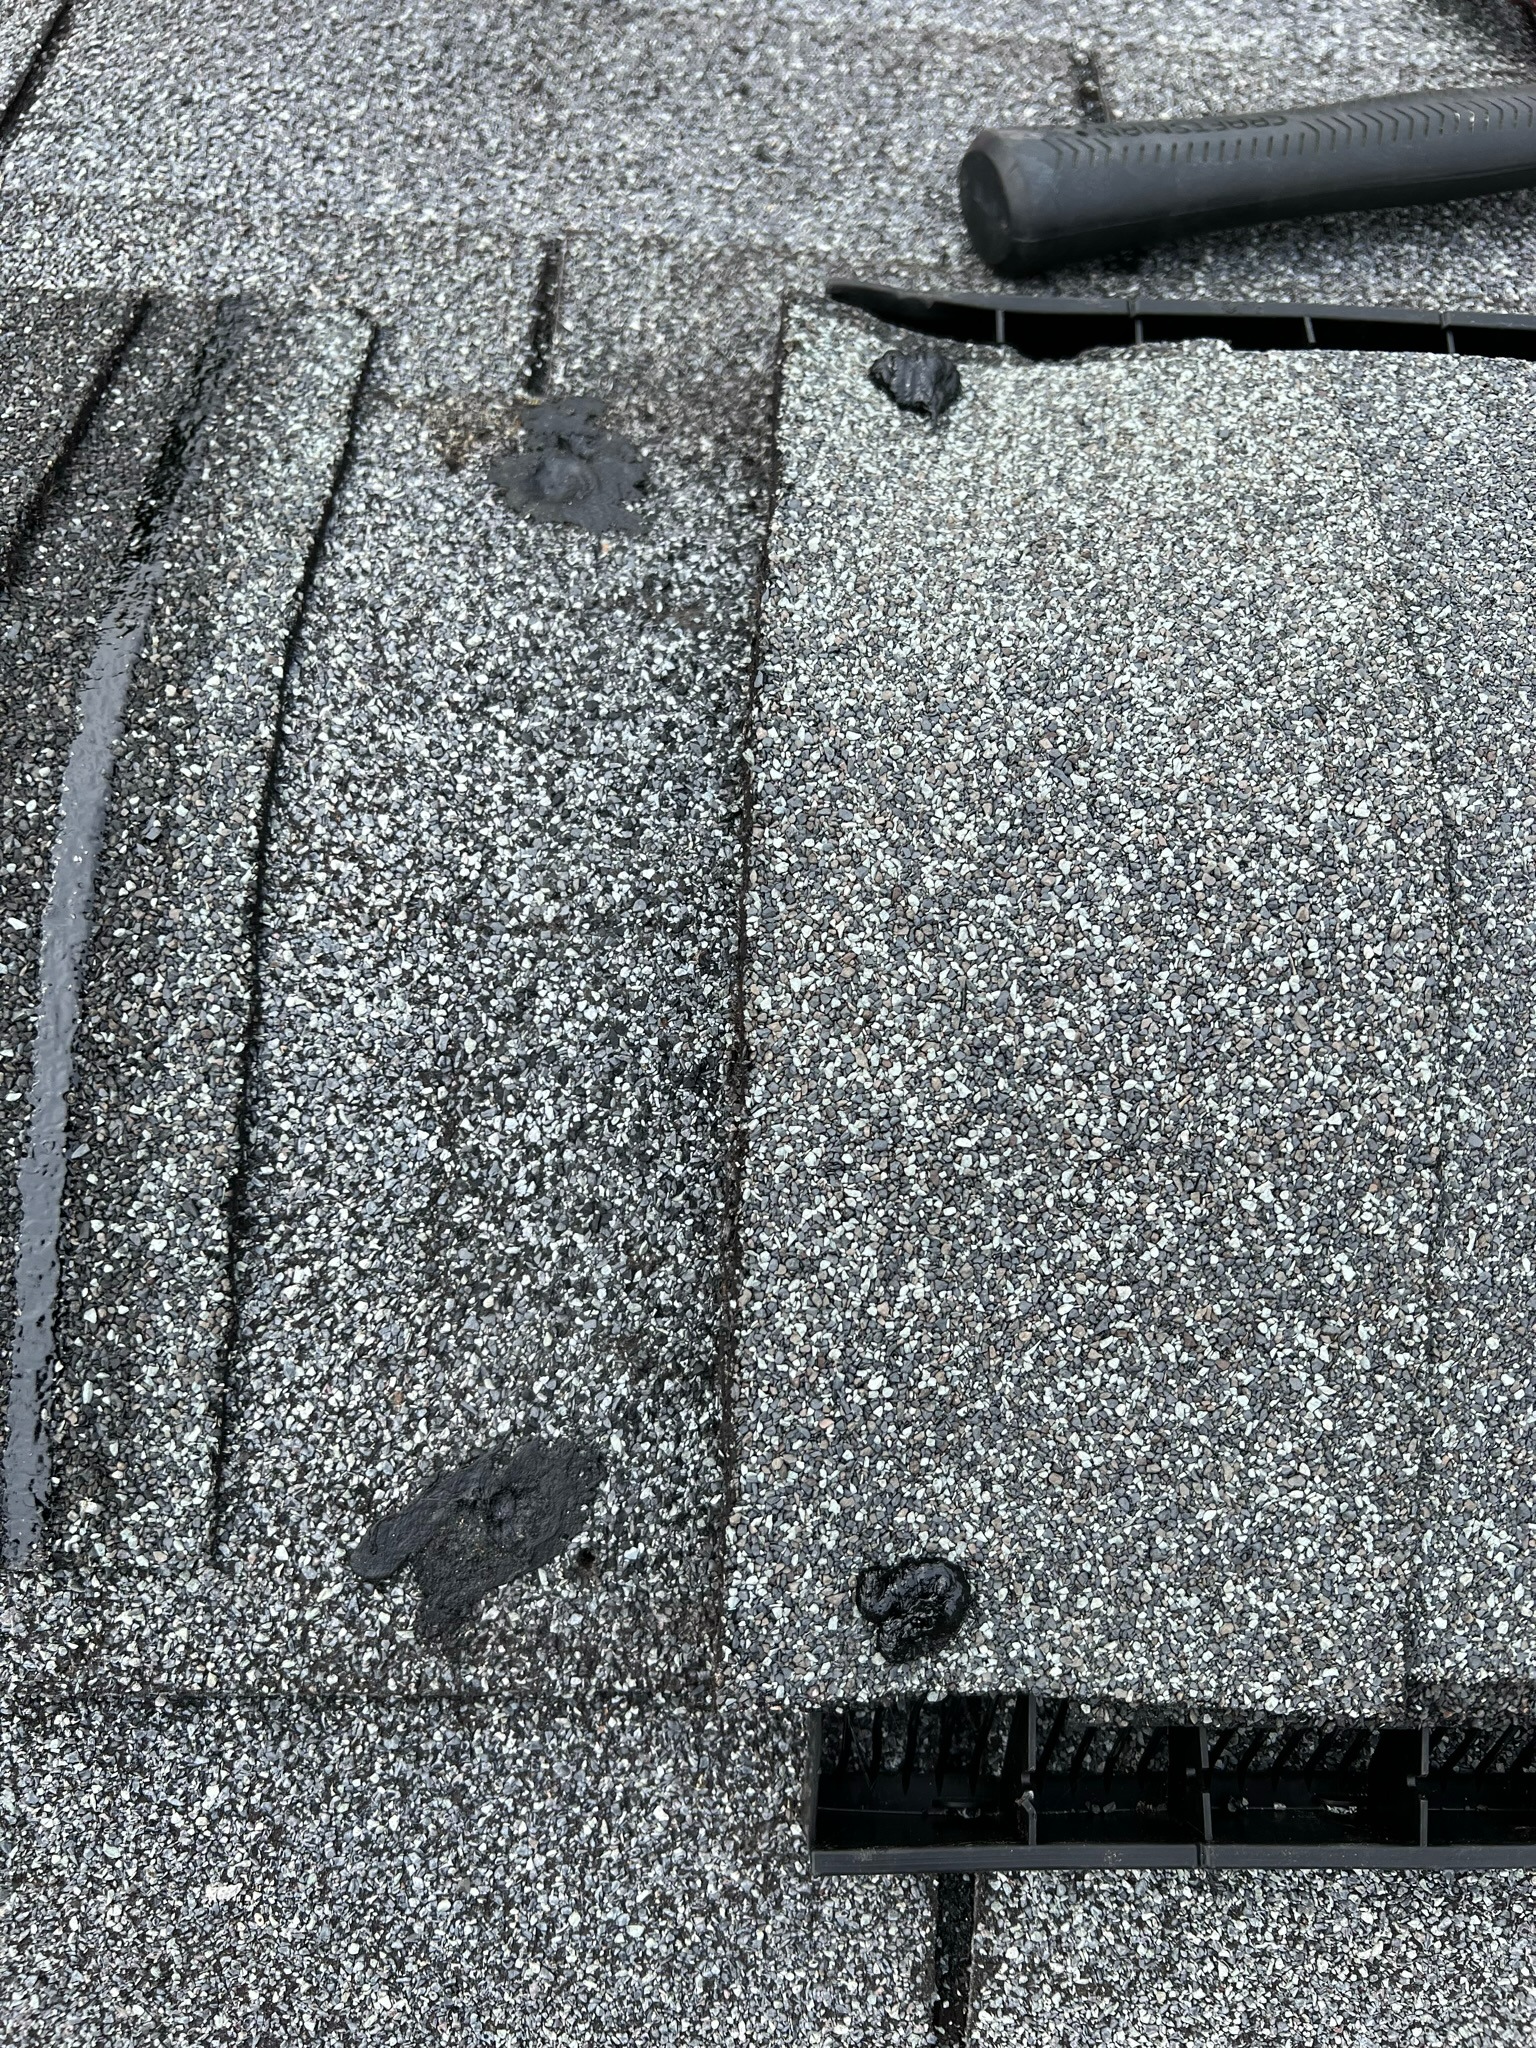
Secure the shingle with two nails, one on each side behind the adhesive strip and no more than 1-inch from the edge. You don't want the nail to be exposed, but nor do you want it to be so far in that it leaves an edge to flap in the wind.
Lay the next shingle so that you cover the adhesive strip of the previous shingle--The strip needs to be in contact with the next shingle so that the two pieces bond--and so that there is enough of the two shingles behind the adhesive strip of the top shingle overlapping, which means that you can put the next set of nails through two shingles at once. Hammer these nails.
Repeat this process until you cover your vents completely.
(Also, don't worry if your shingles are still a bit loose upon installation. I was concerned about this, but when I called my father-in-law, he explained that the shingles need to bake under the sun for a few days before they are completely bonded through the adhesive strips.)
8) Cover the last two nails with roof cement.
The nails are the spots where water will seep through. Even though it might look like your nails are flush with the shingles, you know that water will find its way through the smallest of cracks. But, if you overlap the shingles, as I tried to explain above, your nails will be covered and safe from leaks.
That said, the last two nails will be exposed. Cover these with roof cement.
9) Admire your finished work.
Post a comment